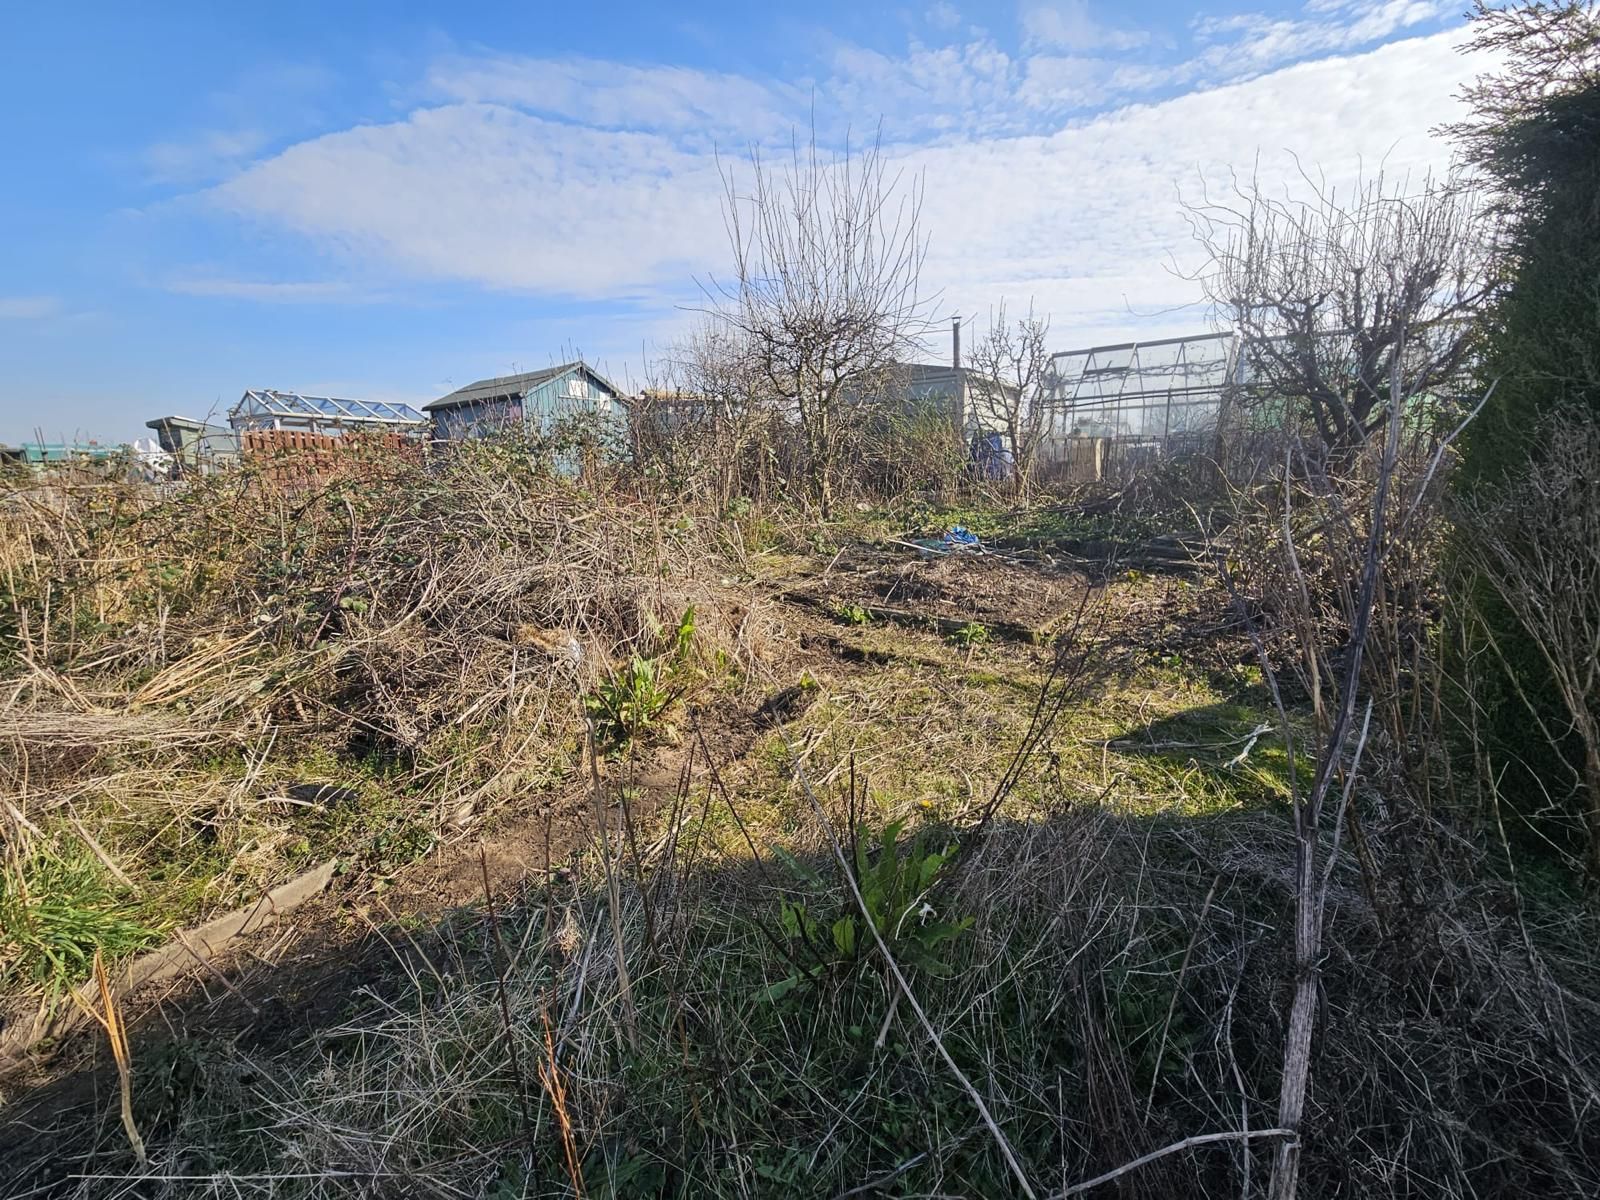
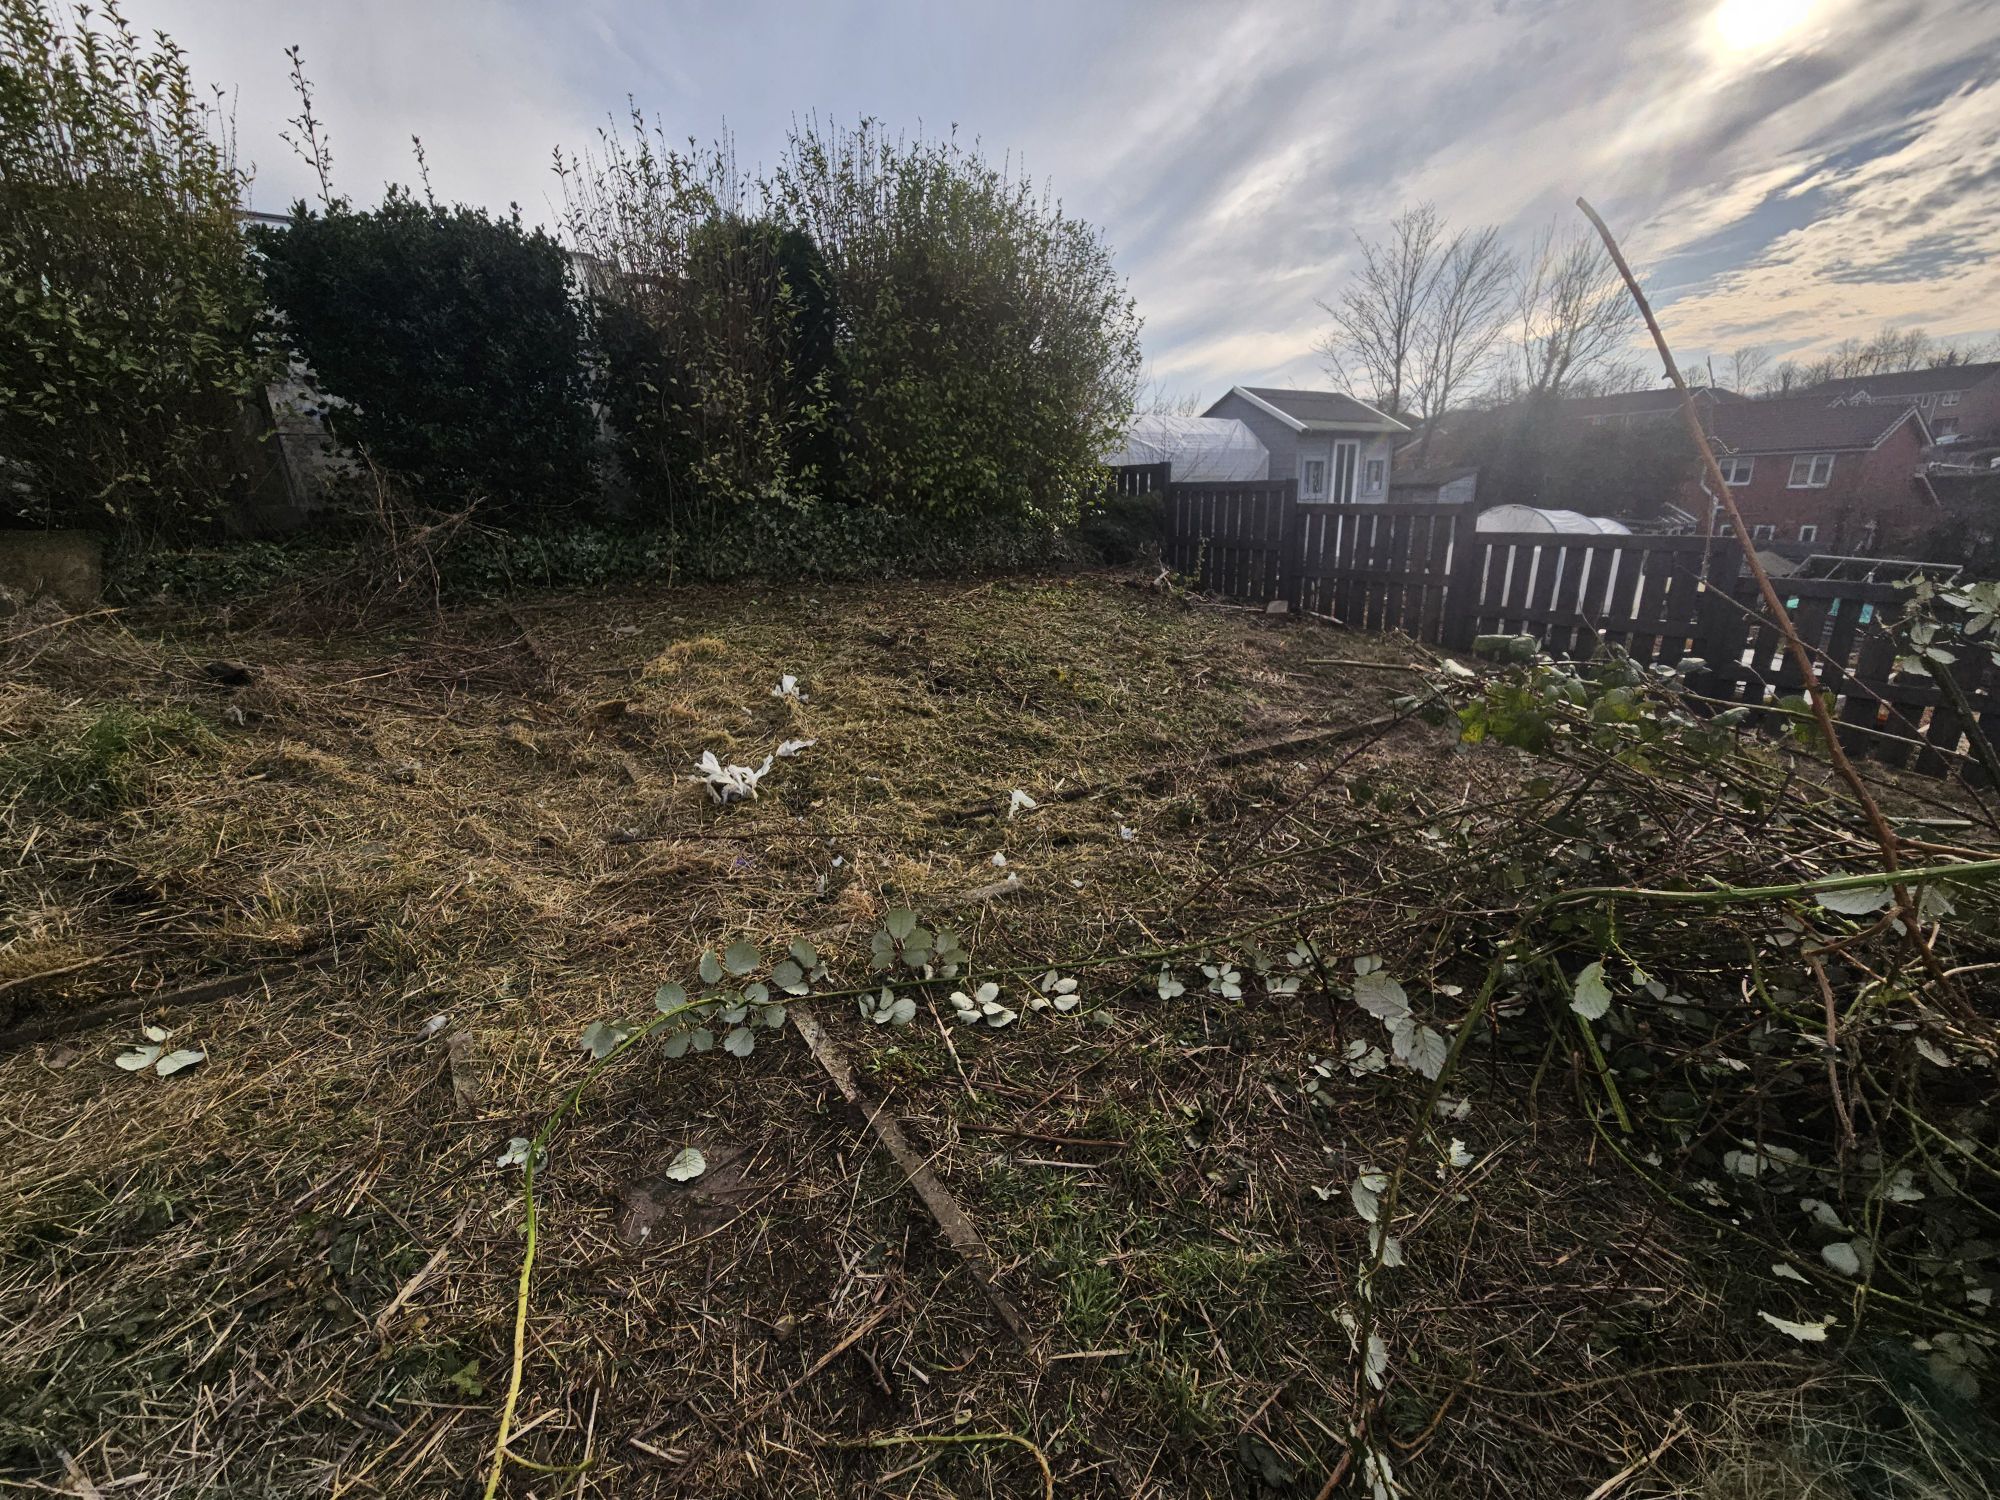
When your name comes up on the allotment waiting list, you may imagine a plot of neat rows of vegetables left by the previous tenants. However, allotments are often left untended for a few months before being passed on, and are therefore rarely in good shape by the time you reach the top of the list.
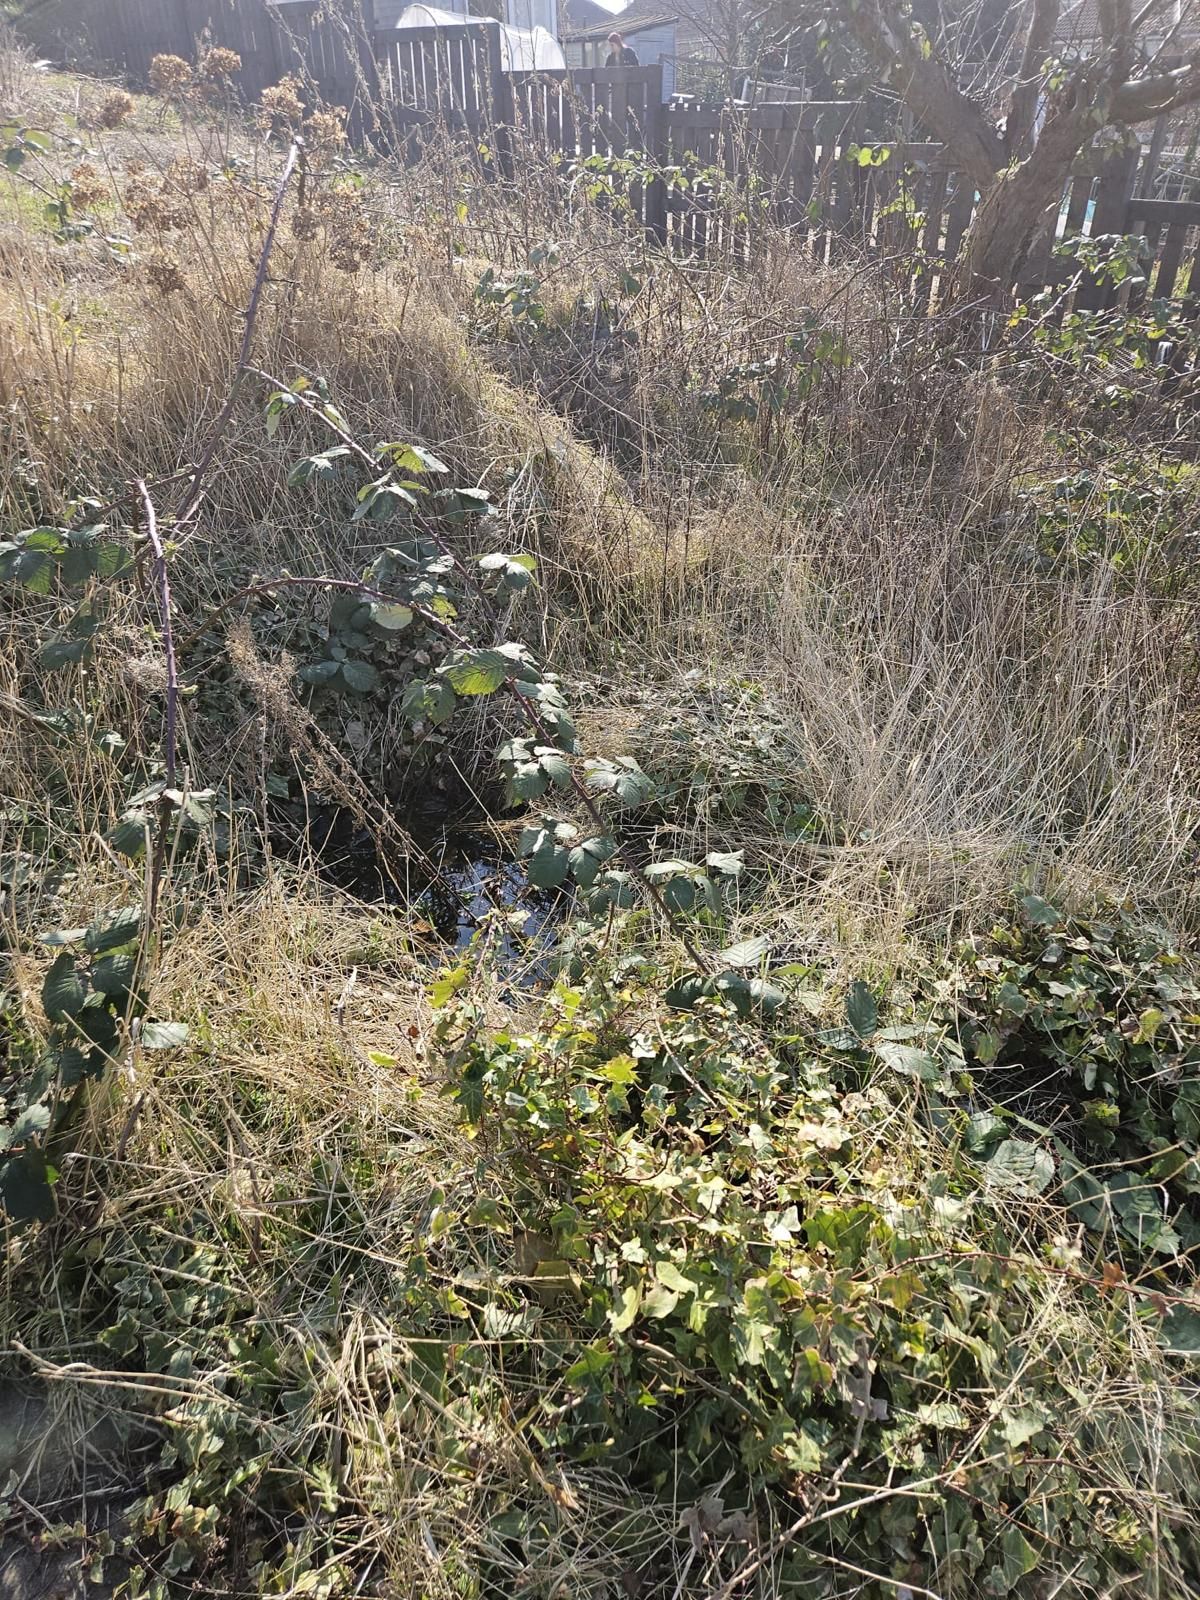
Allotment plots can quickly be consumed by weeds such as couch grass and bindweed, while those left for over a year can be smothered in nettles and brambles. Other factors to consider are the aspect of the plot – does it get plenty of sun or is it shaded by trees? And does it have a shed and nearby access to water? If not, it’s worth asking if other options are available – often site holders allocate a few plots at a time and there maybe several to choose from. While it’s in the best interests of the allotment site manager to allocate the worst plot on site, it’s in your best interests to take on something that’s realistically manageable, has plenty of light to grow sun-loving crops, a shed and access to water. Don’t be afraid to ask for something better.
Clearing
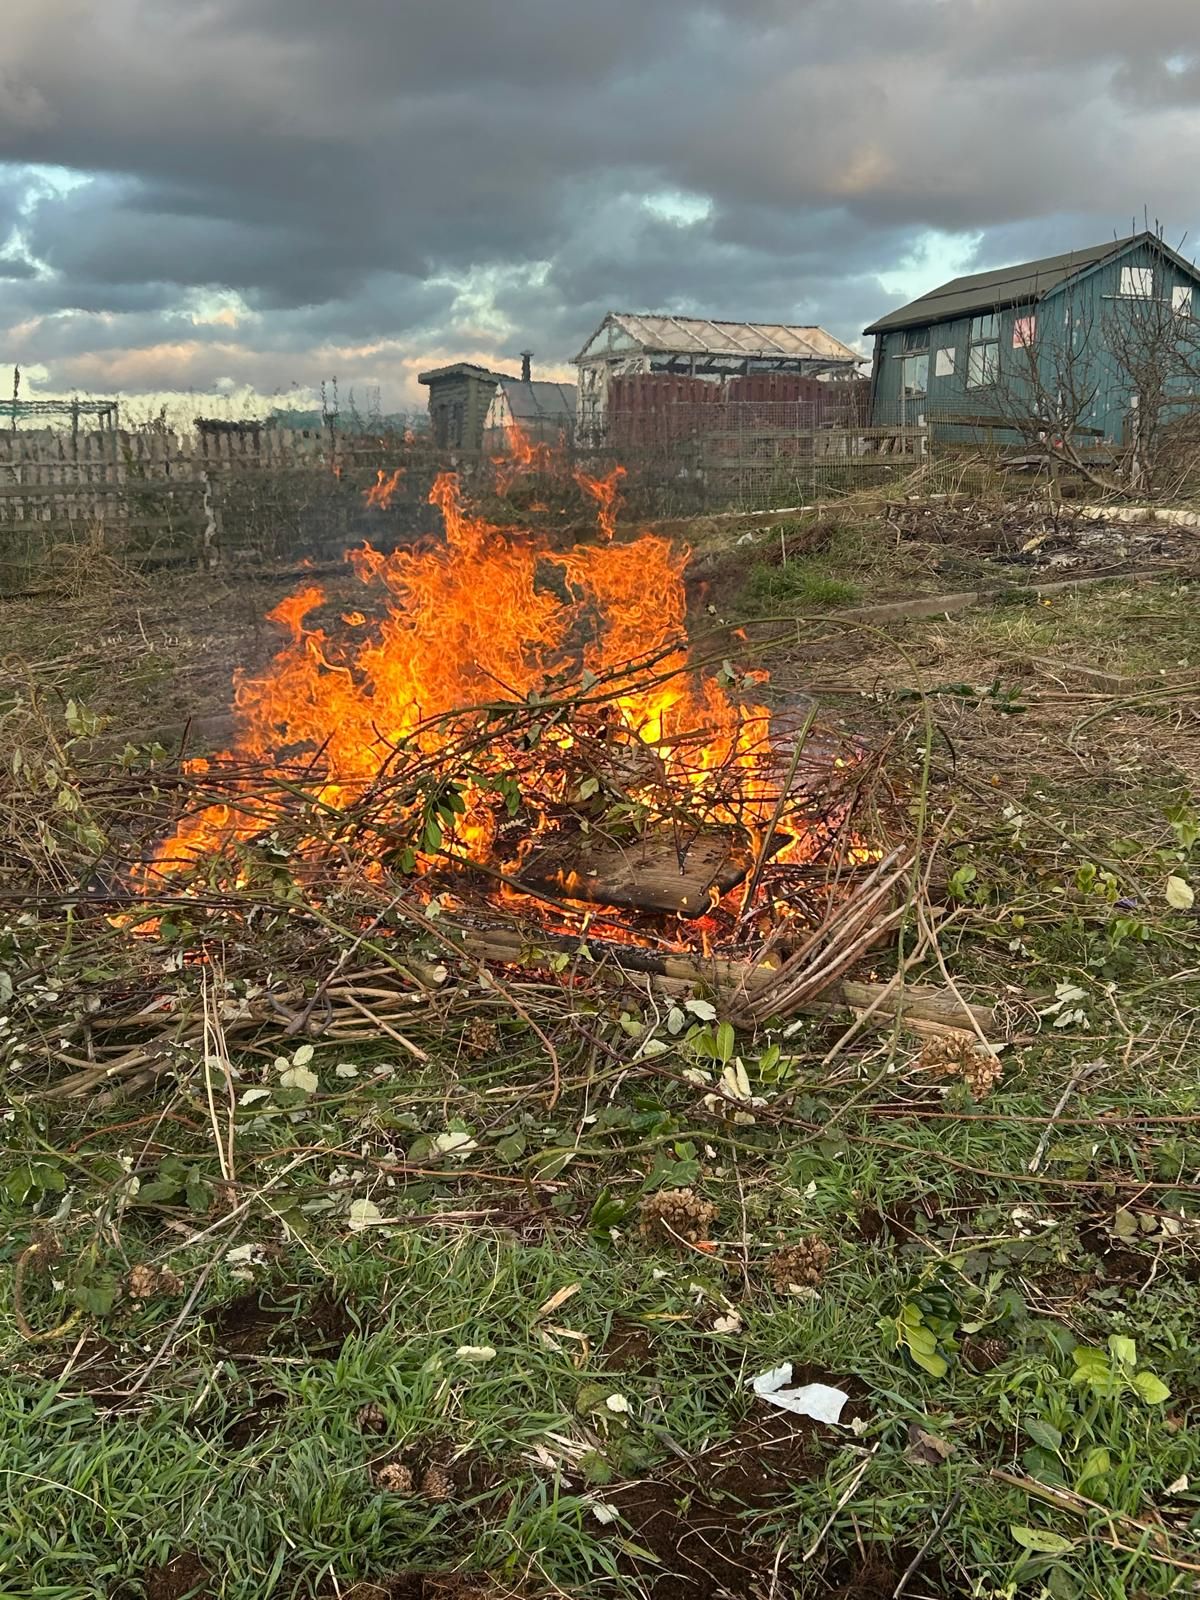
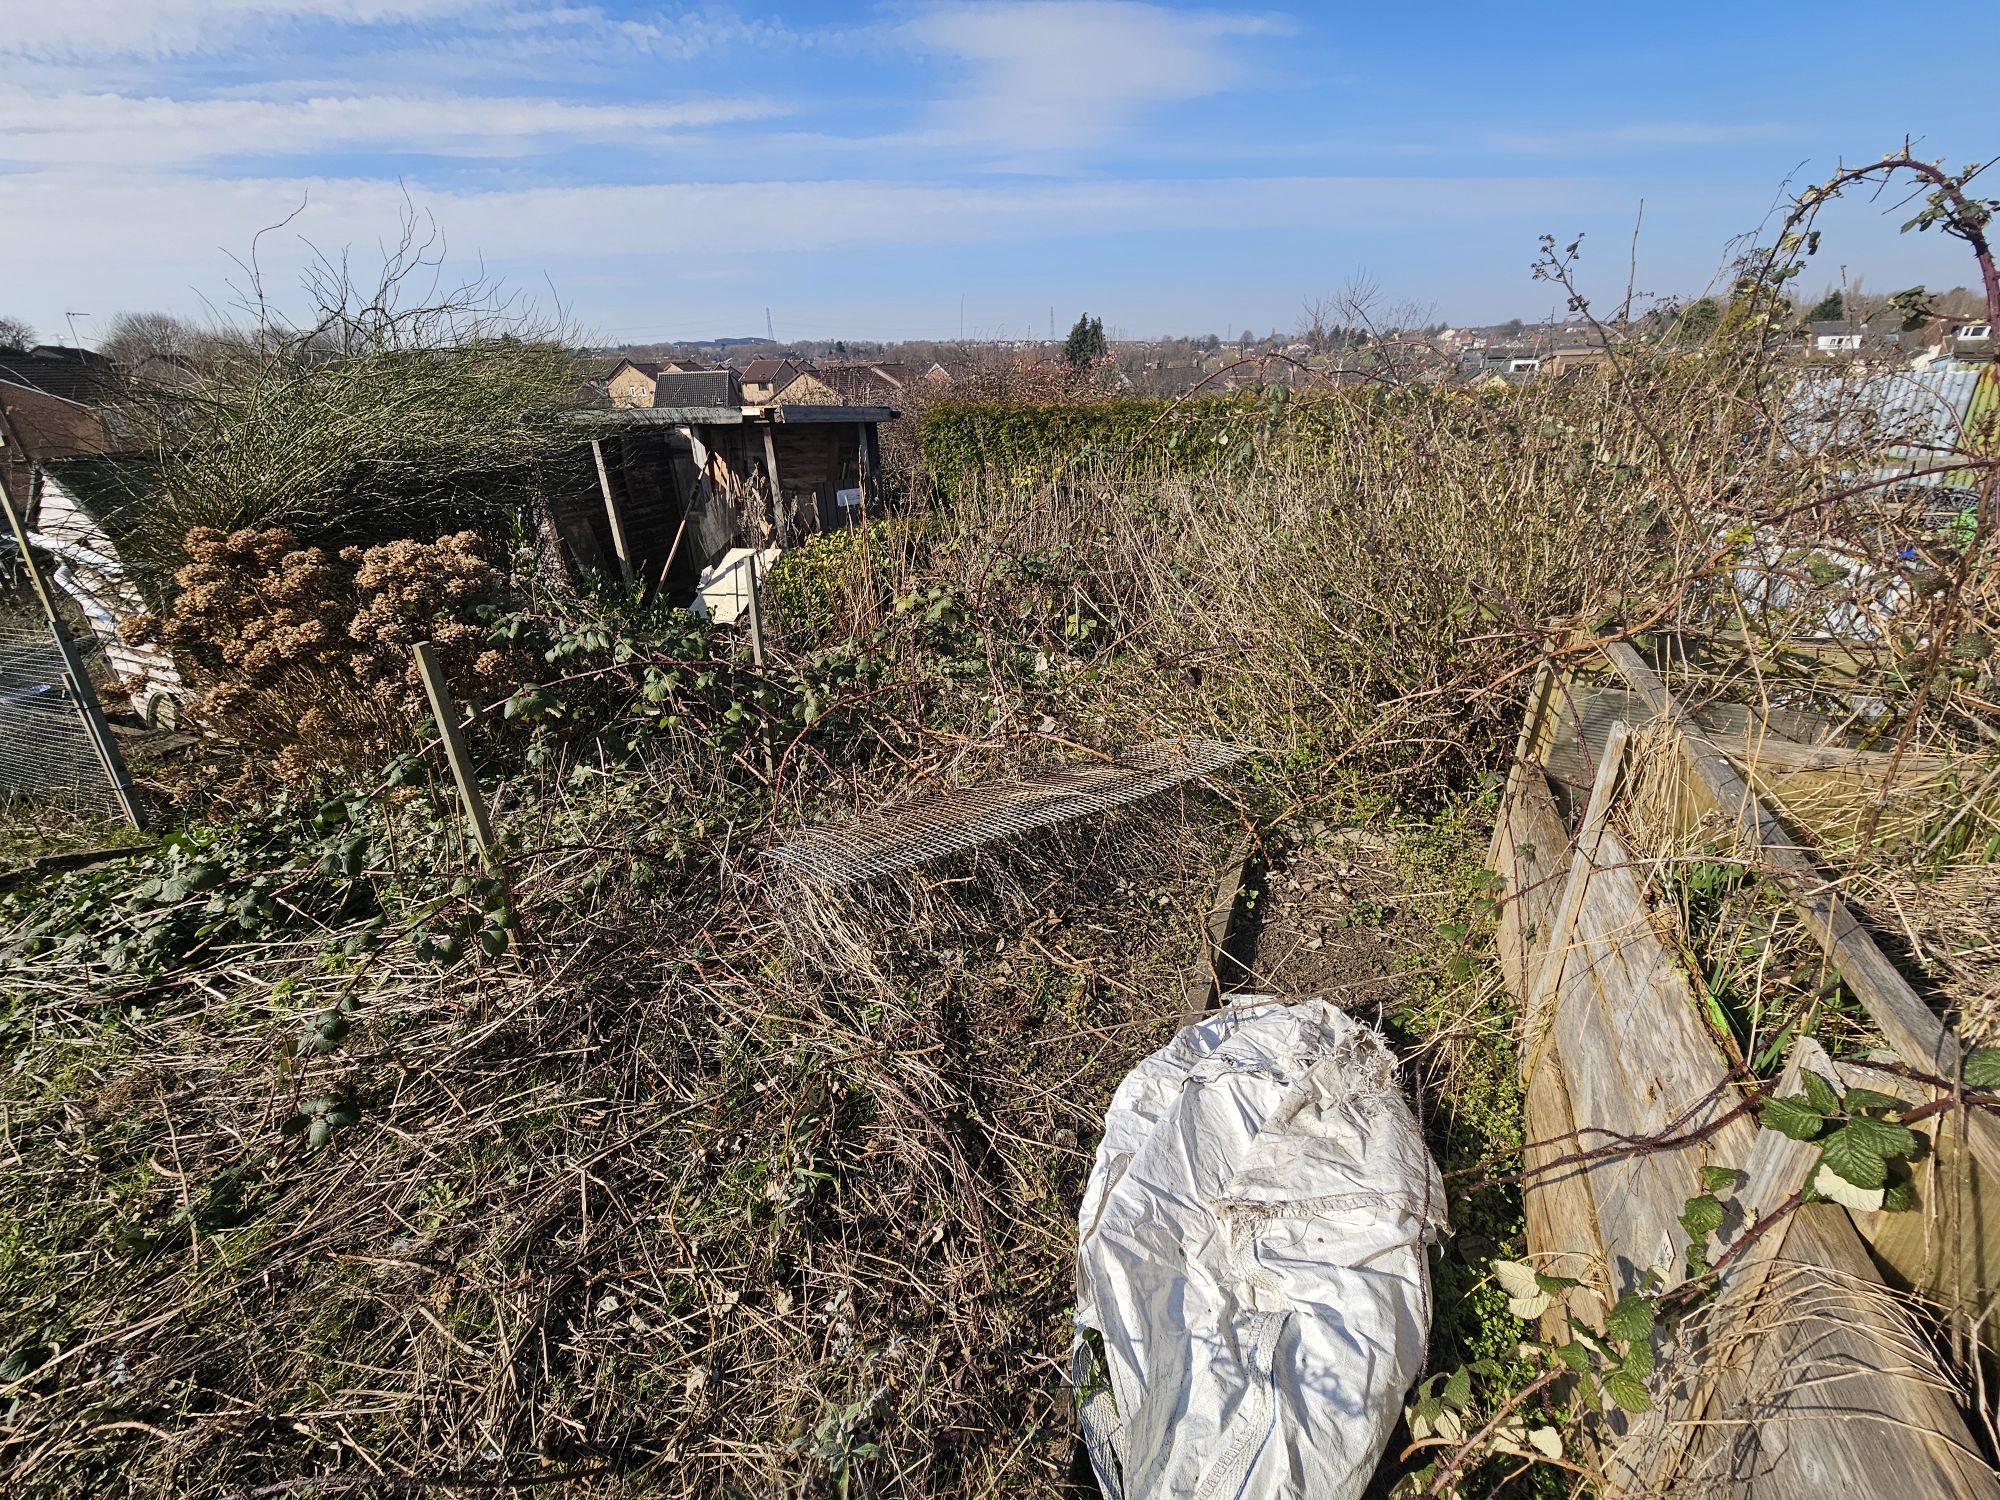
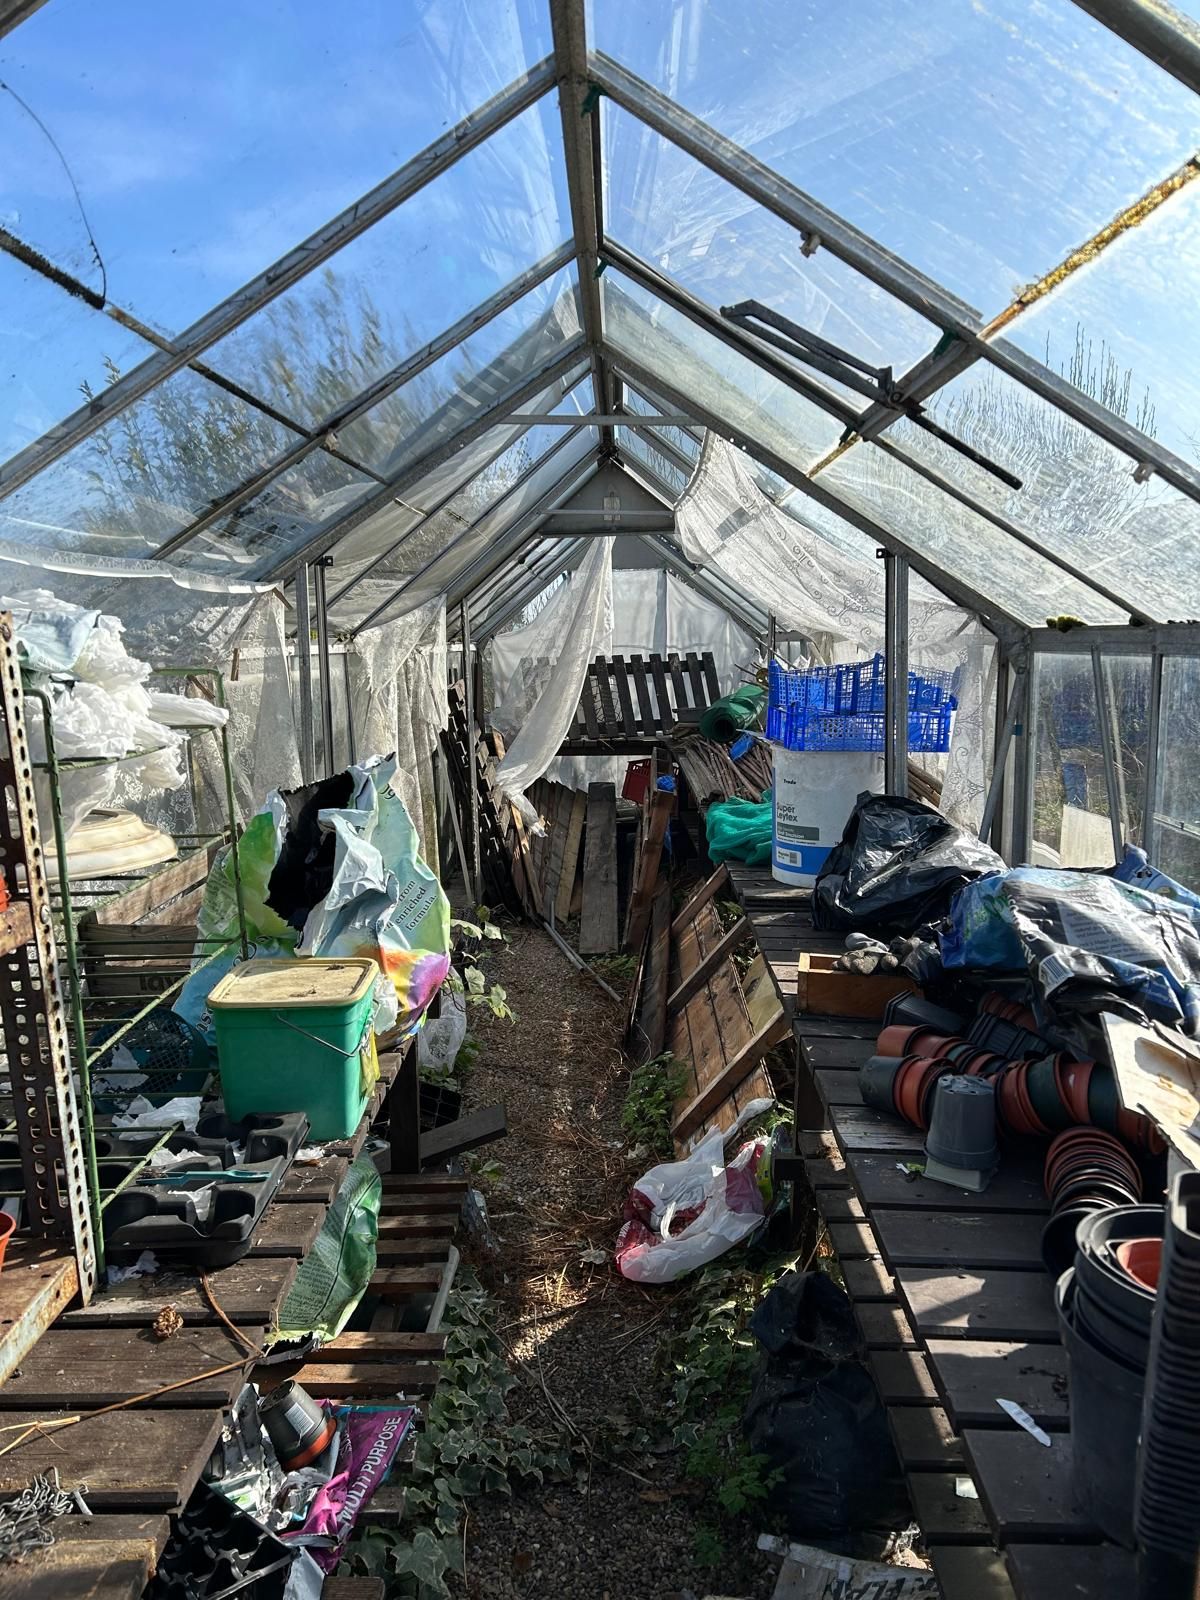
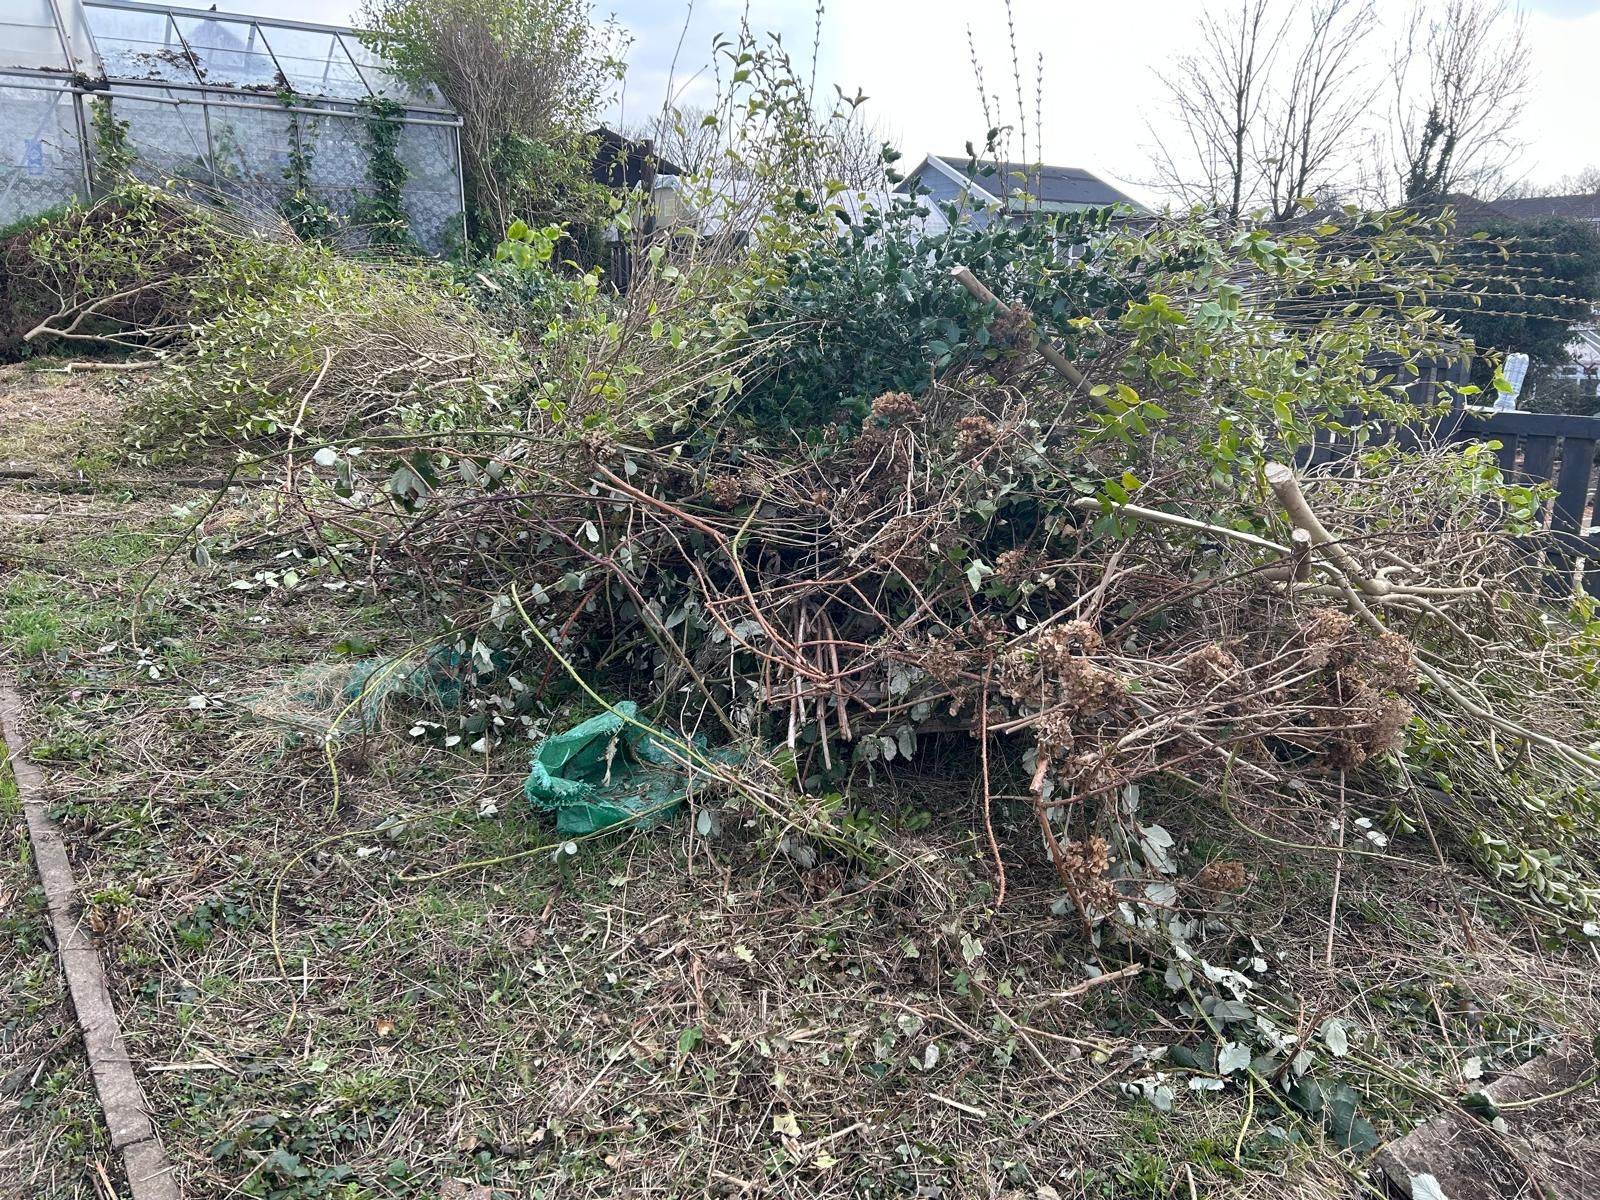
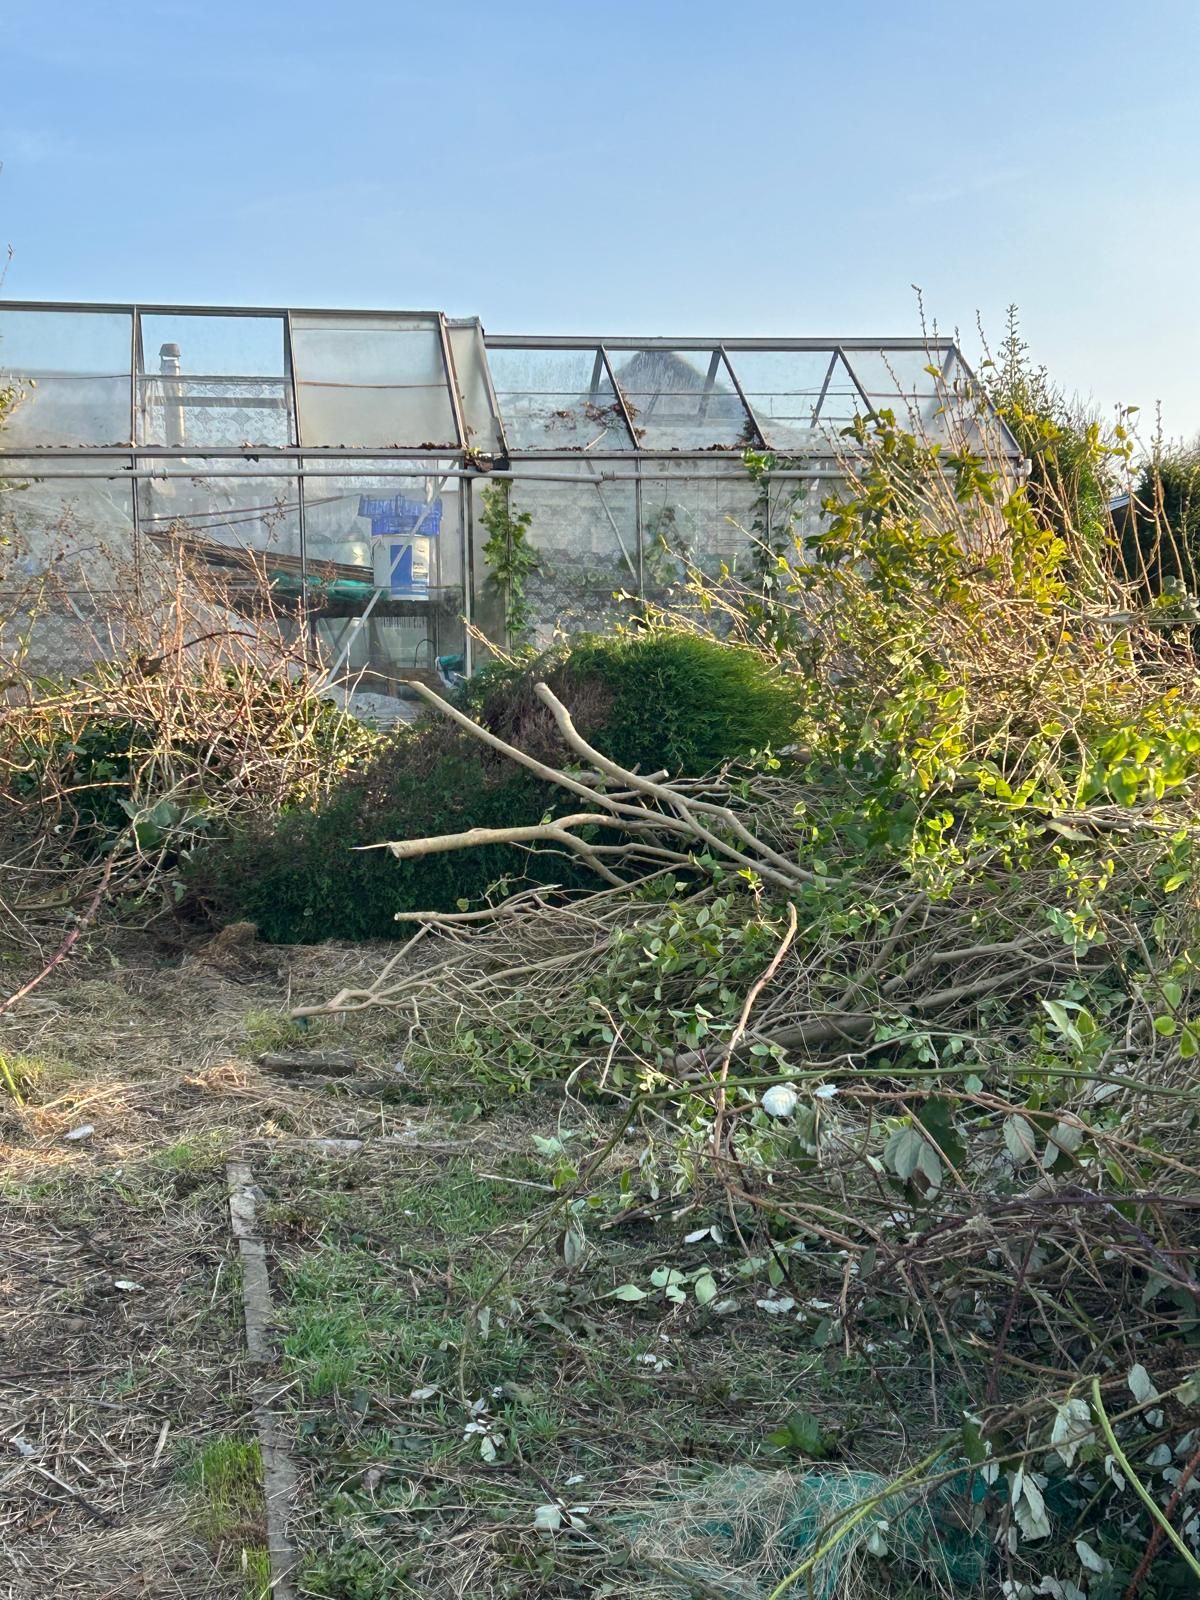
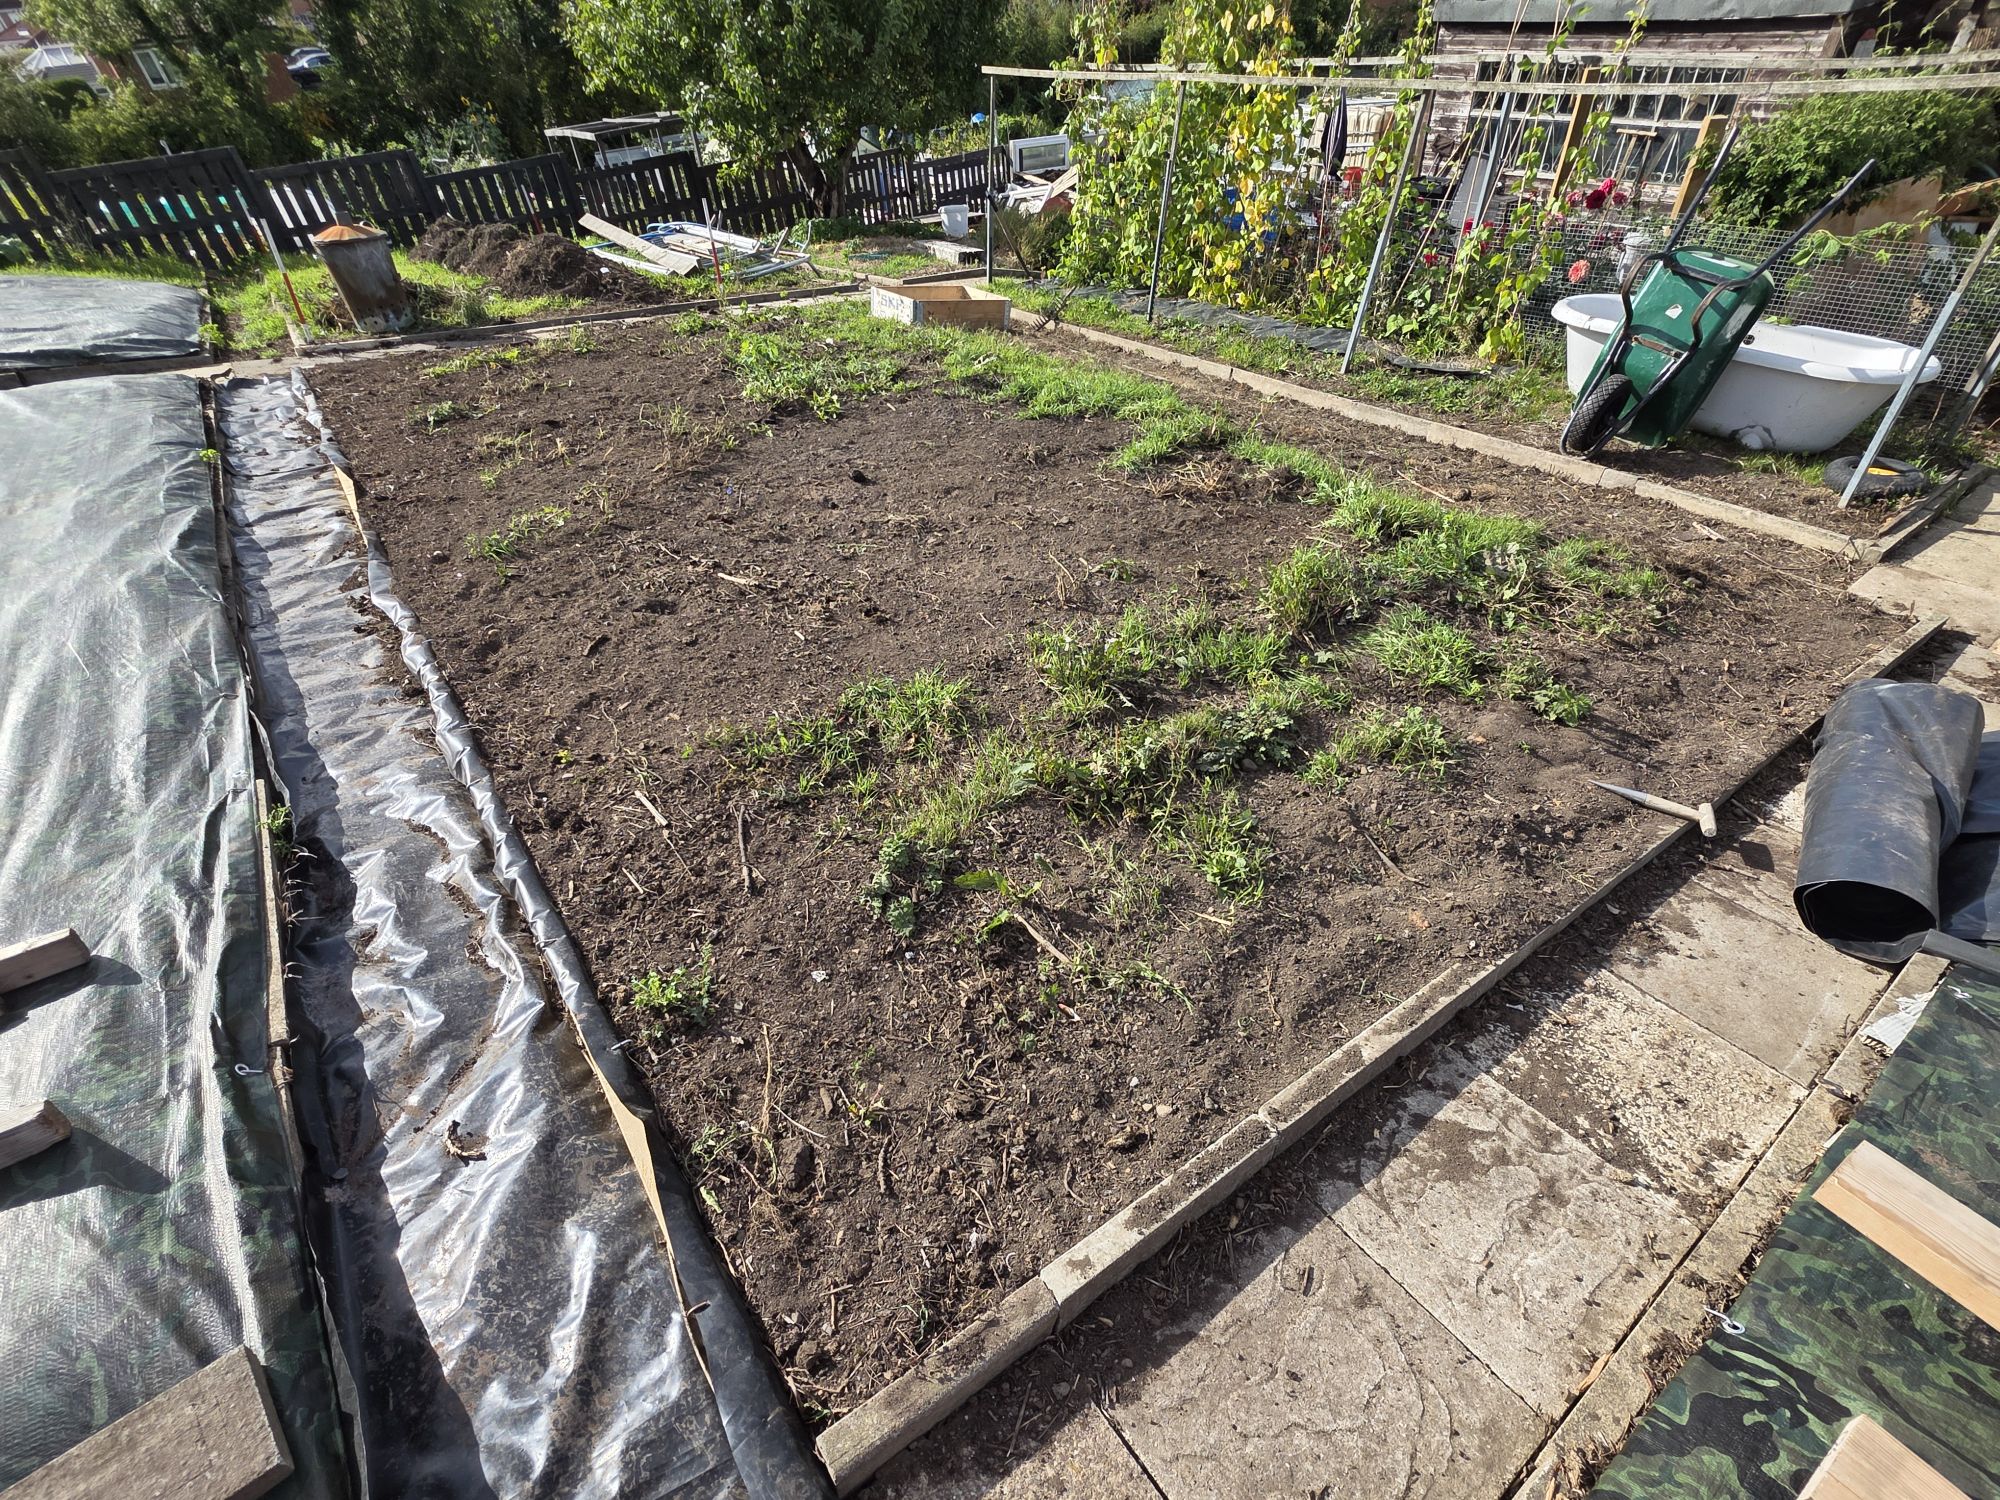
When we first acquired our plot it was head high in weeds including, a thicket of brambles and other prickly plants. A professional bush cutter was needed. After receiving advice on the differences between a strimmer and a bush cutter, a petrol bush cutter was hired from the allotment society and proved it was worth its weight in gold. We cleared the weeds etc down to ground level which meant at least we could then see what we were doing.


A Strimmer is a power tools that uses a nylon line which rotates very fast to cut and trim grass. The term “Strimmer” is actually a brand name created by Black & Decker to describe Grass or Line Trimmers. In Australia they are commonly known as “Wipper Snippers”.
A Bushcutter is a very similar power tool to a strimmer but it has a metal cutting blade instead of nylon line to cut with. This means that it can cut through more than just grass, as their name suggests. They also have to have a more powerful petrol engine to drive them.

Making beds
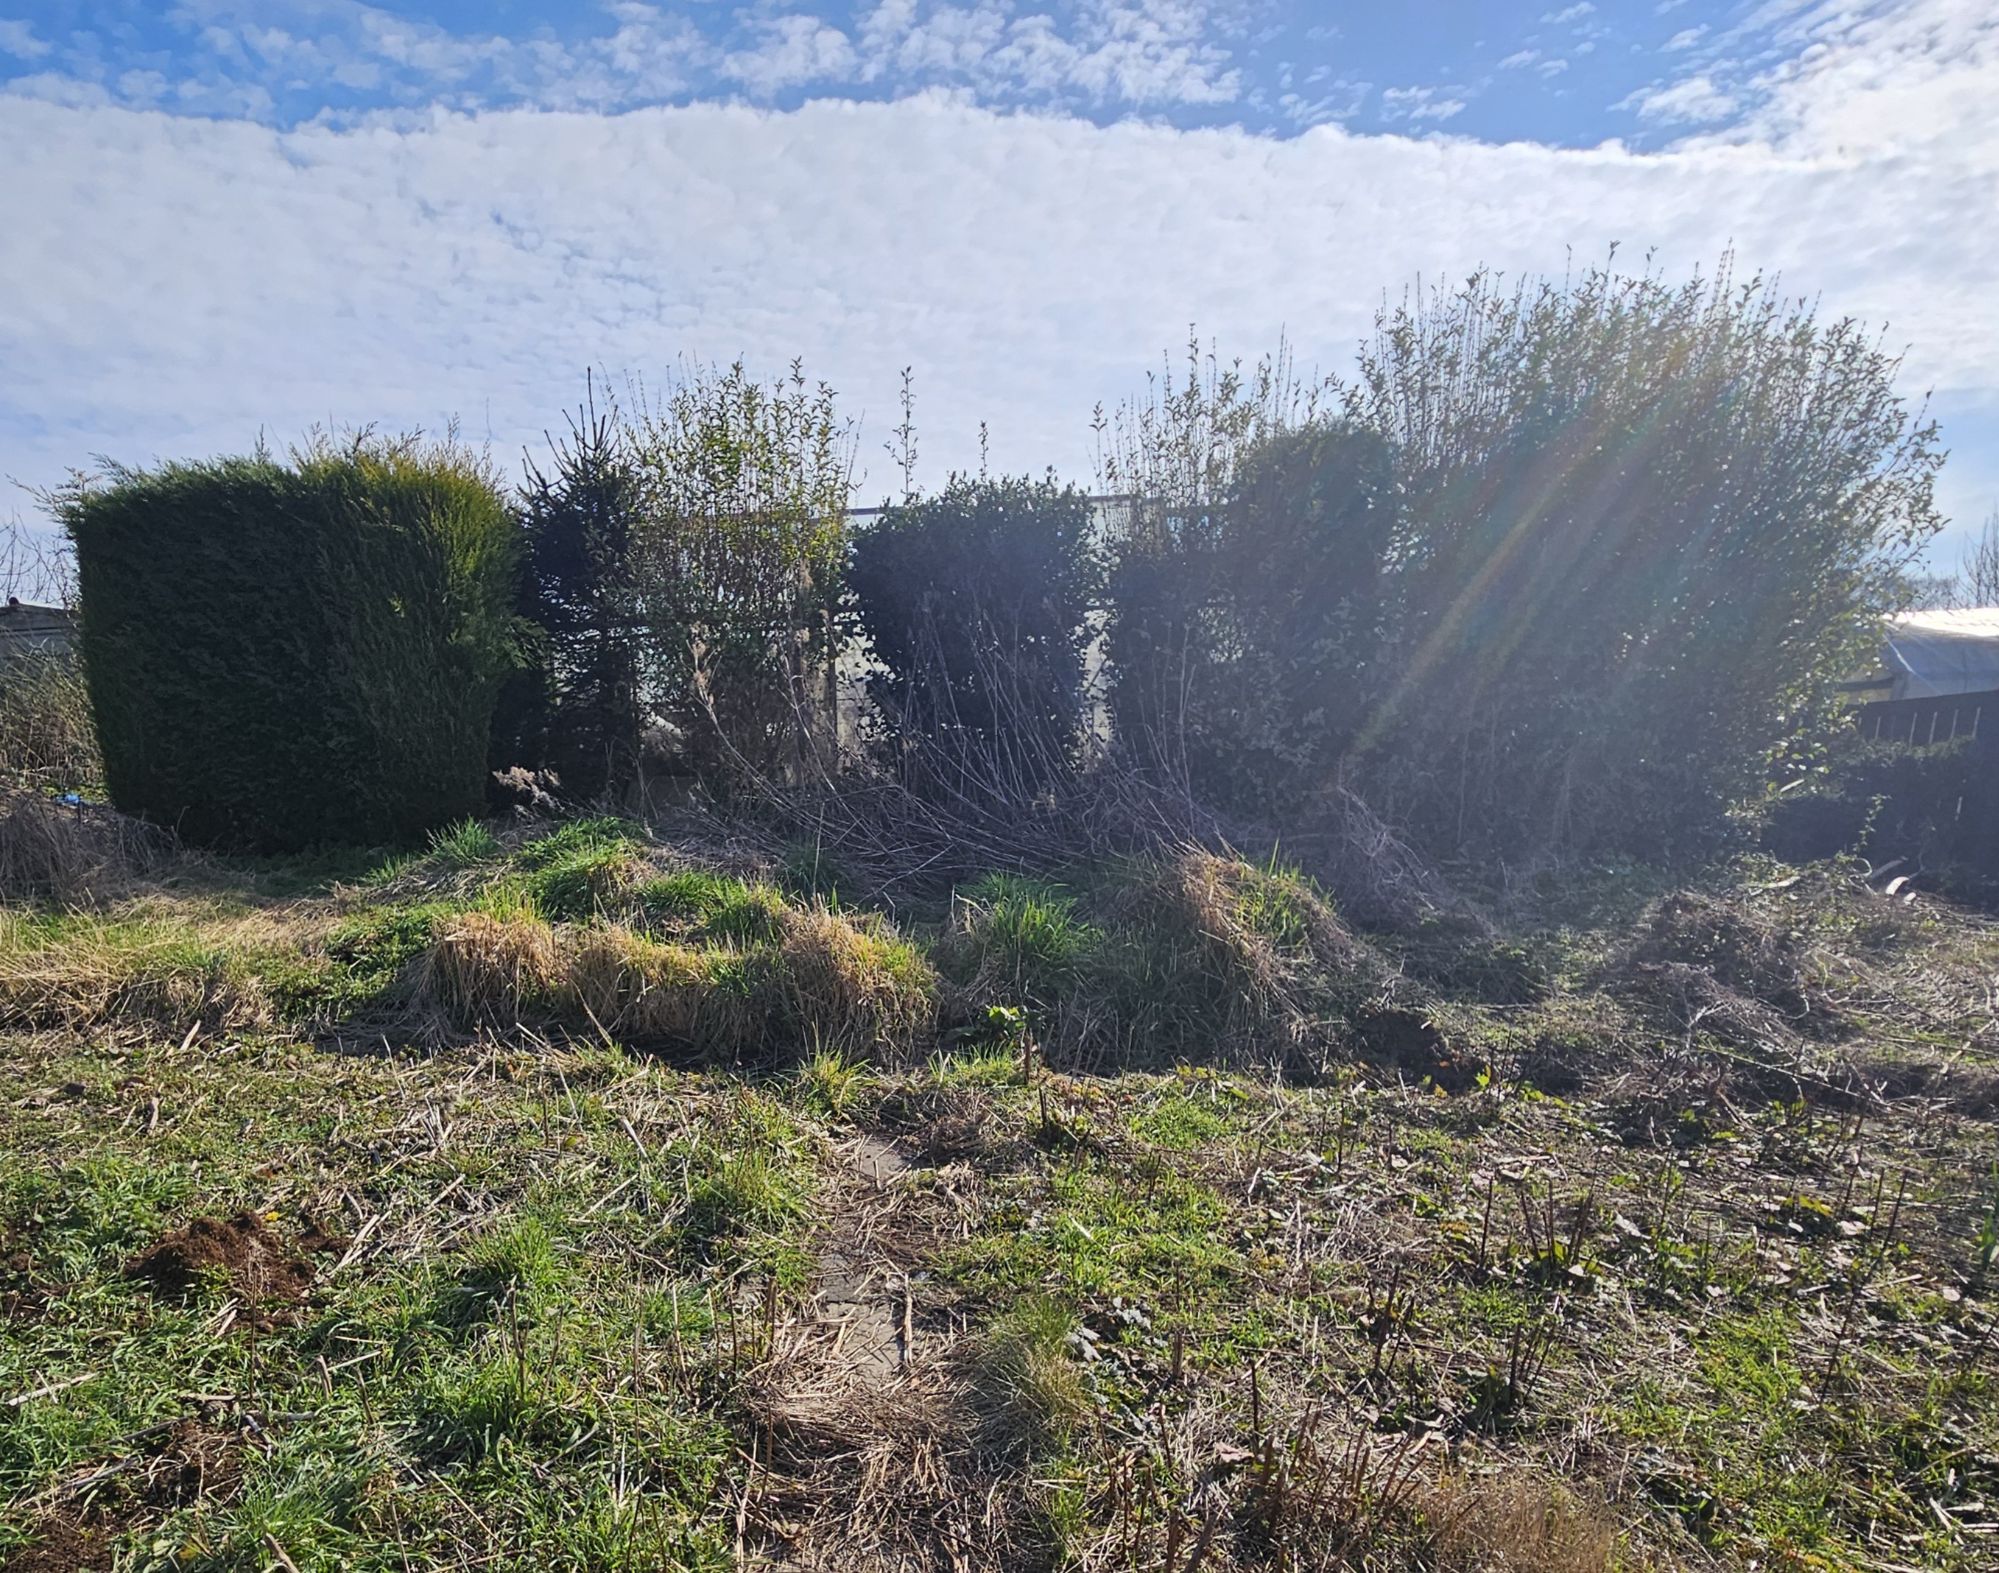
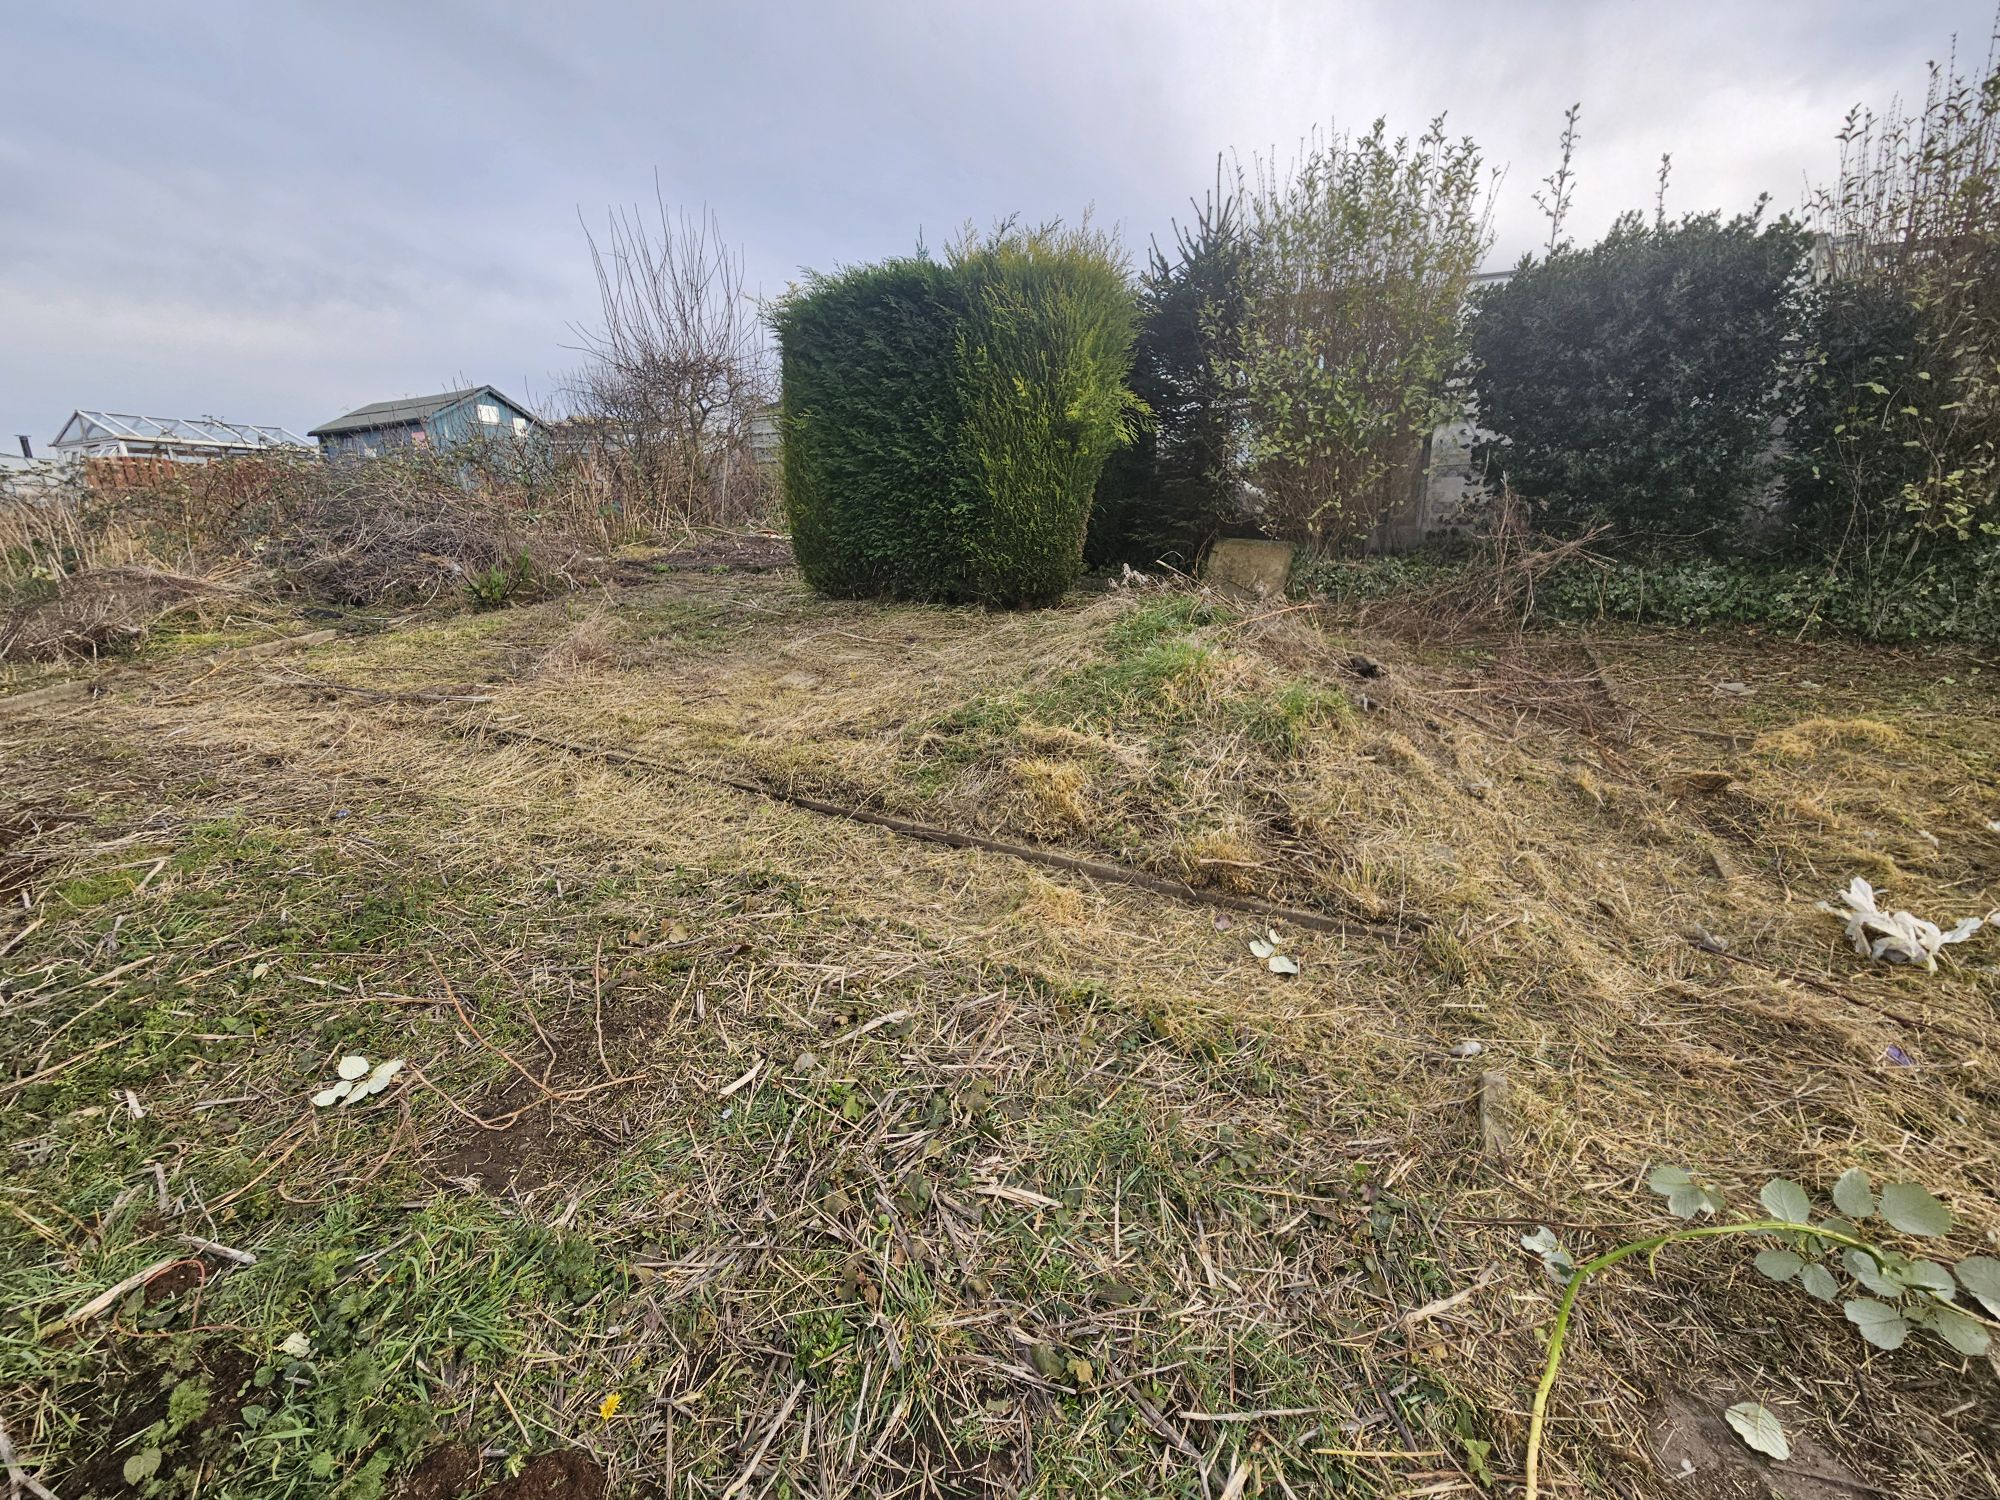
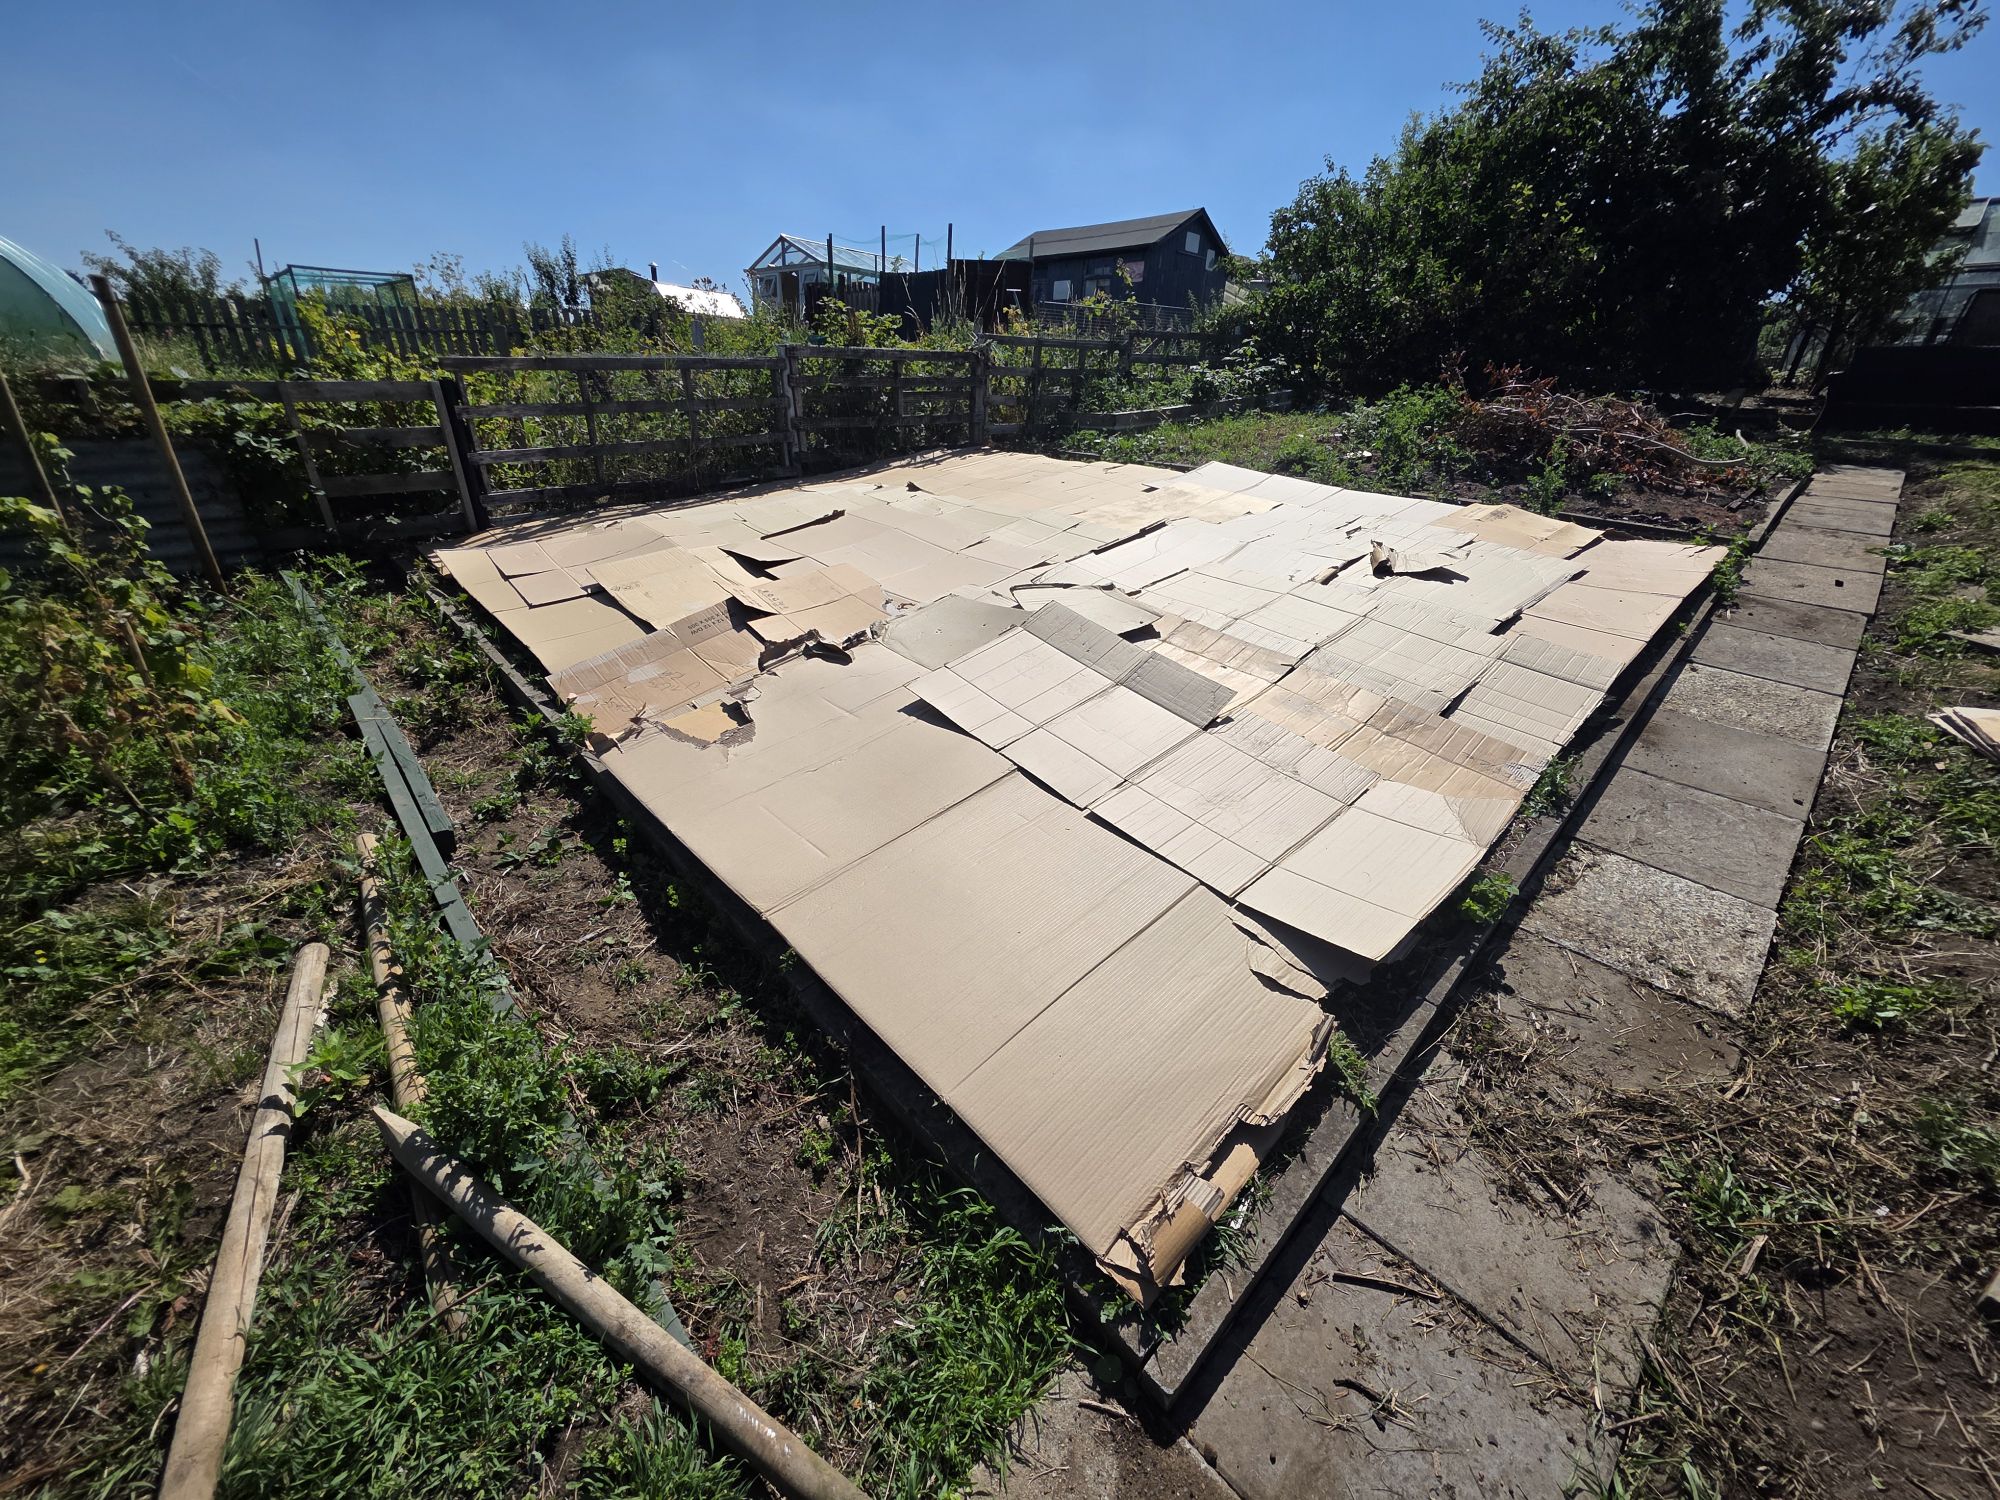
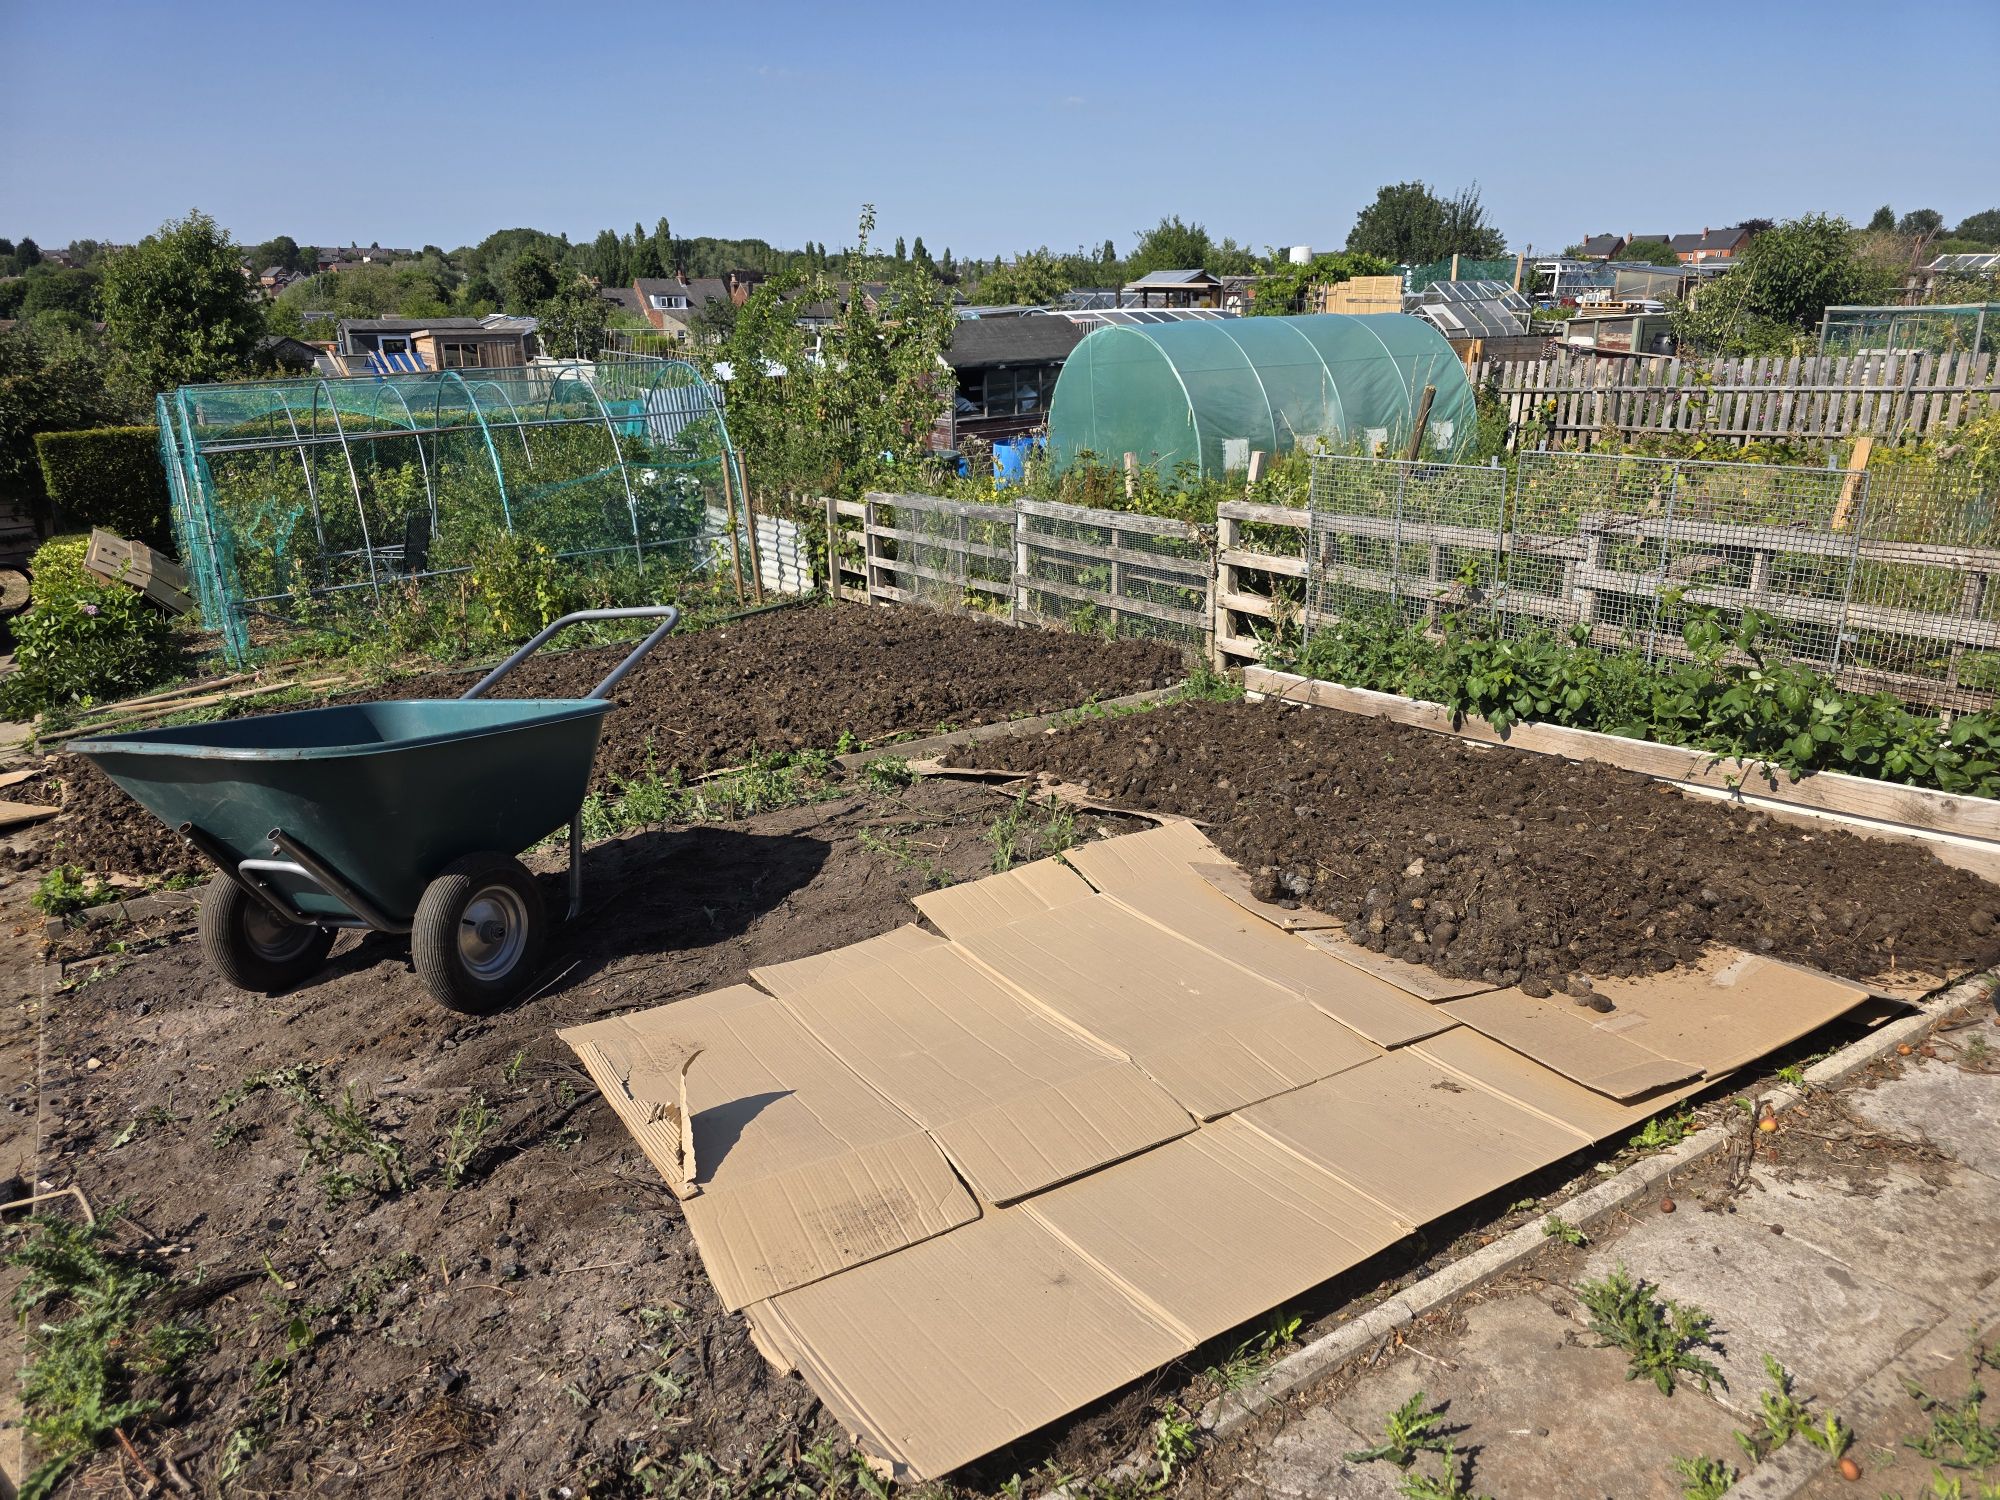
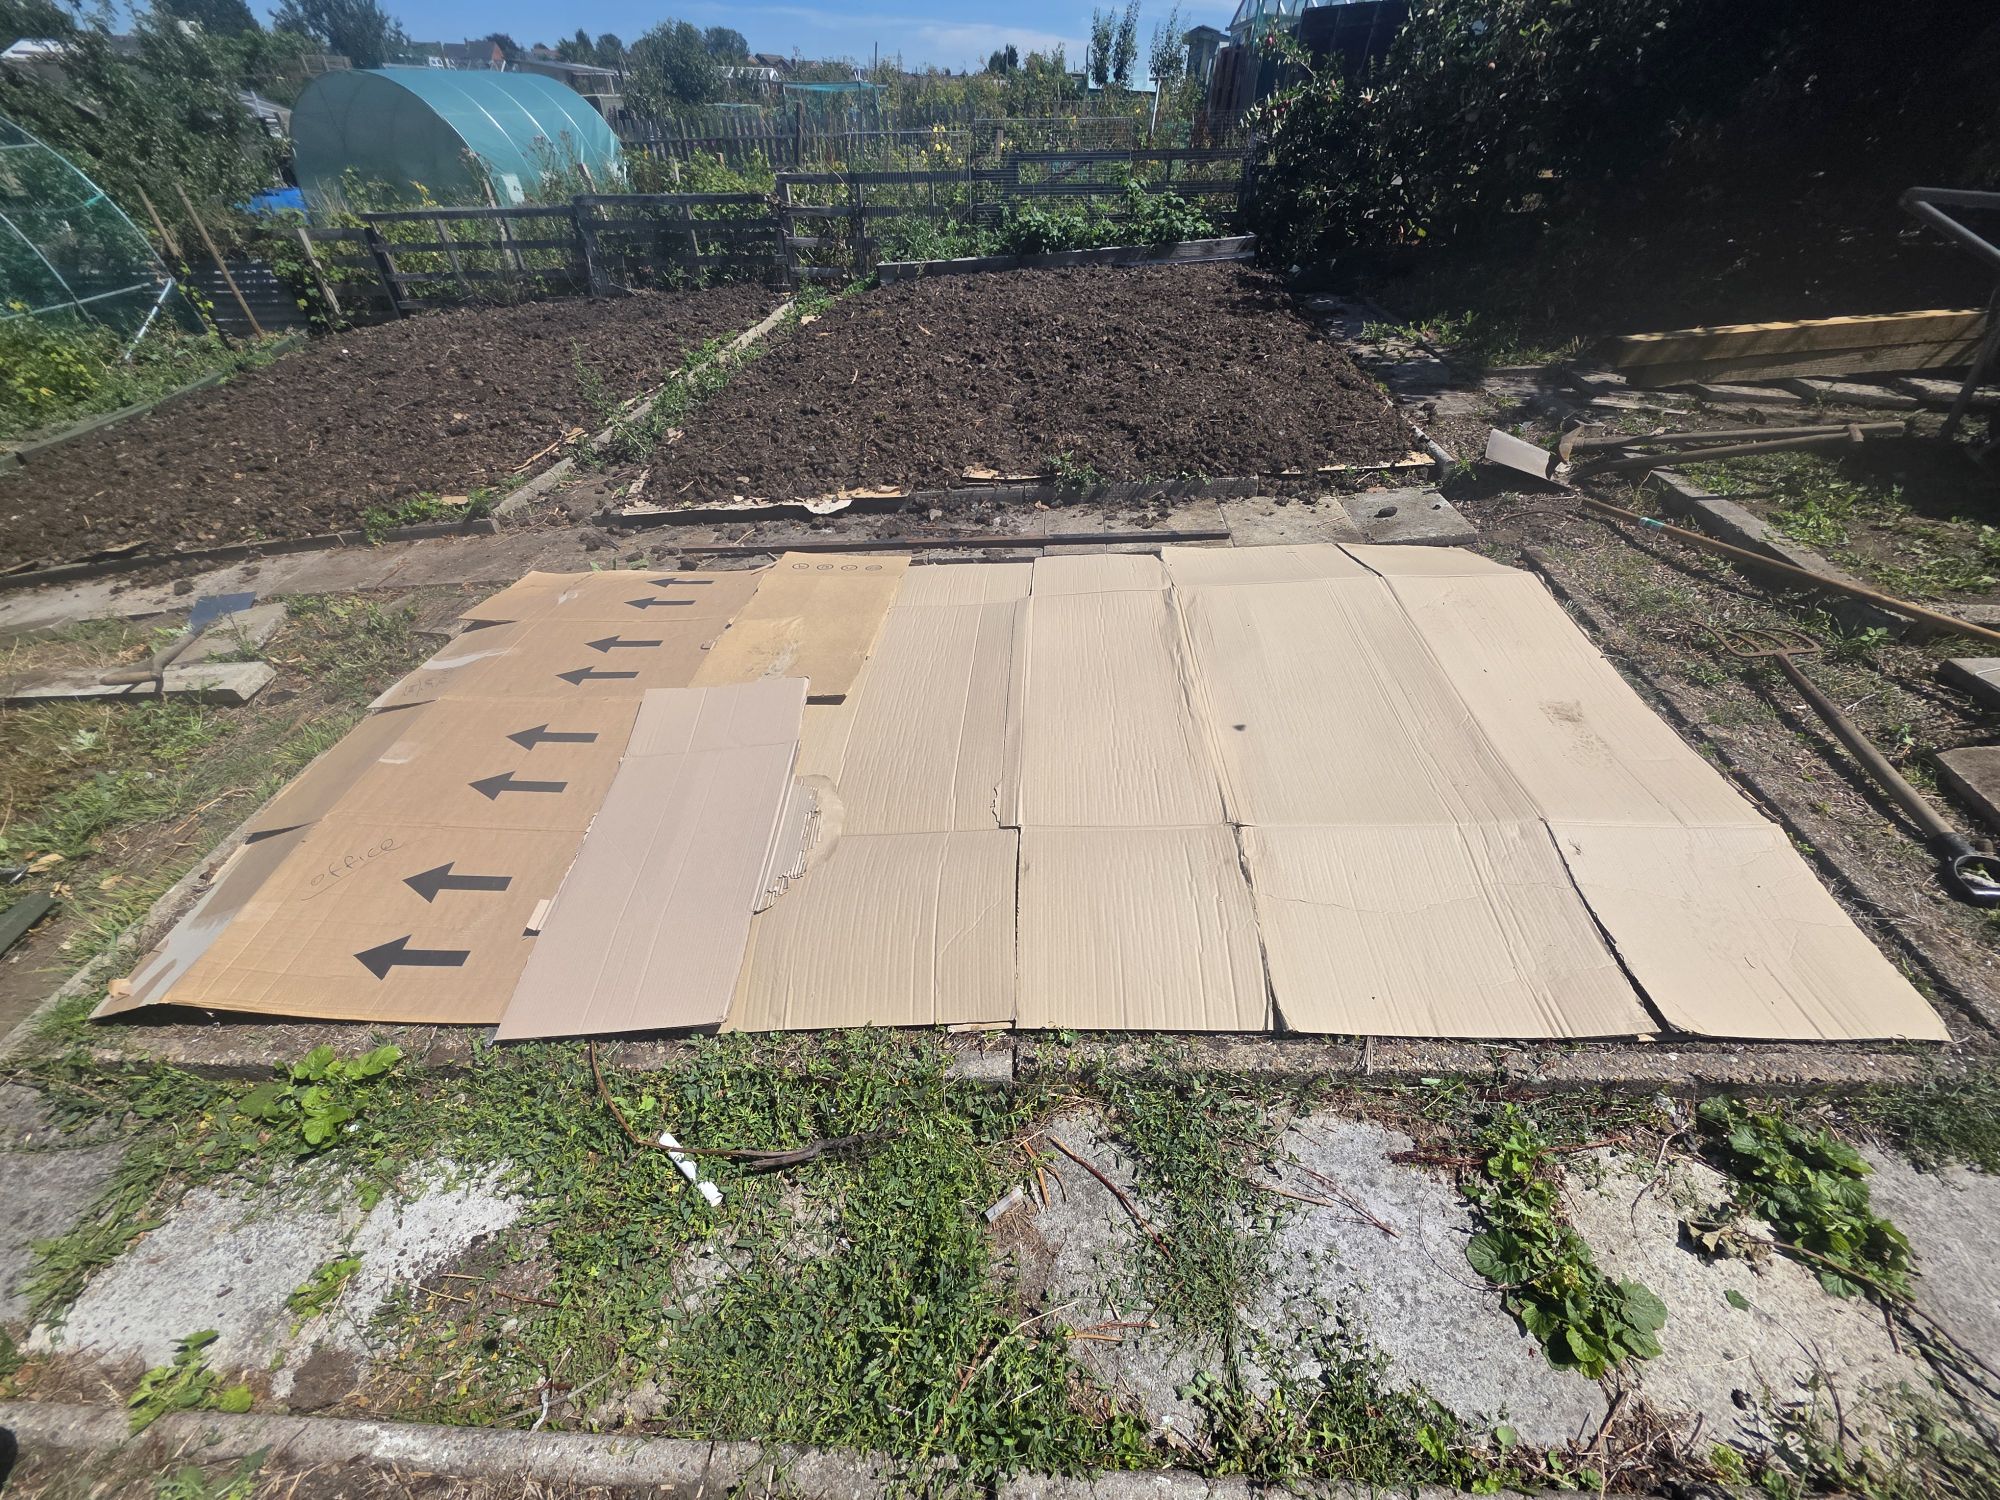
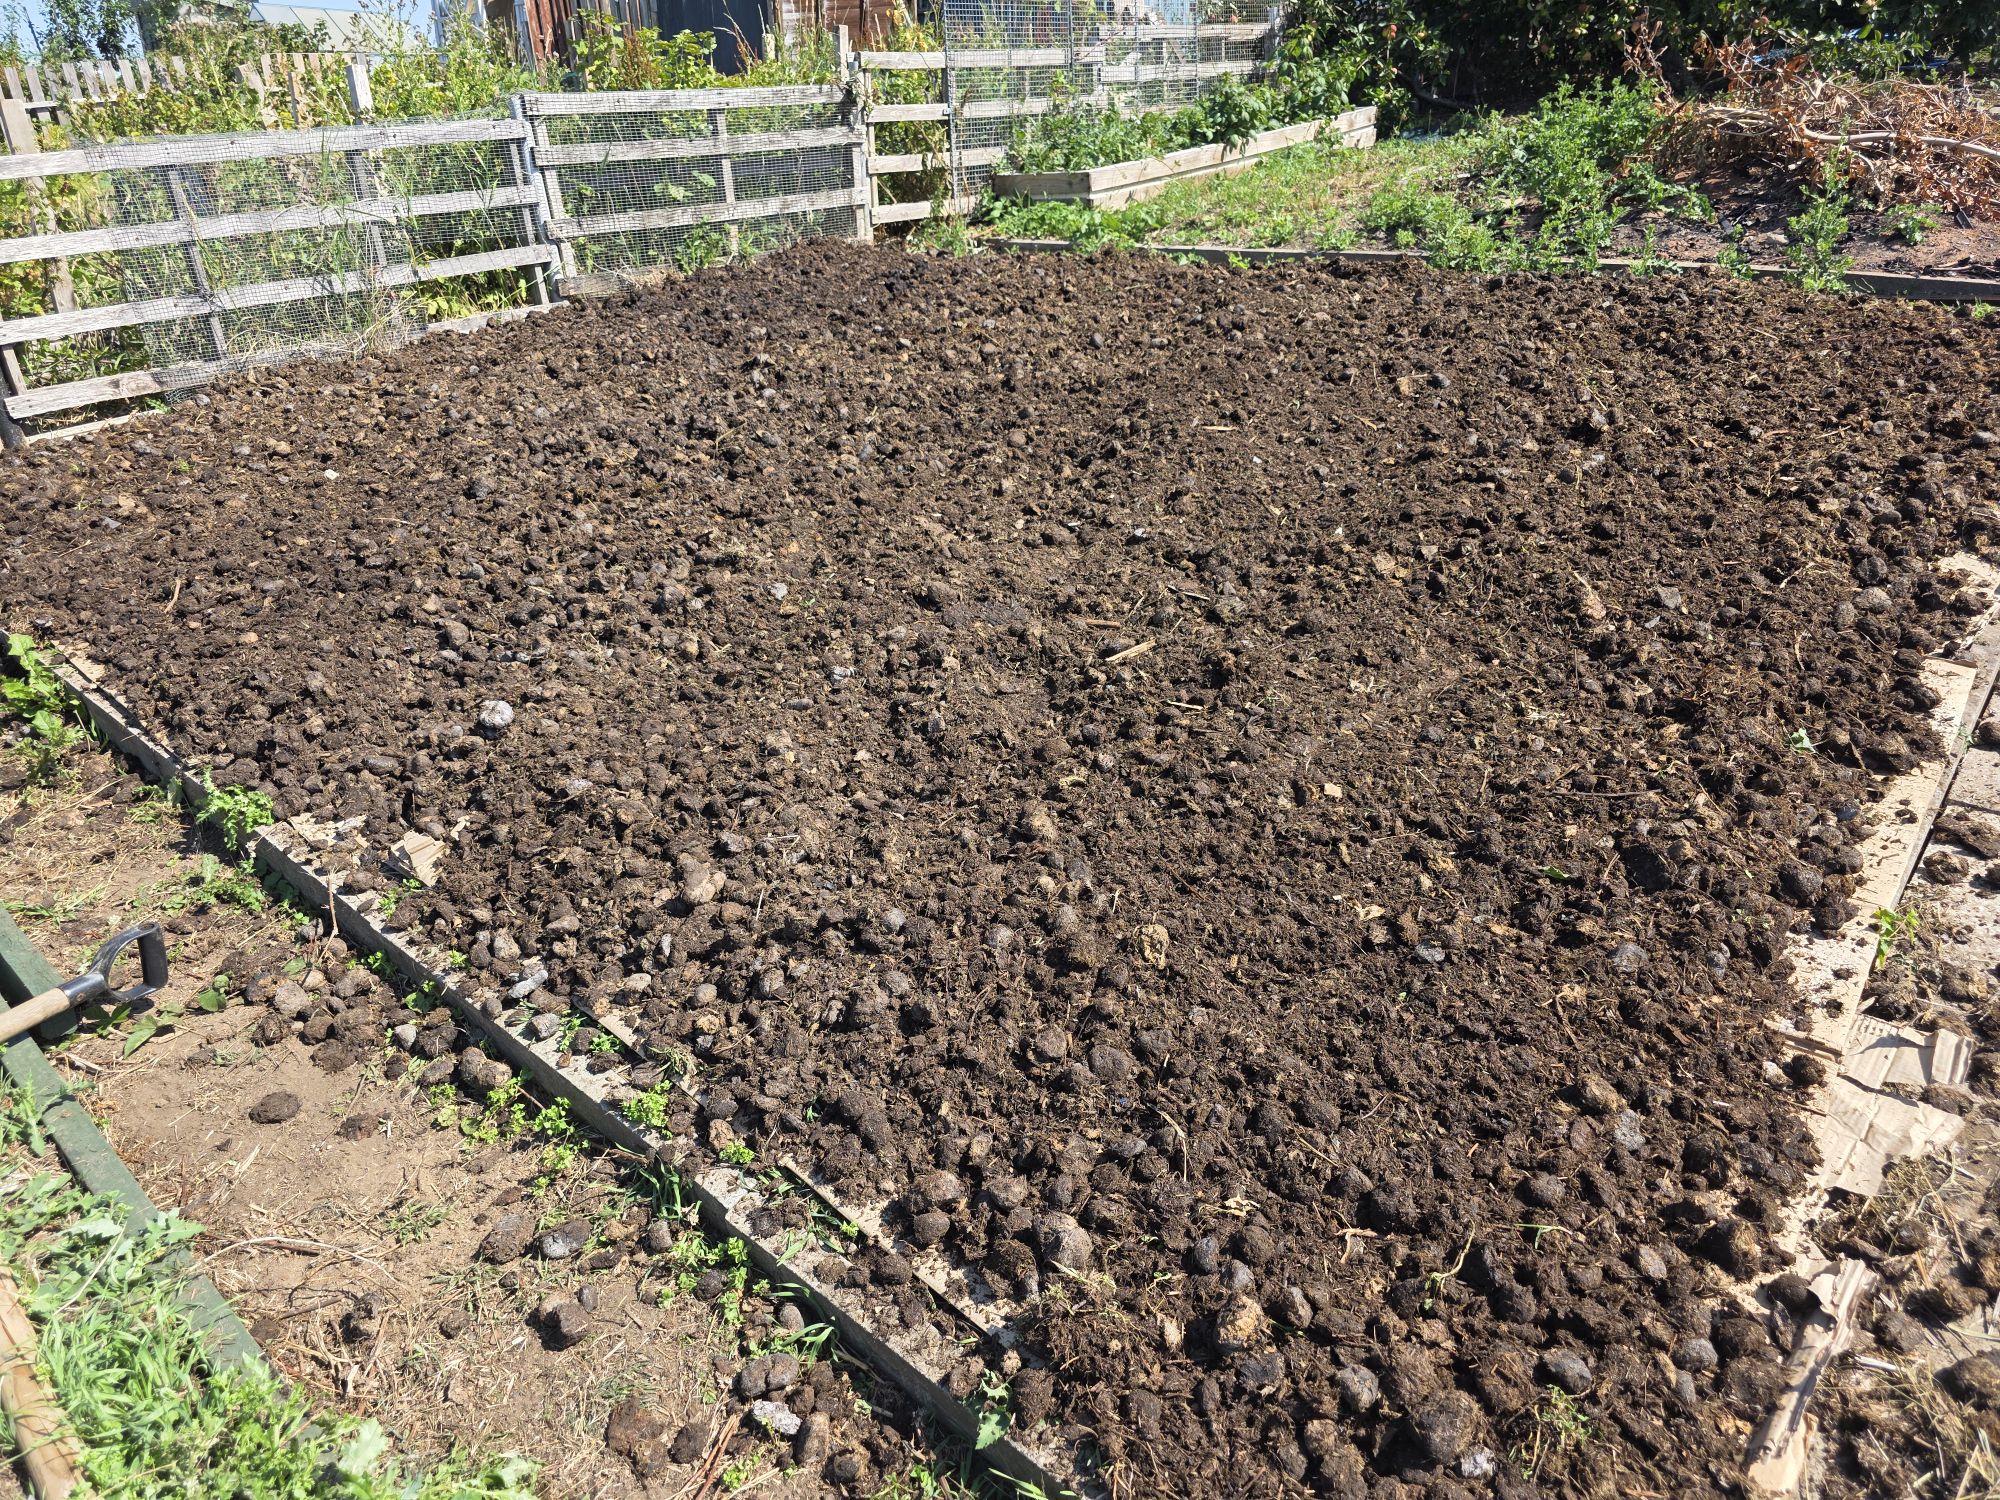
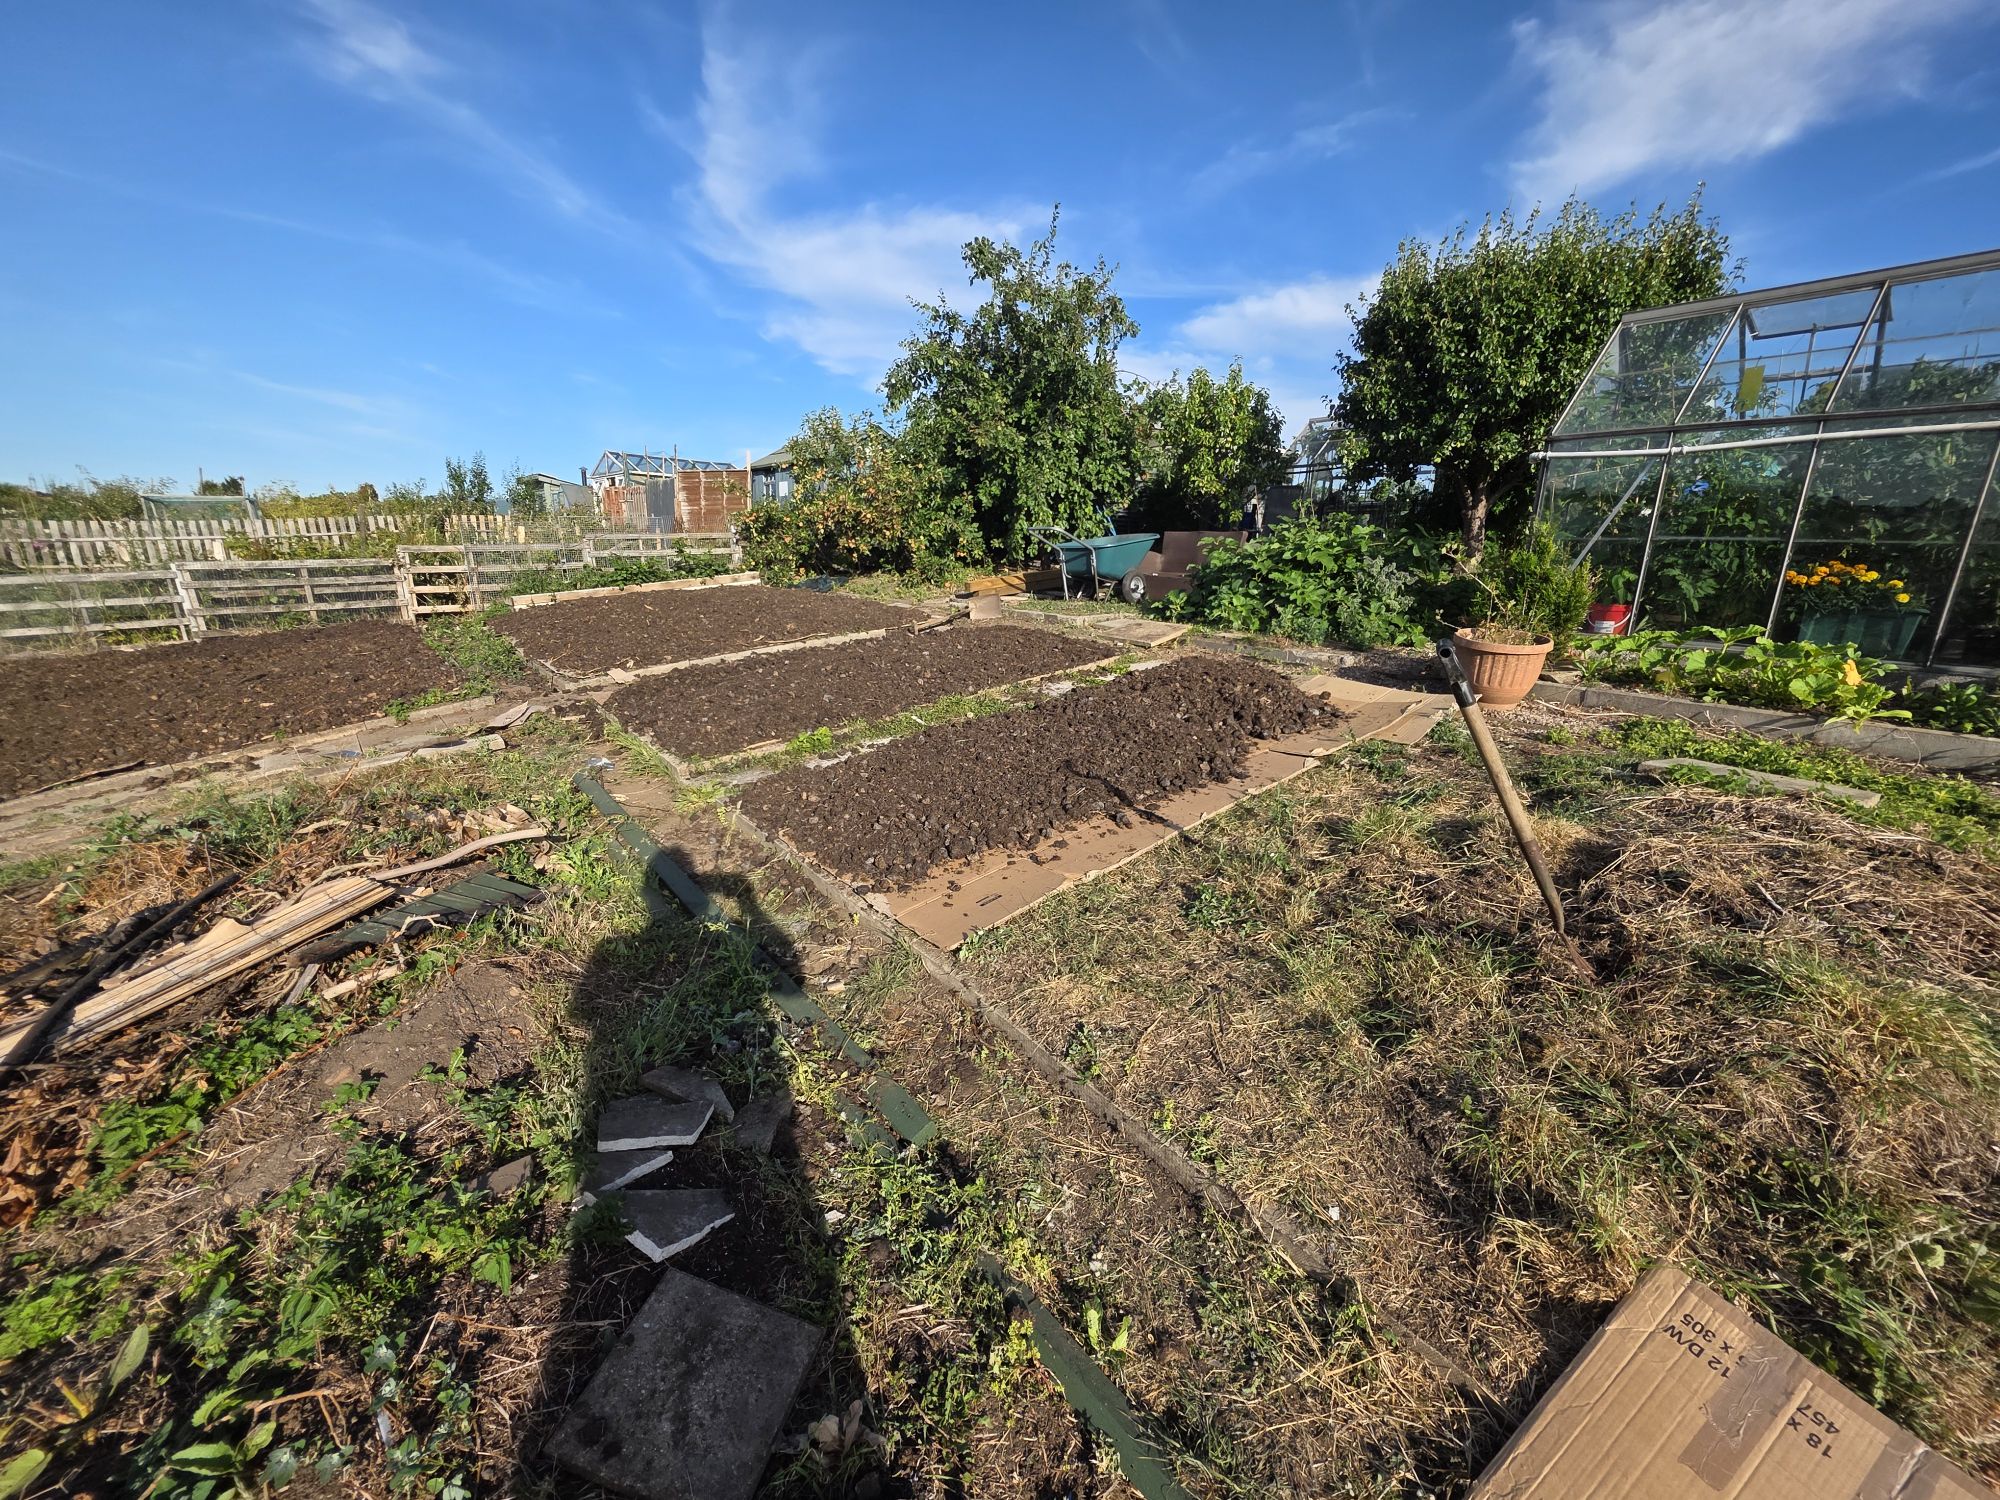
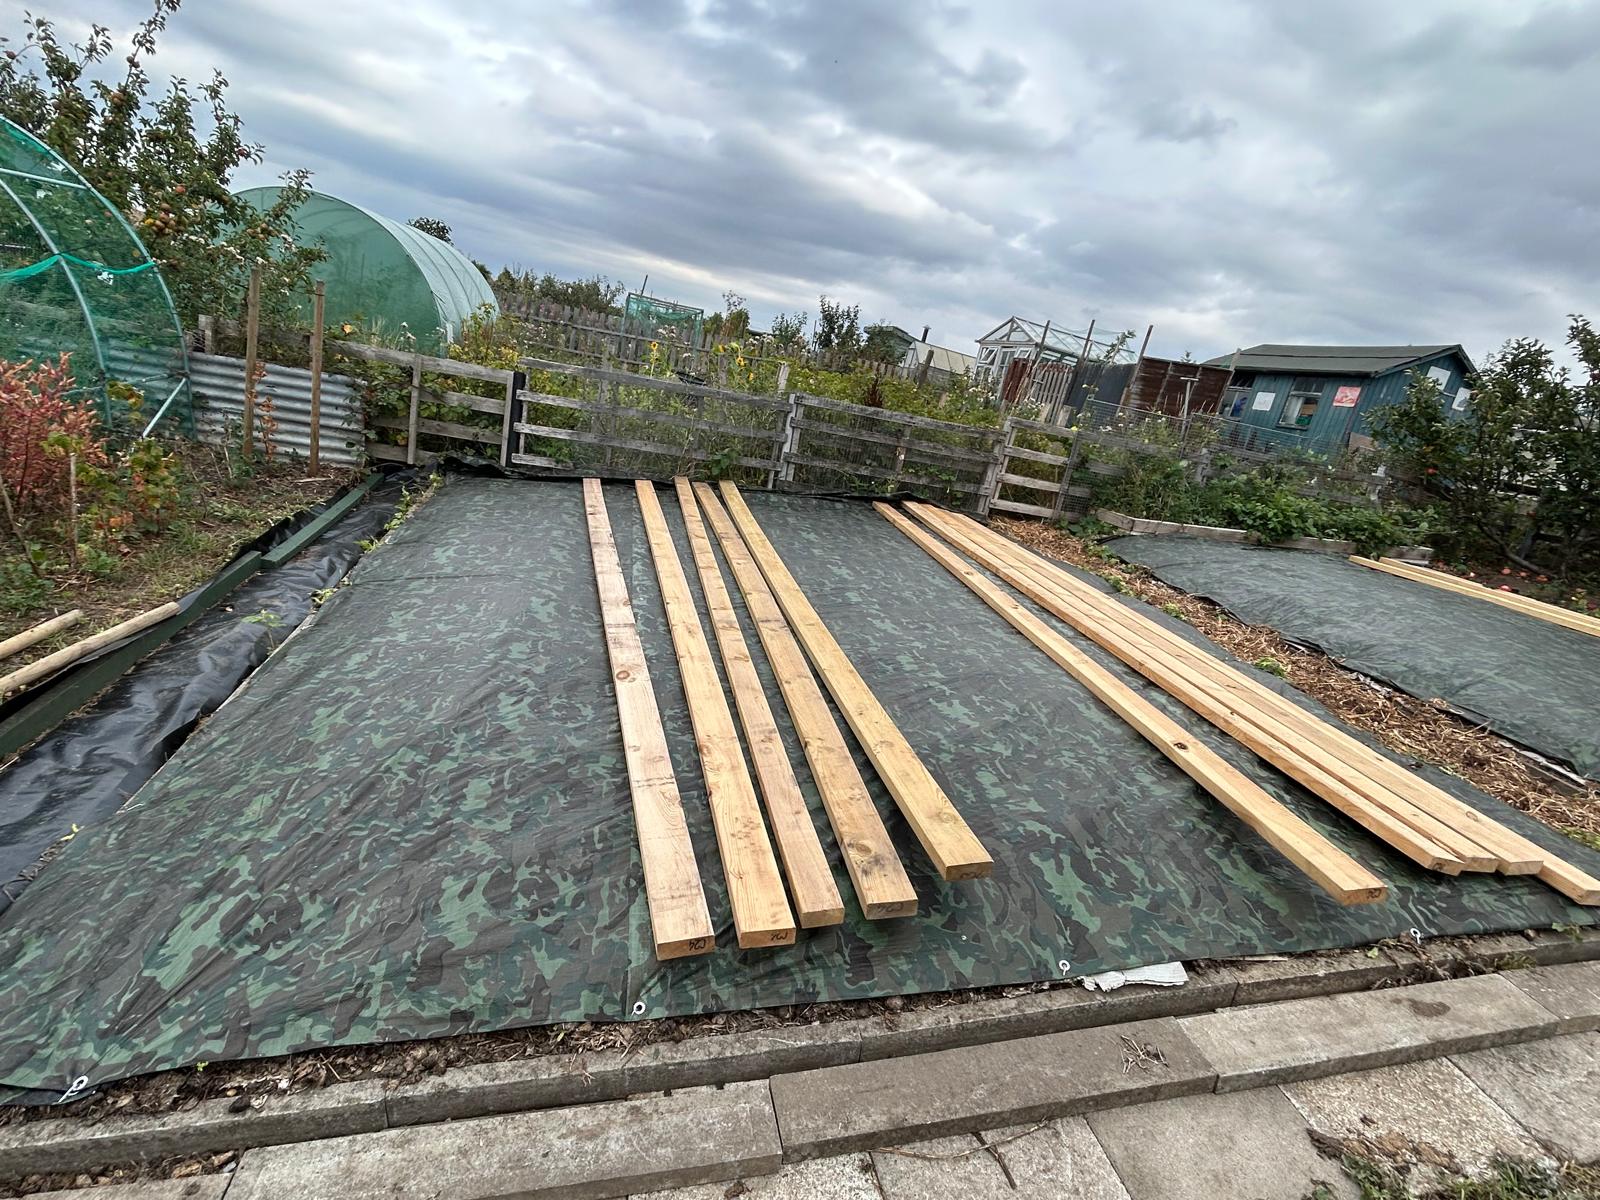
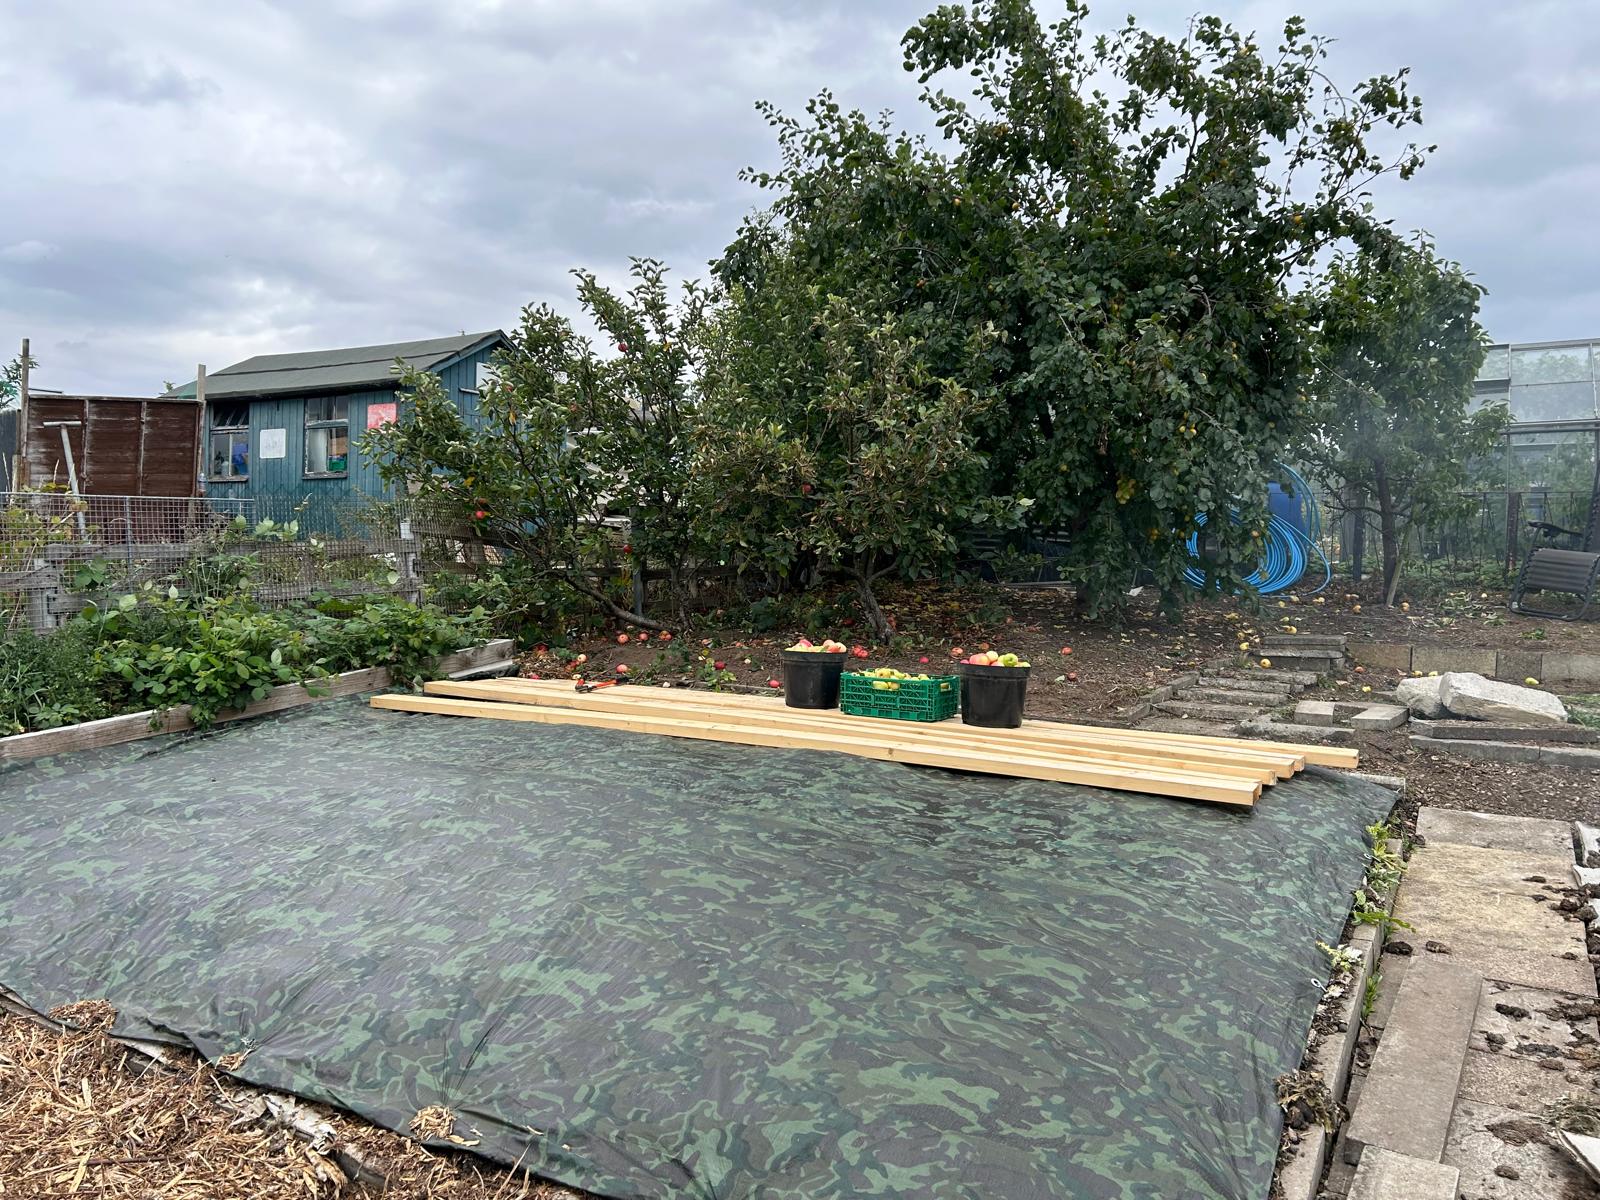
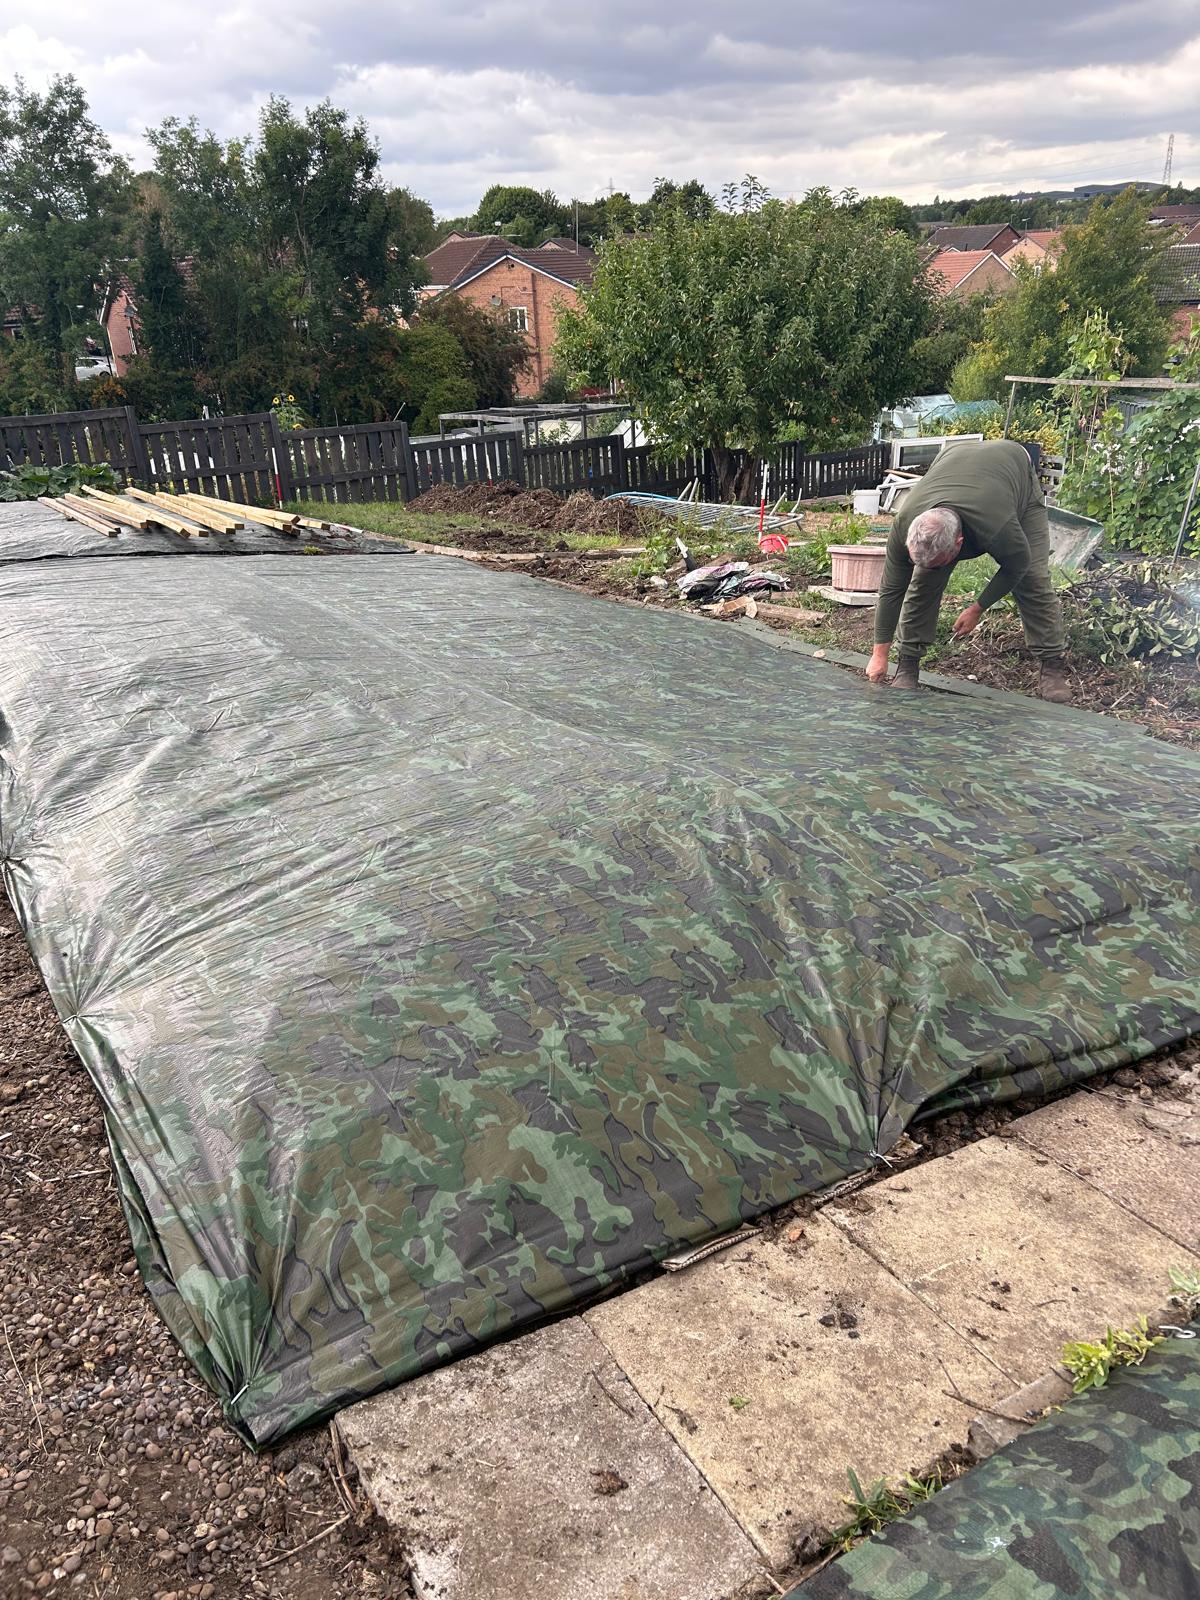
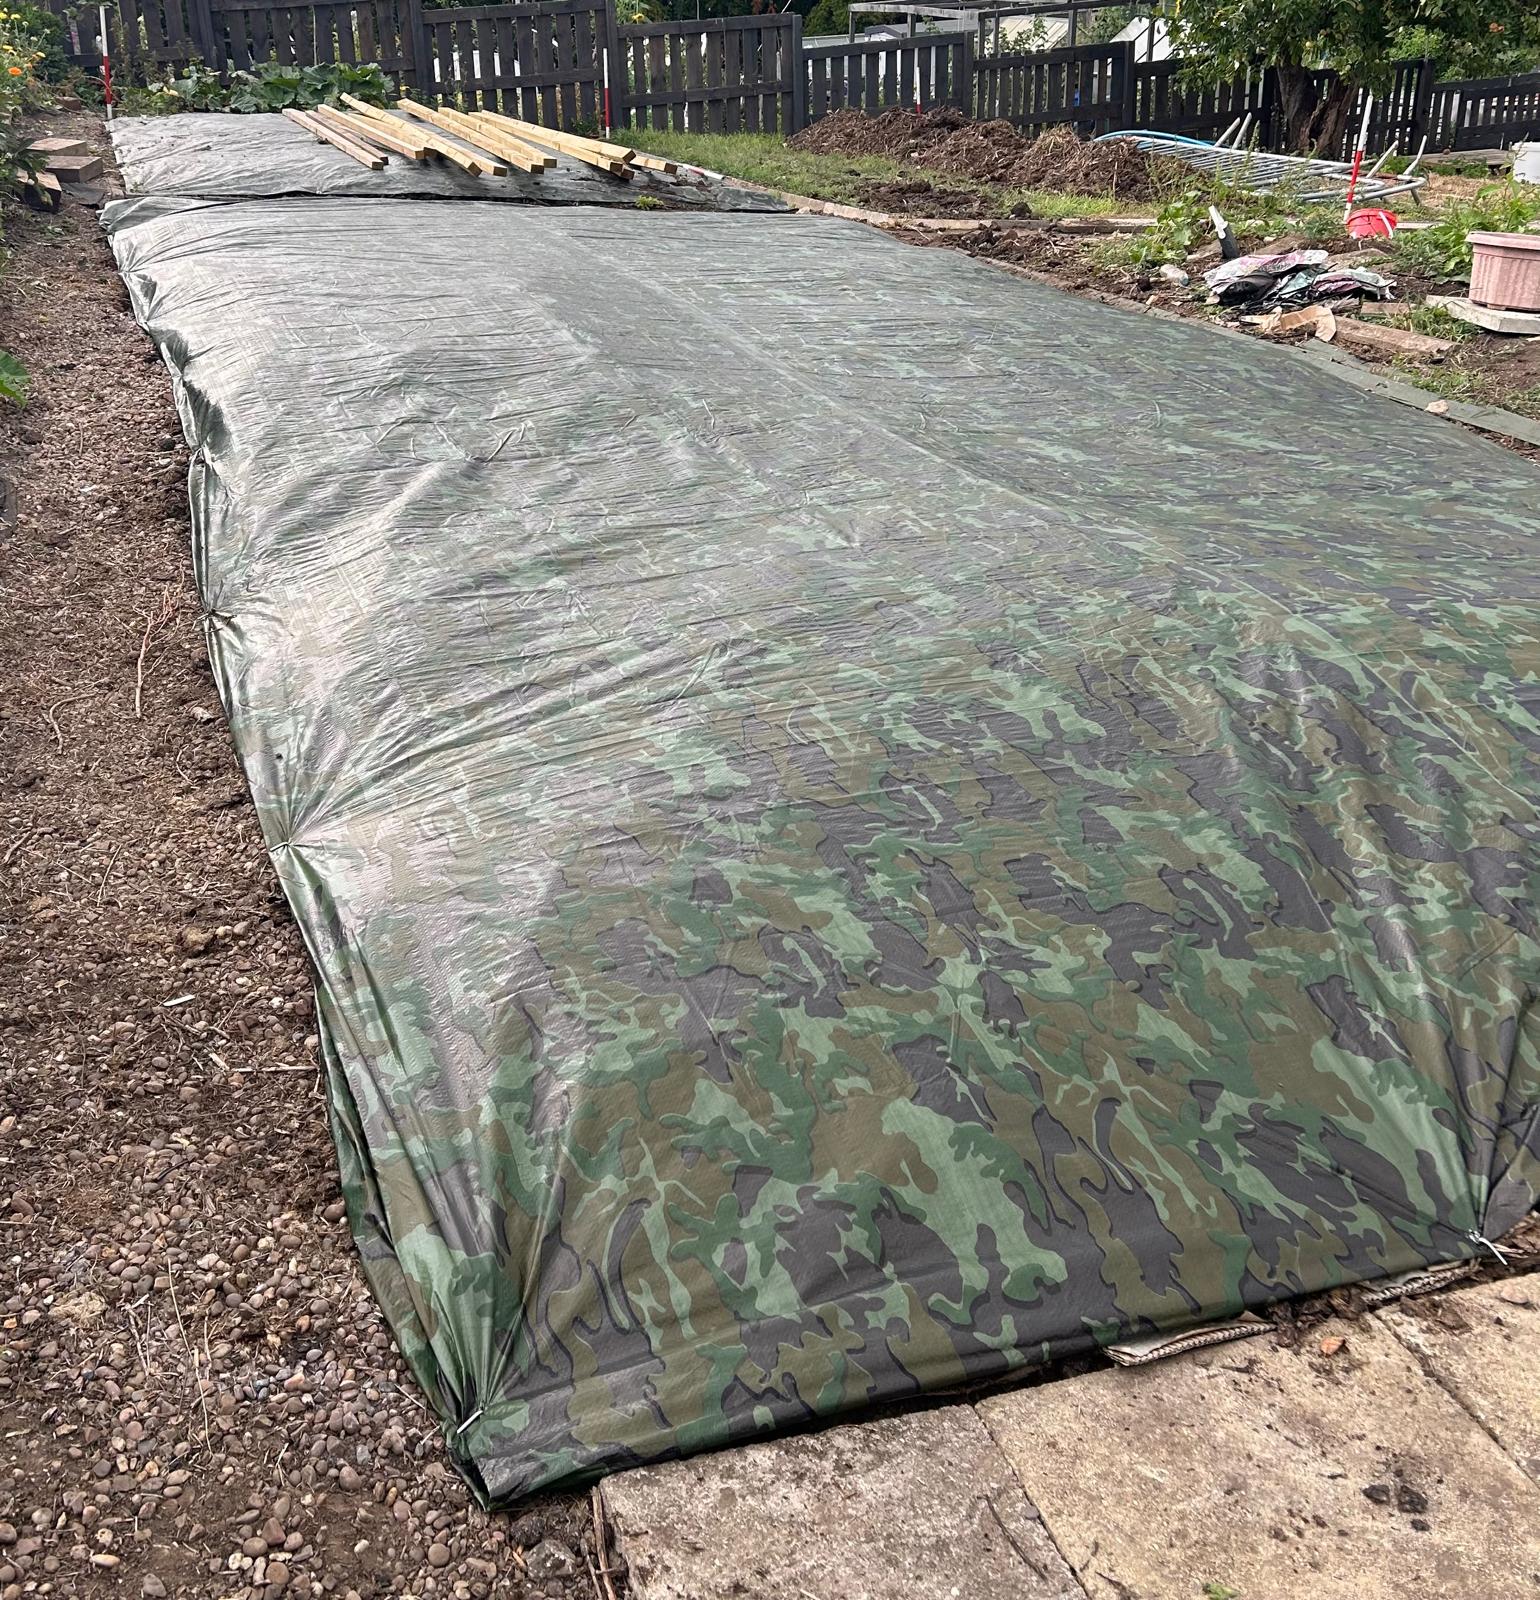
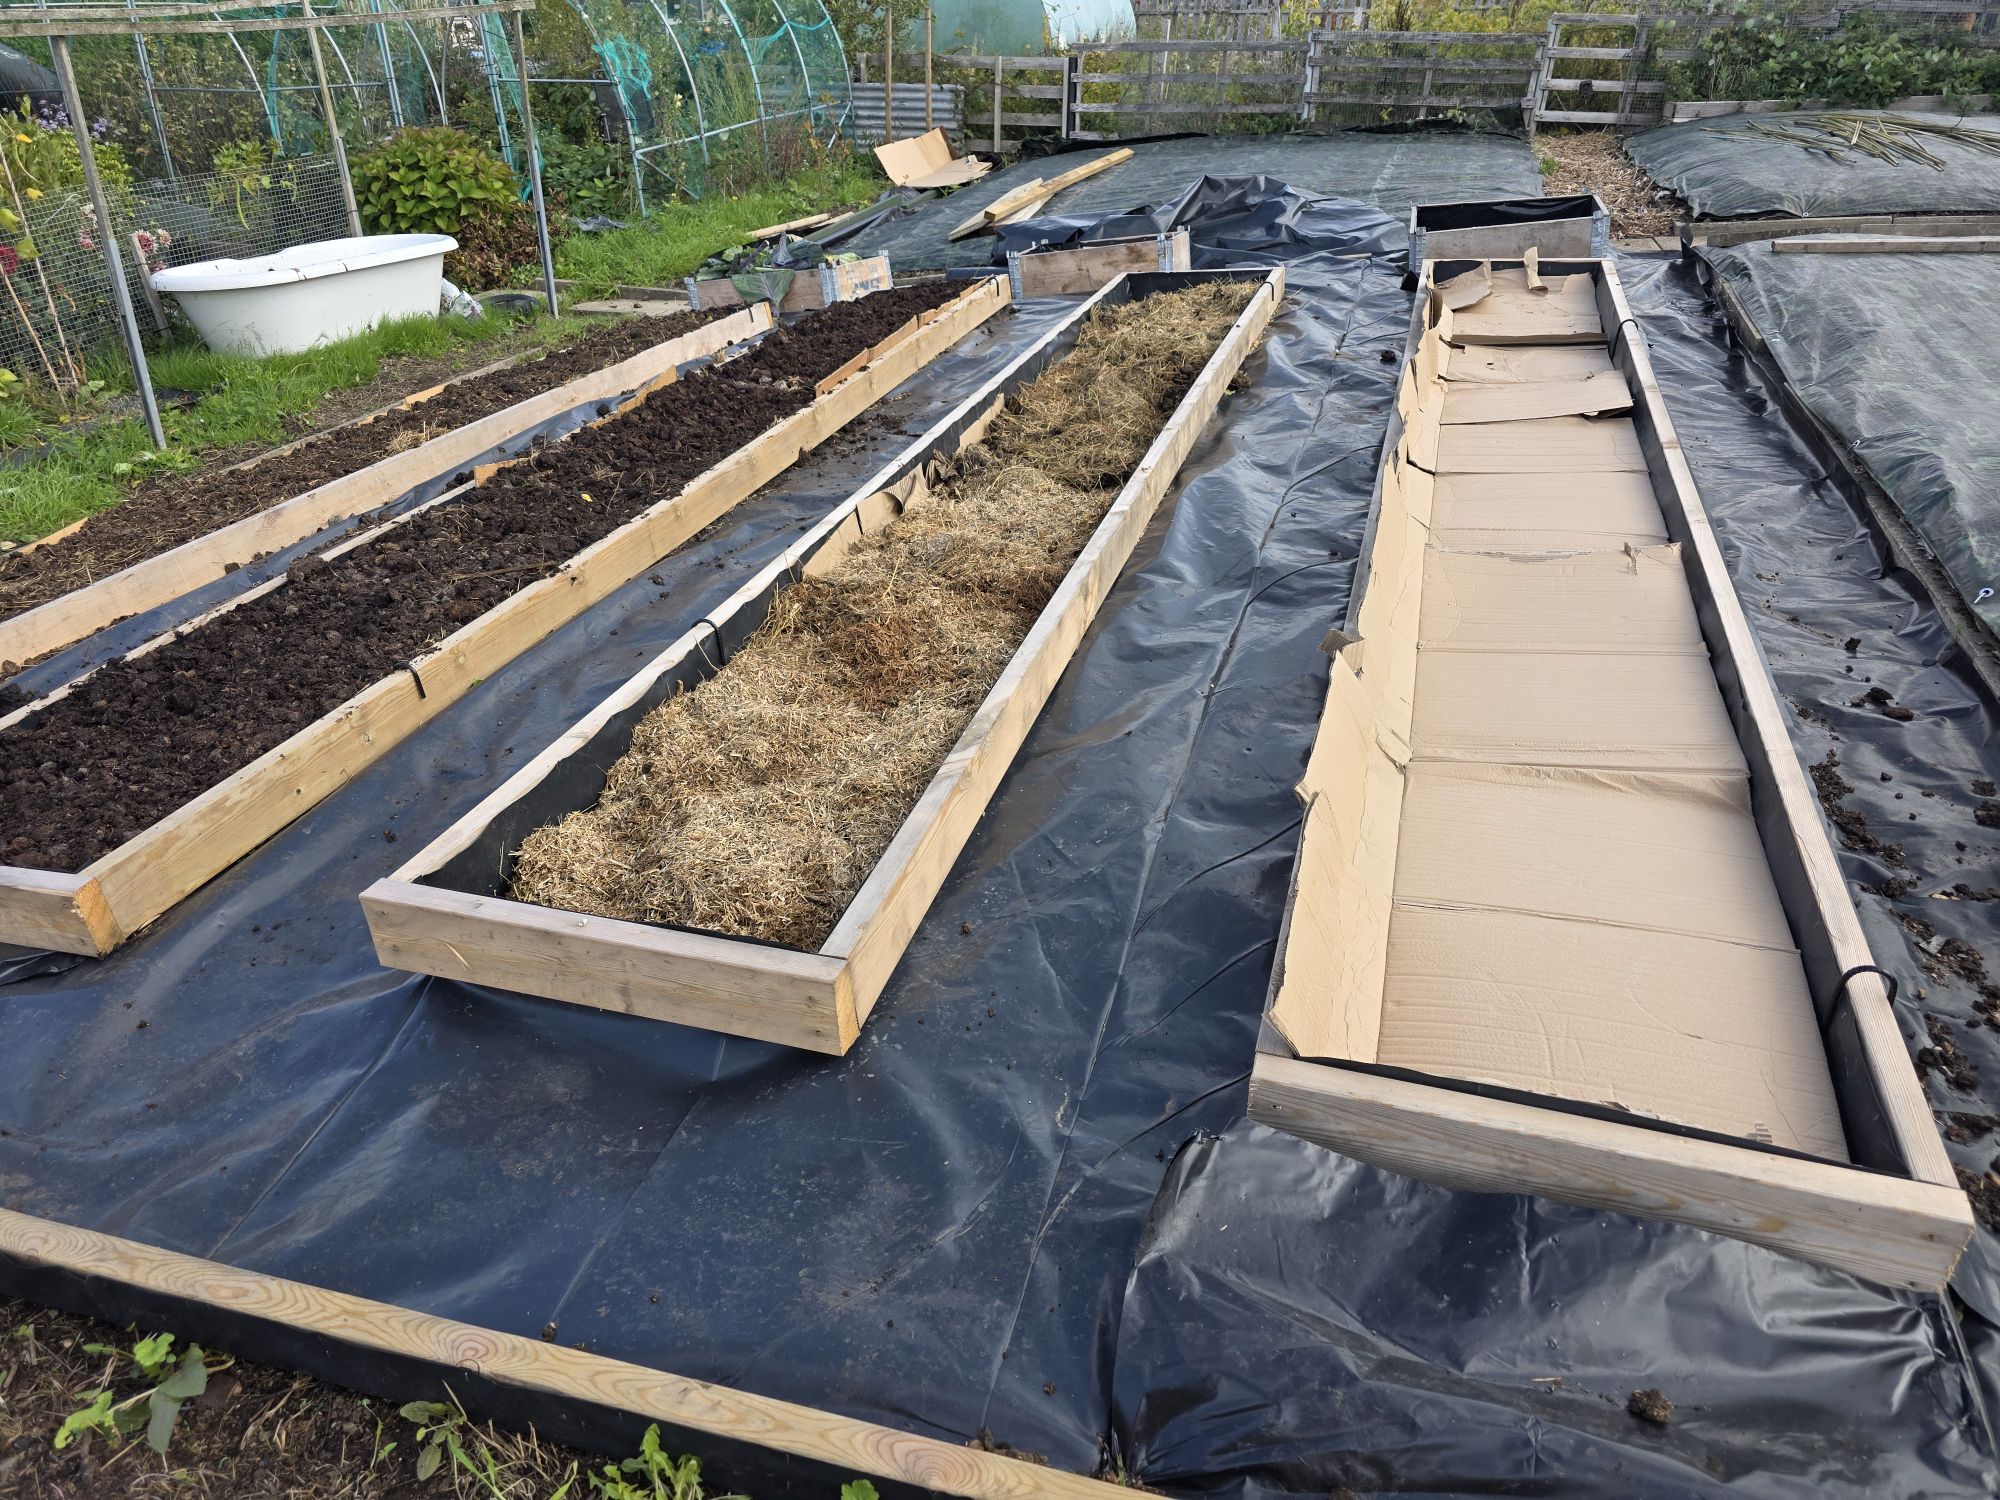
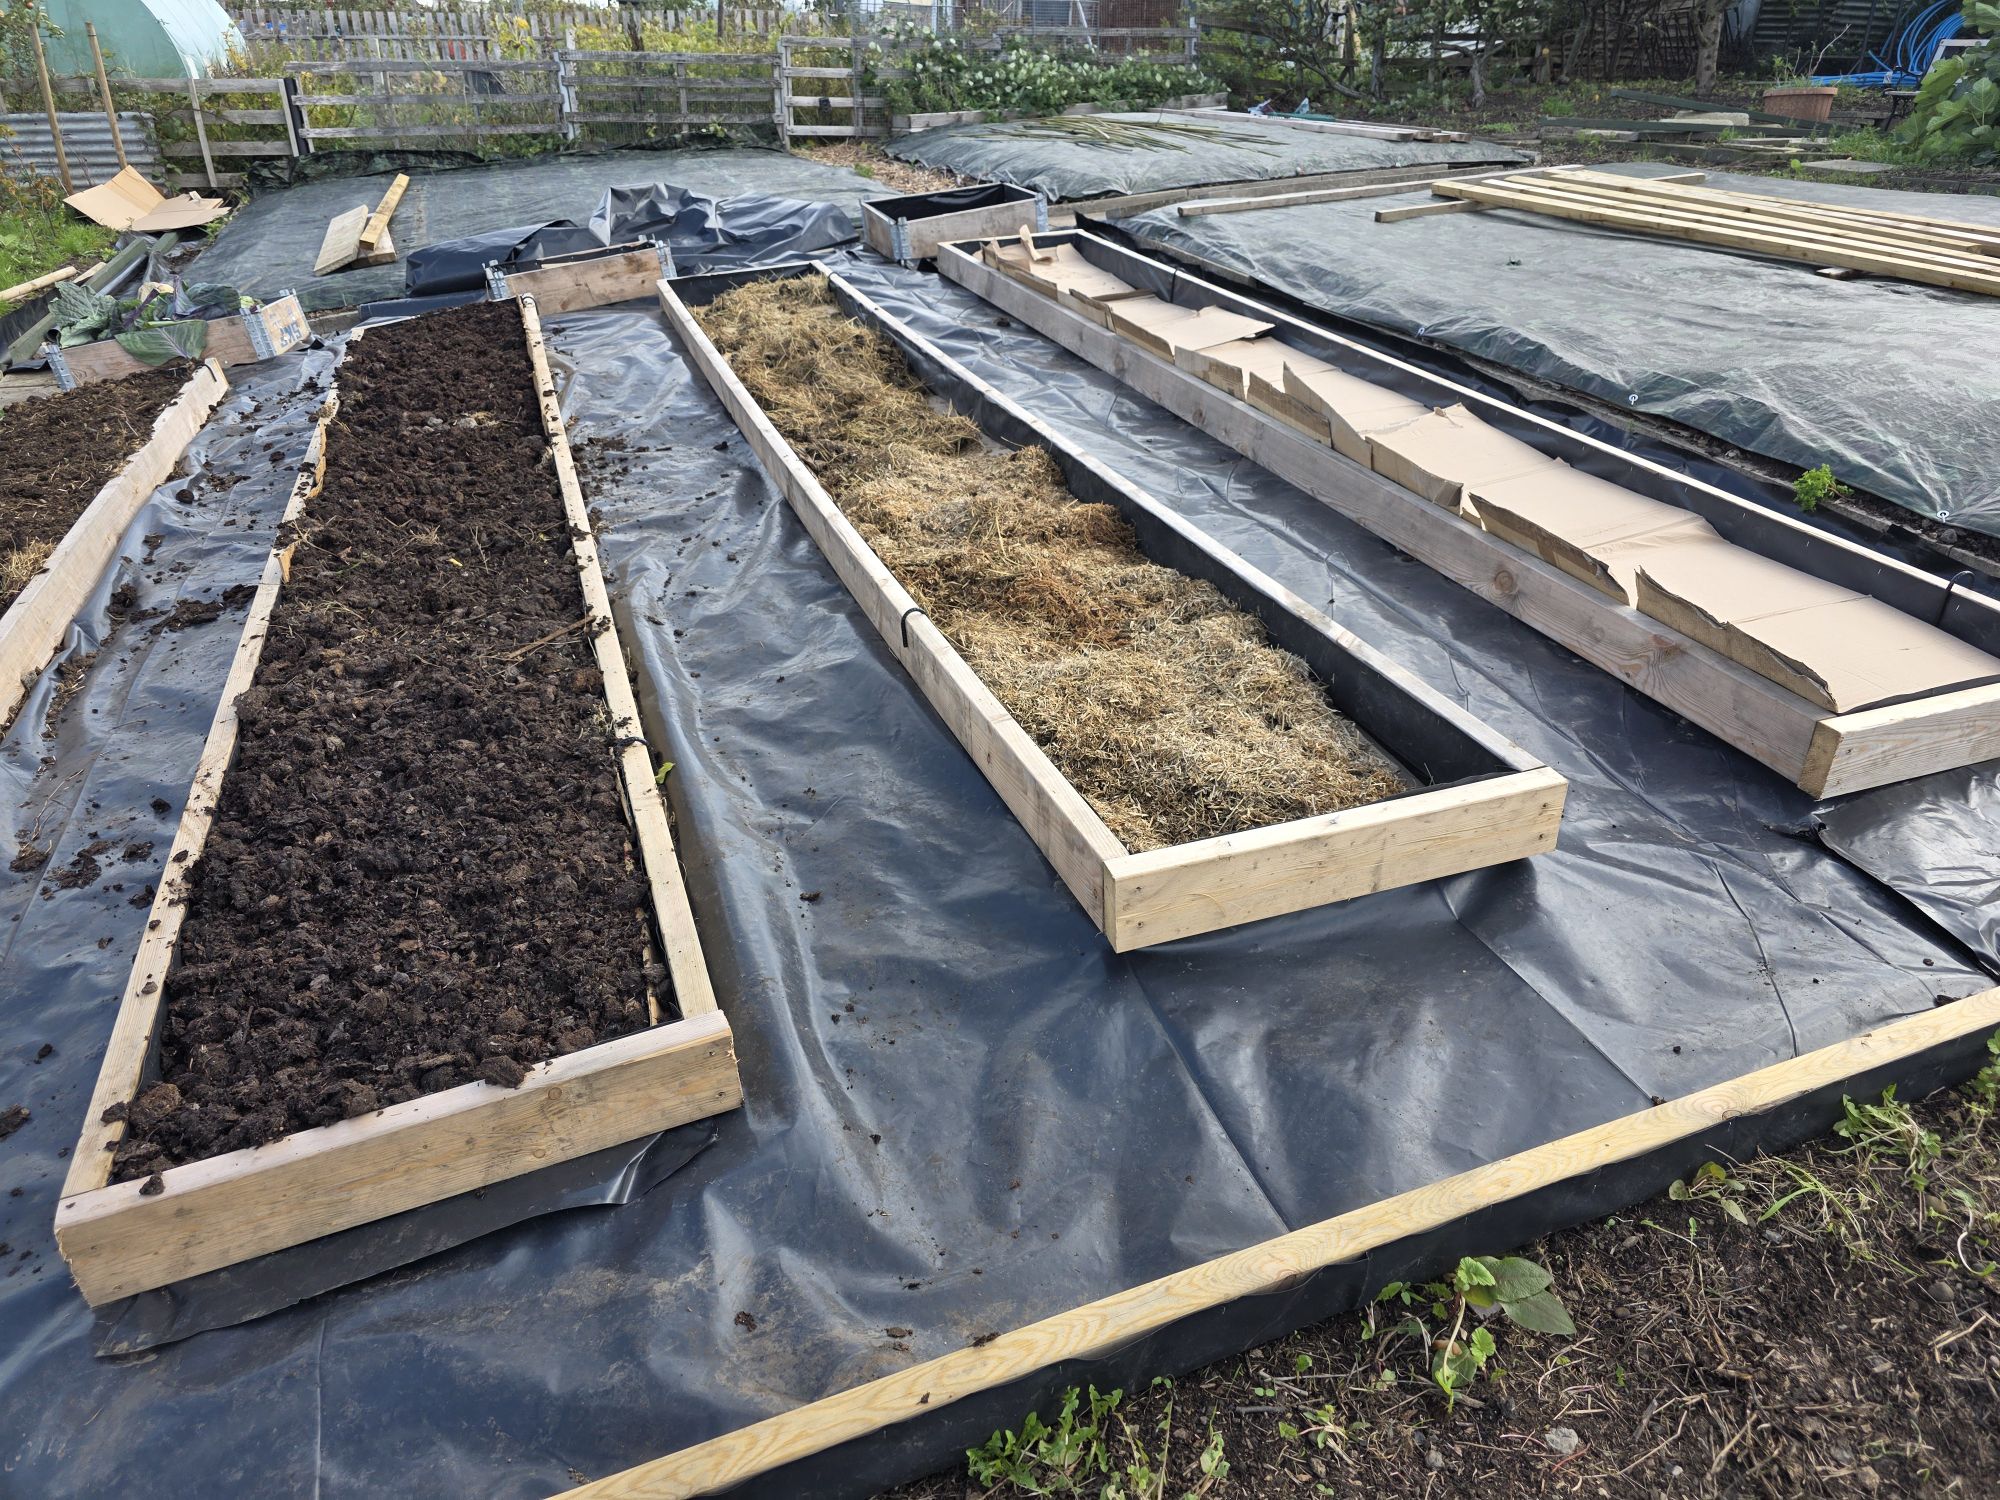
The aim is simple – to exclude the light so weeds can’t grow, and to cover the soil with a rich organic mulch.
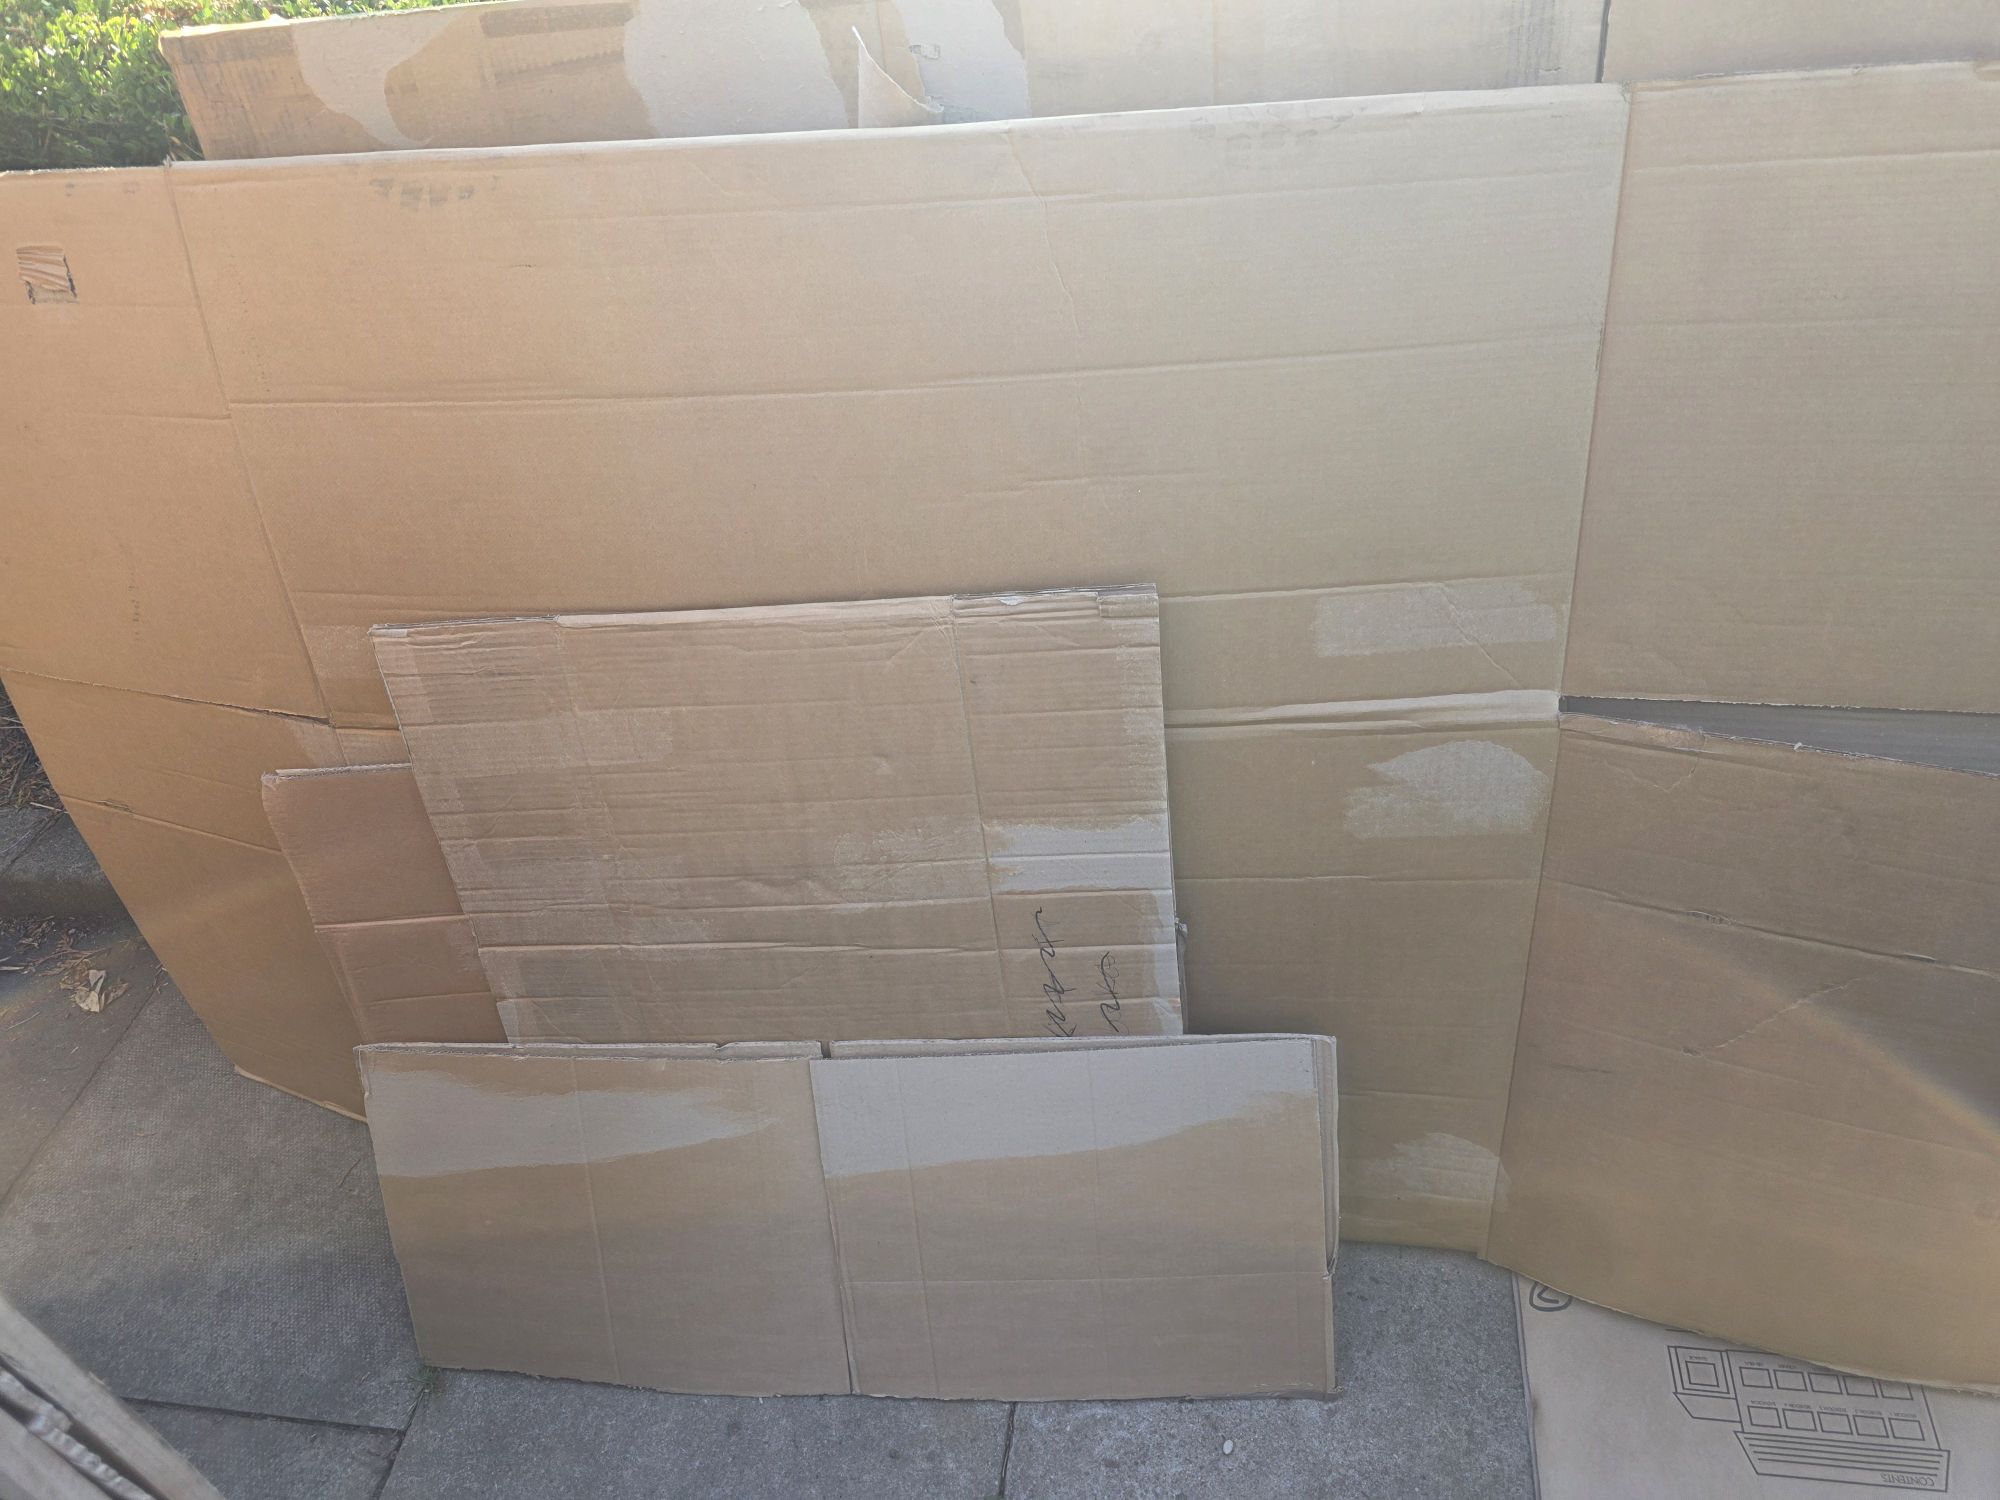
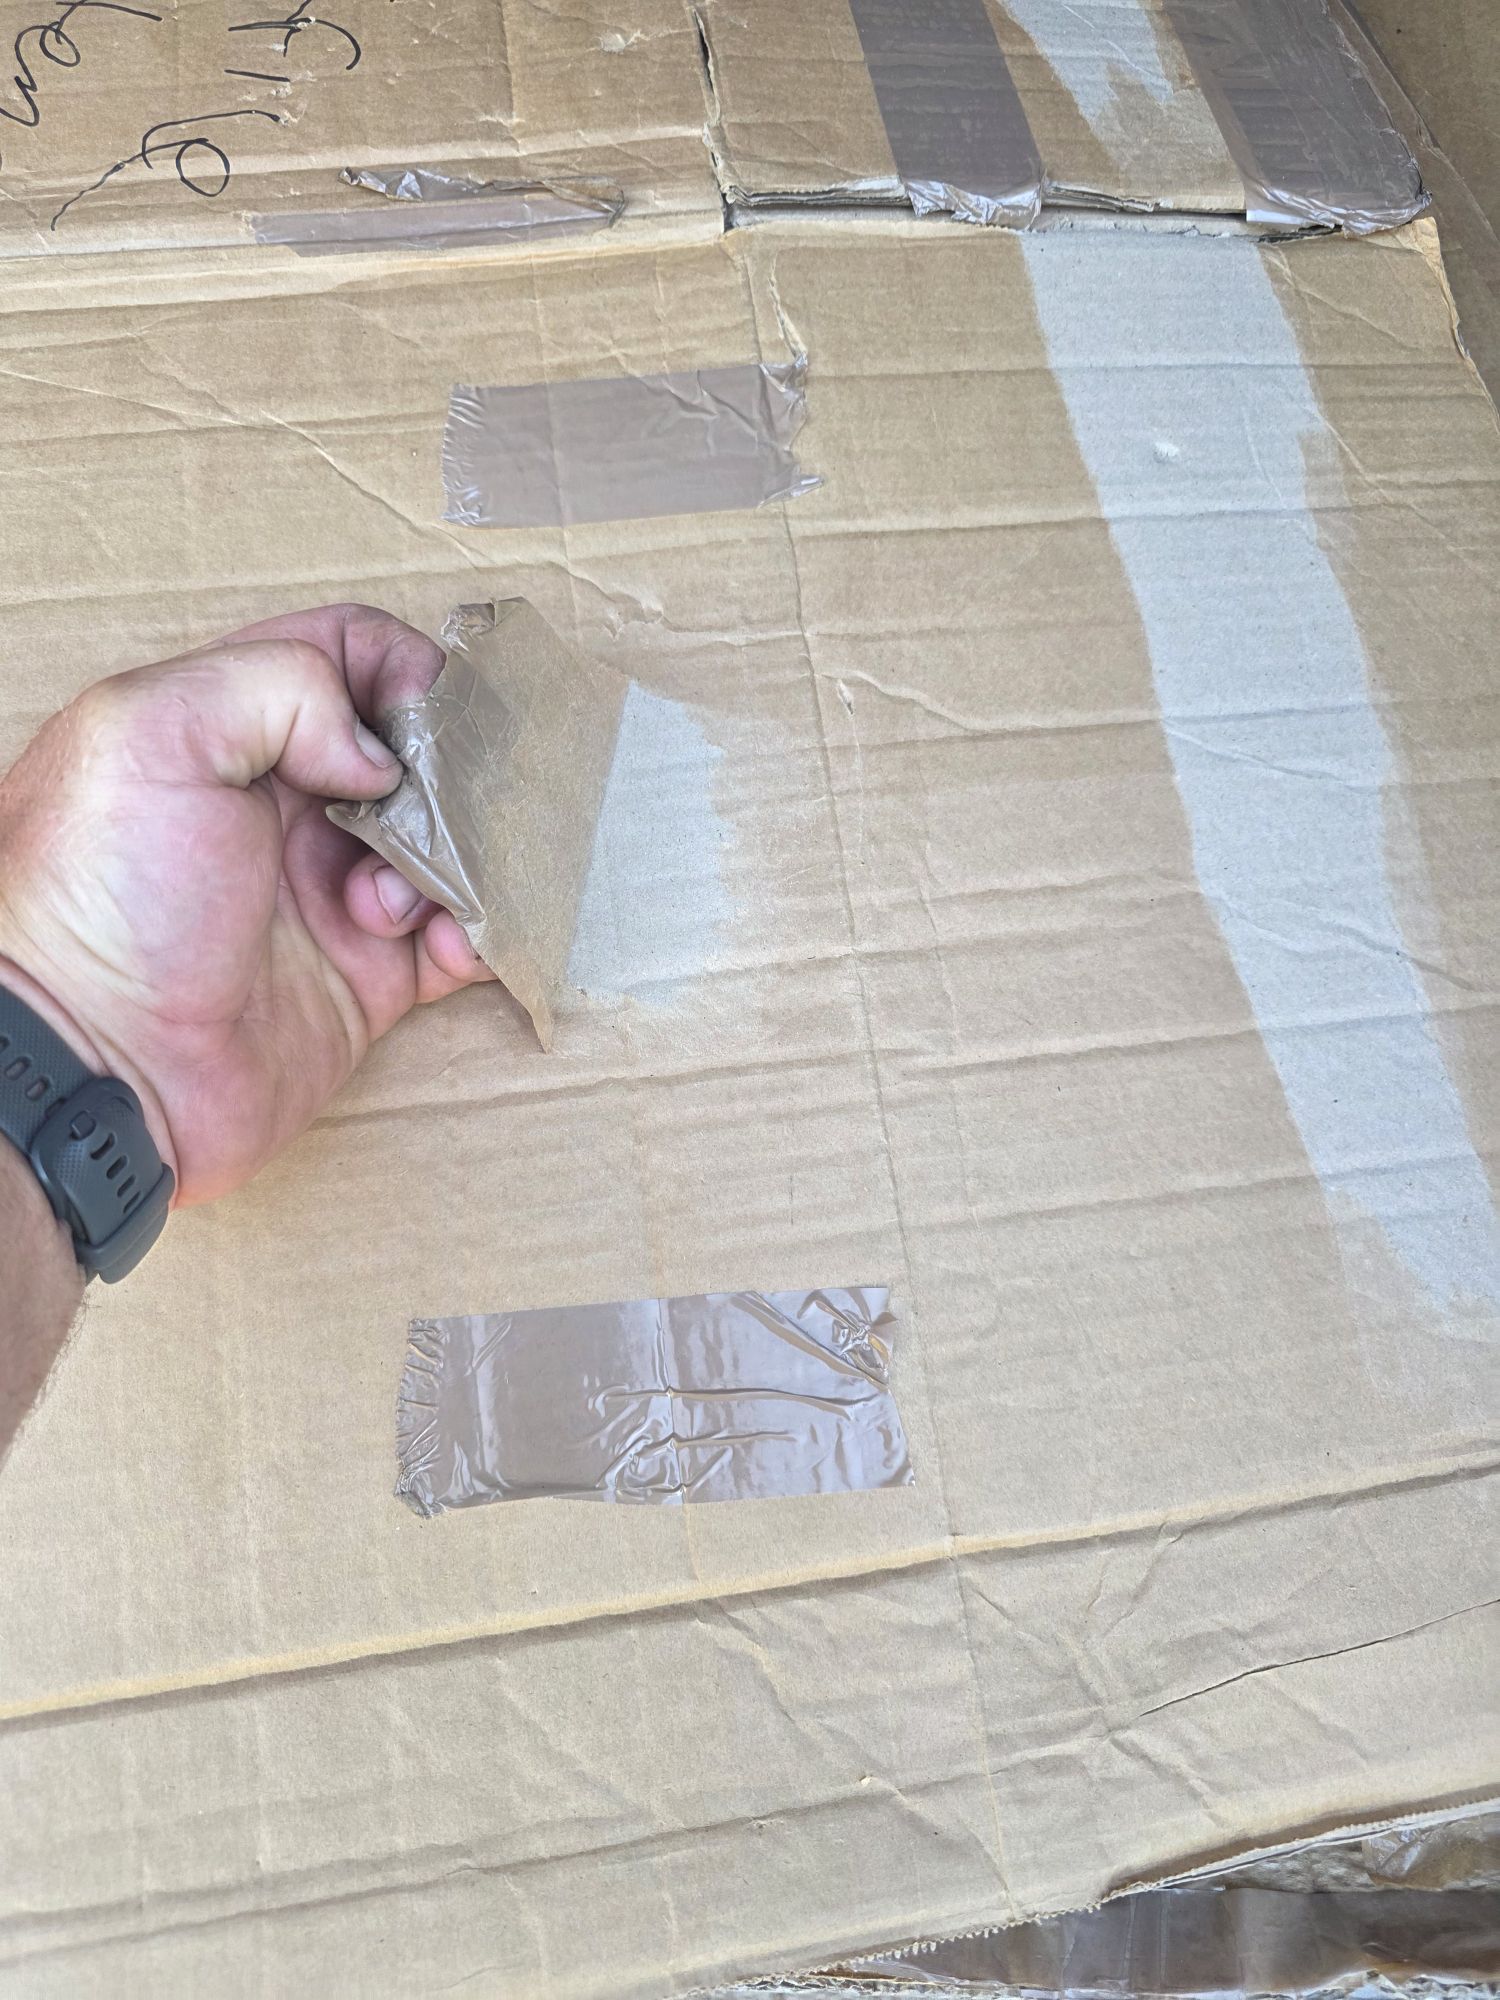
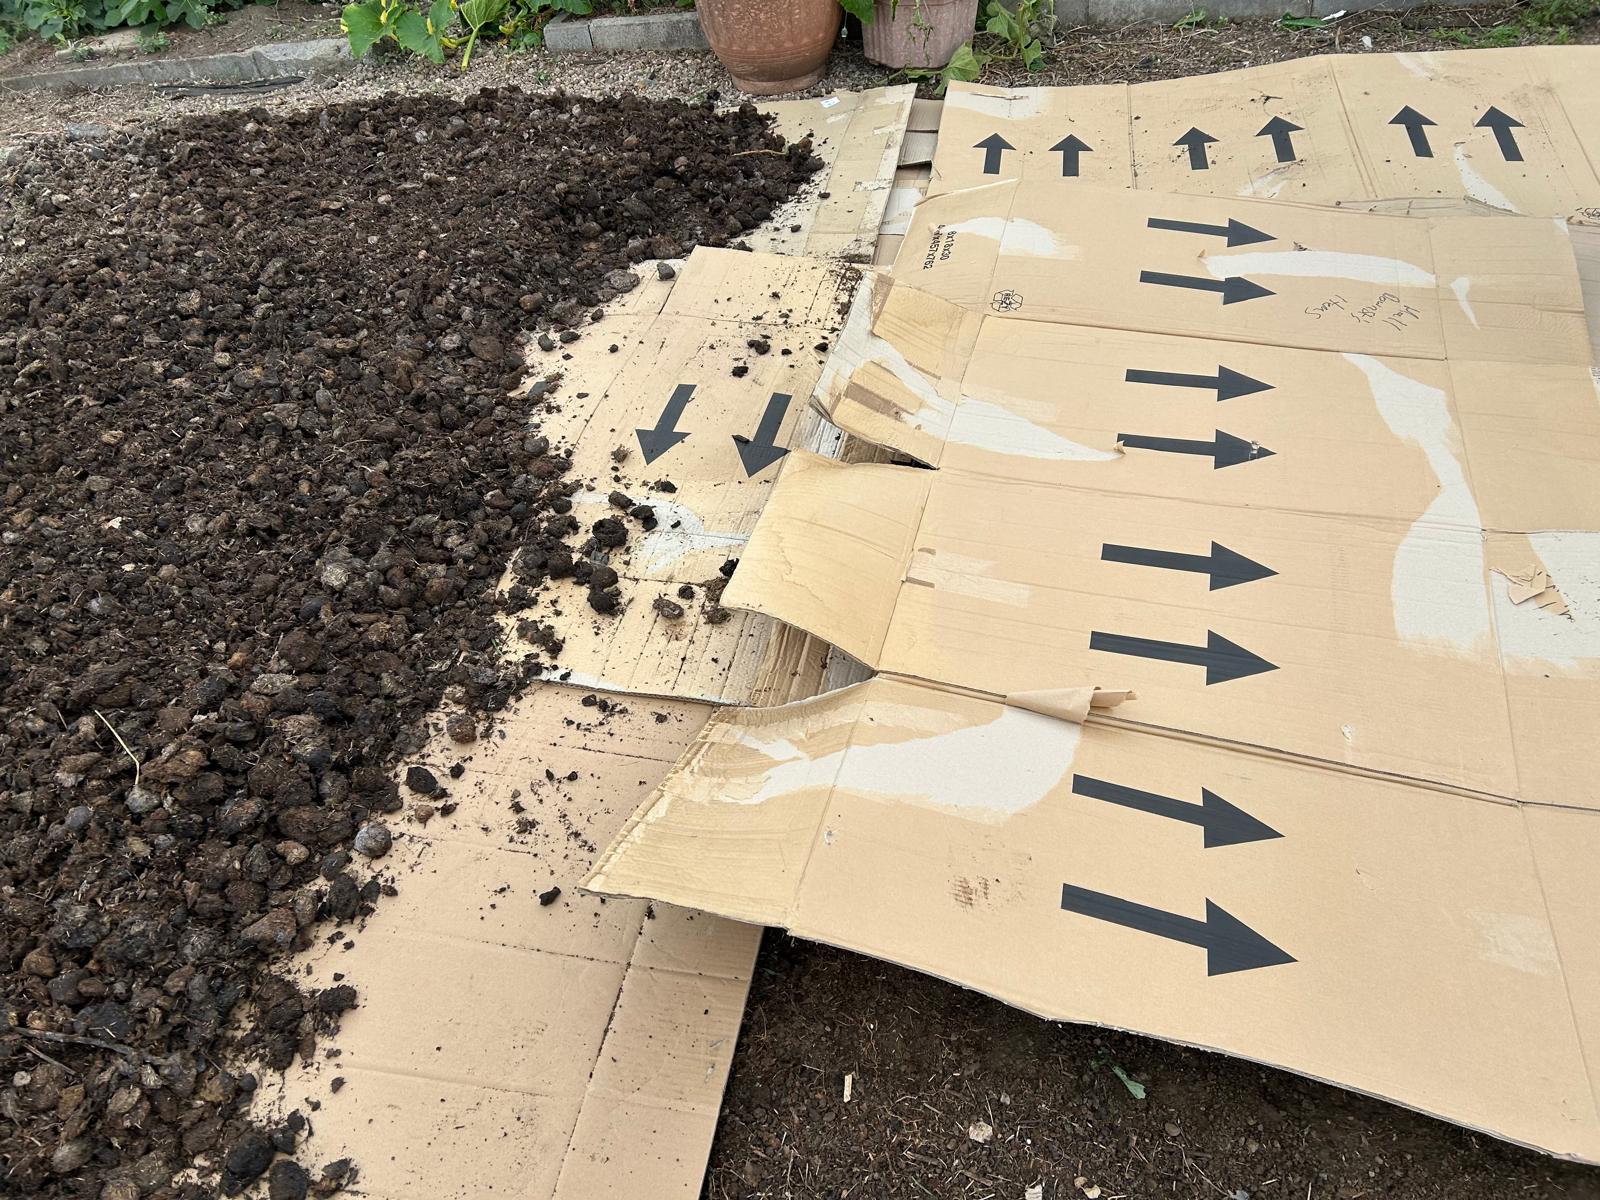
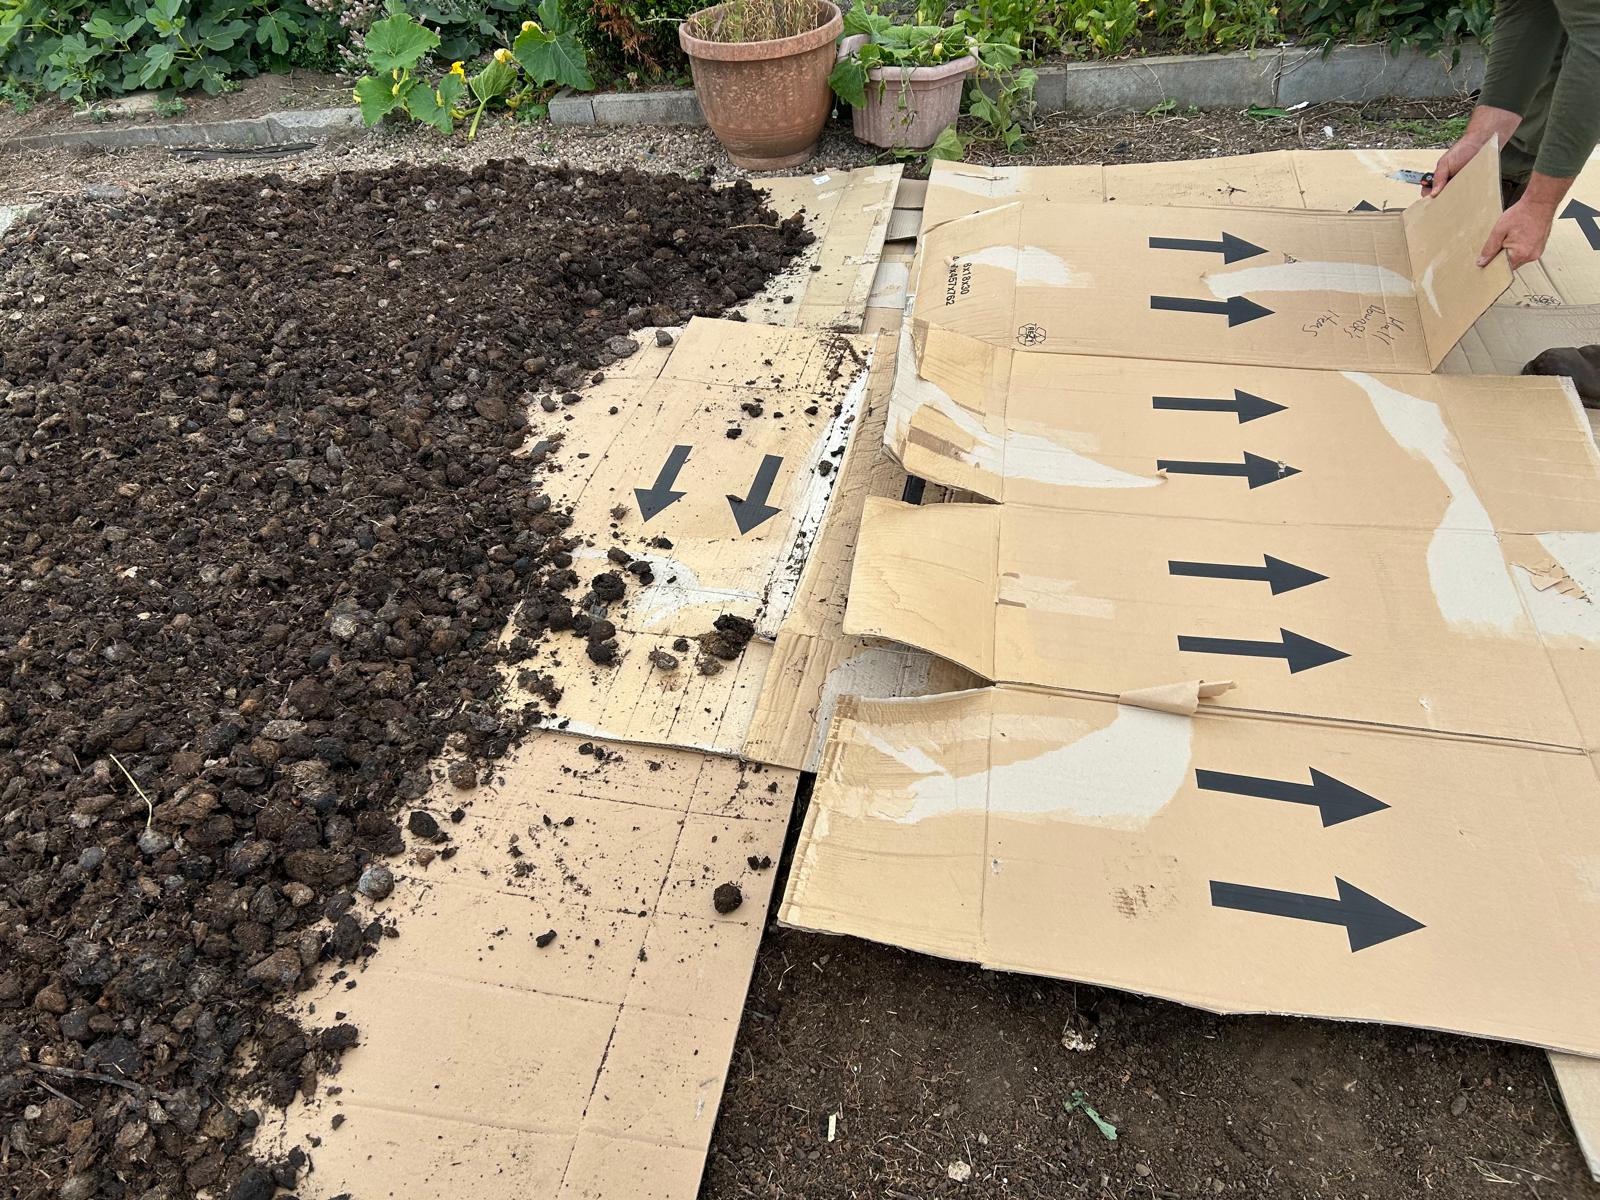
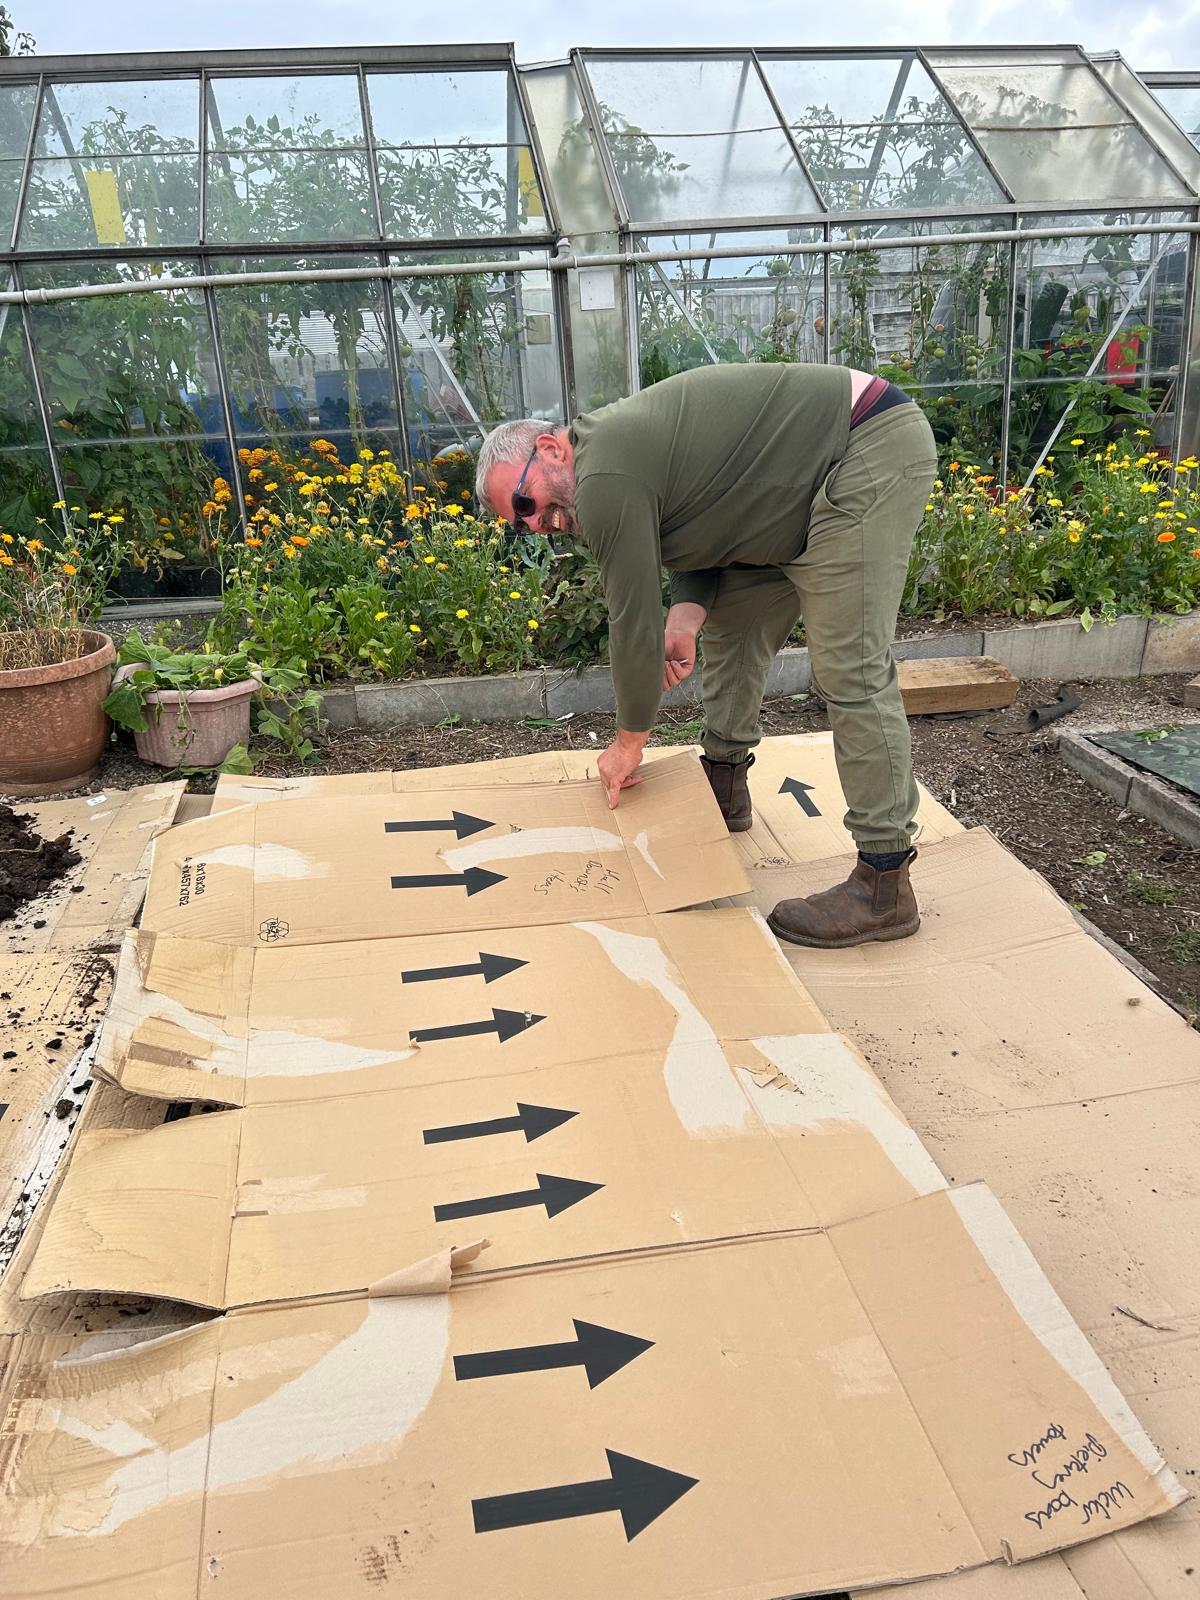
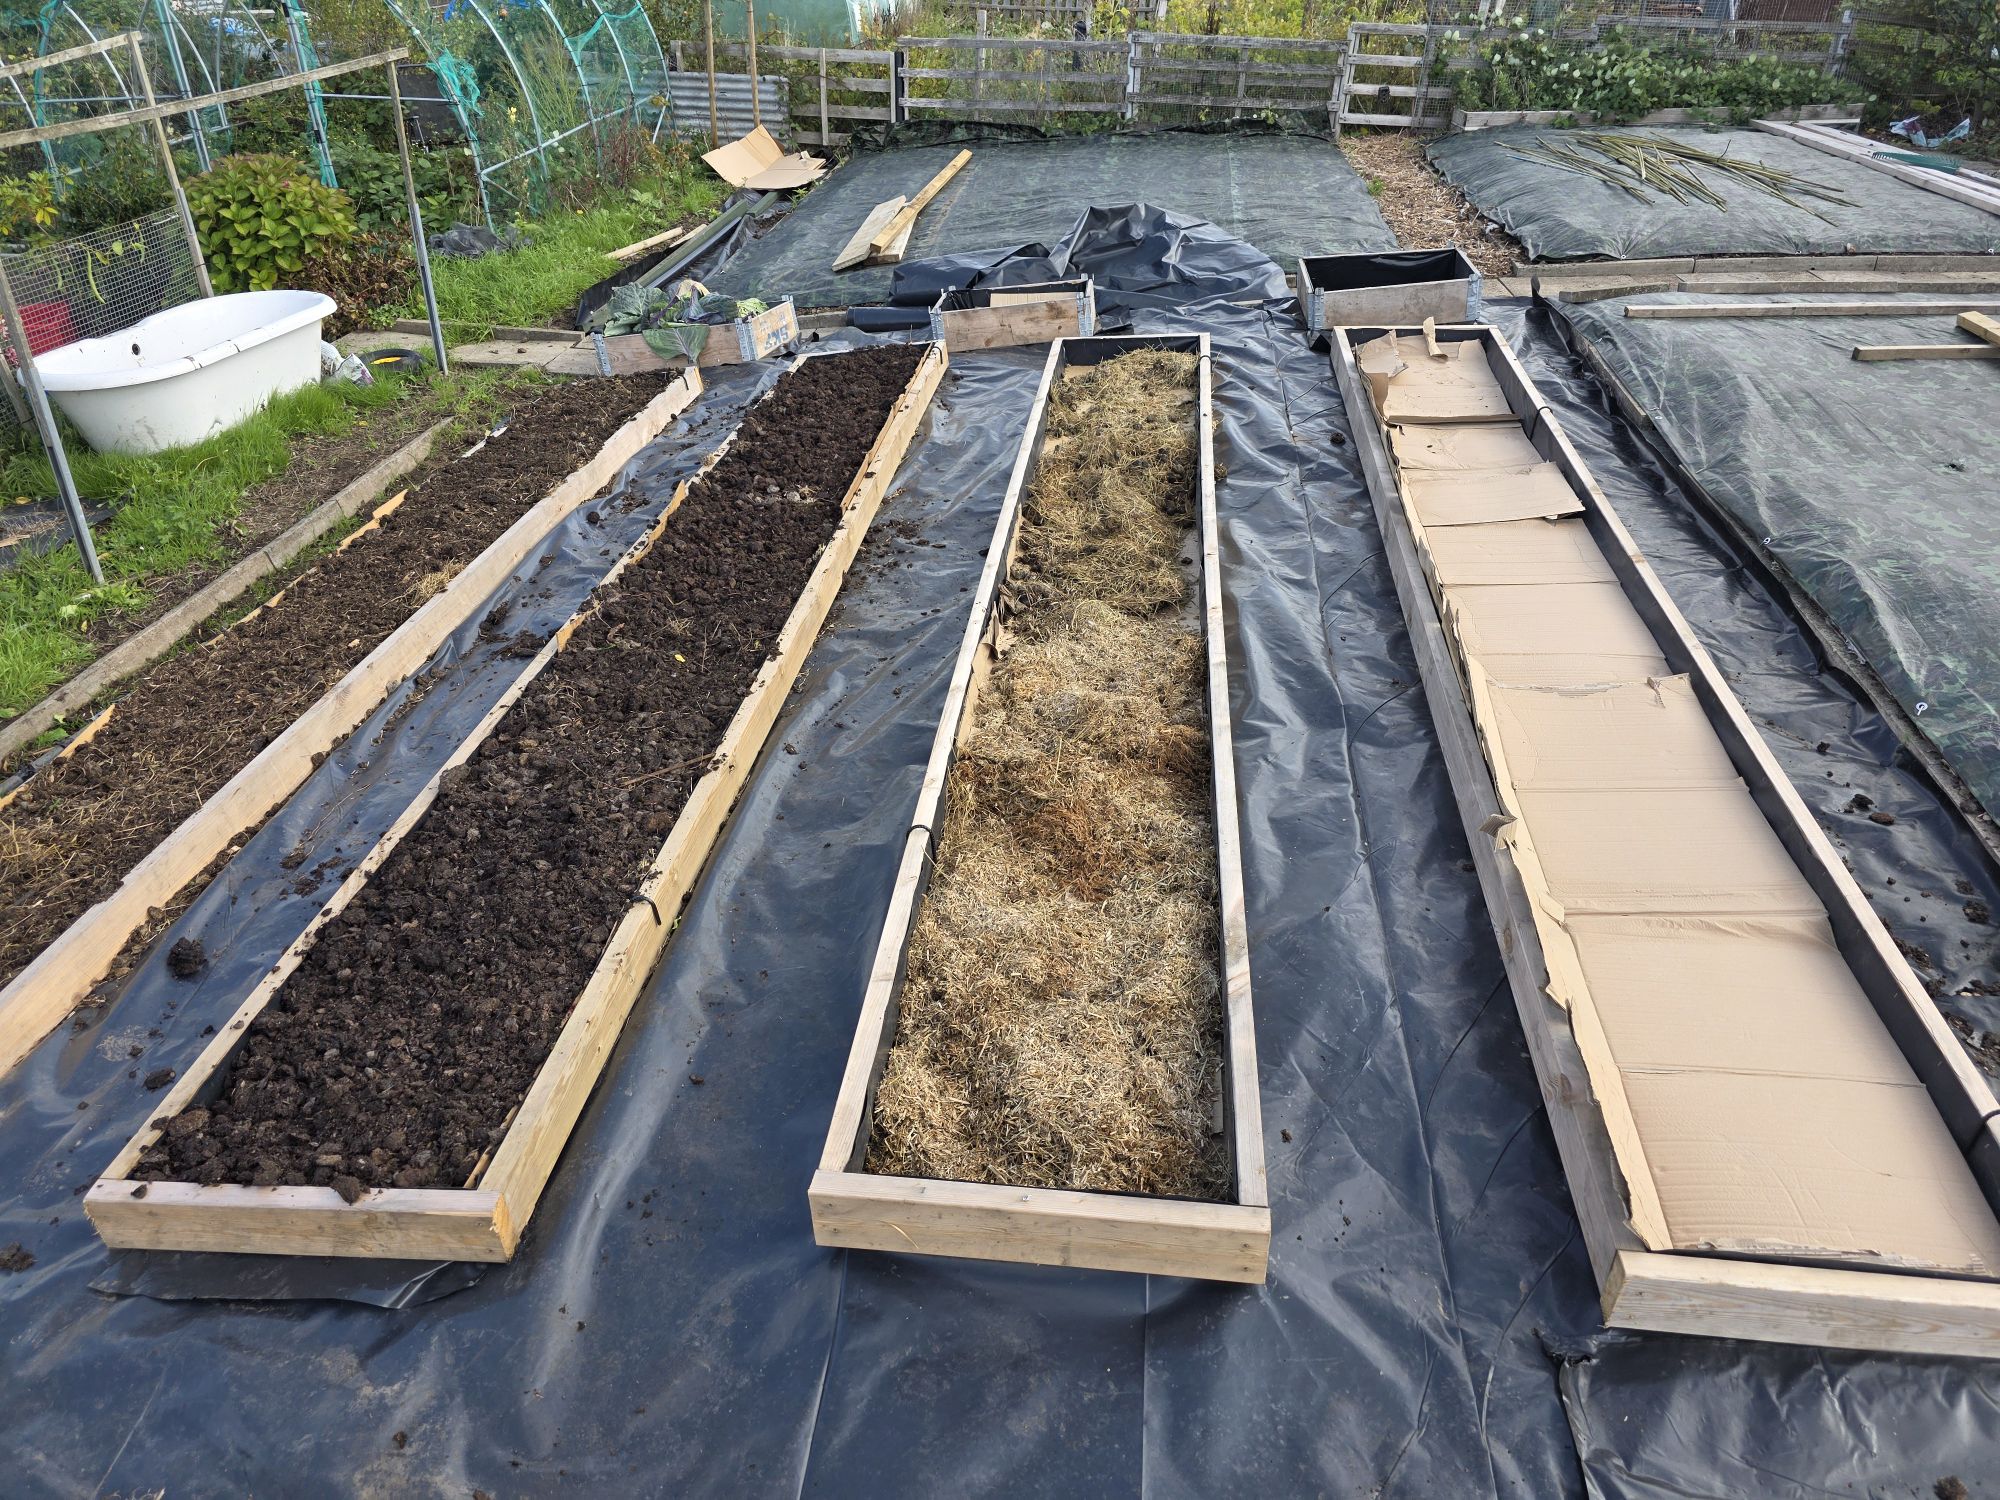
- Lay cardboard, plain cardboard is best as little of the print as possible. Also remove any sellotape & stickers.
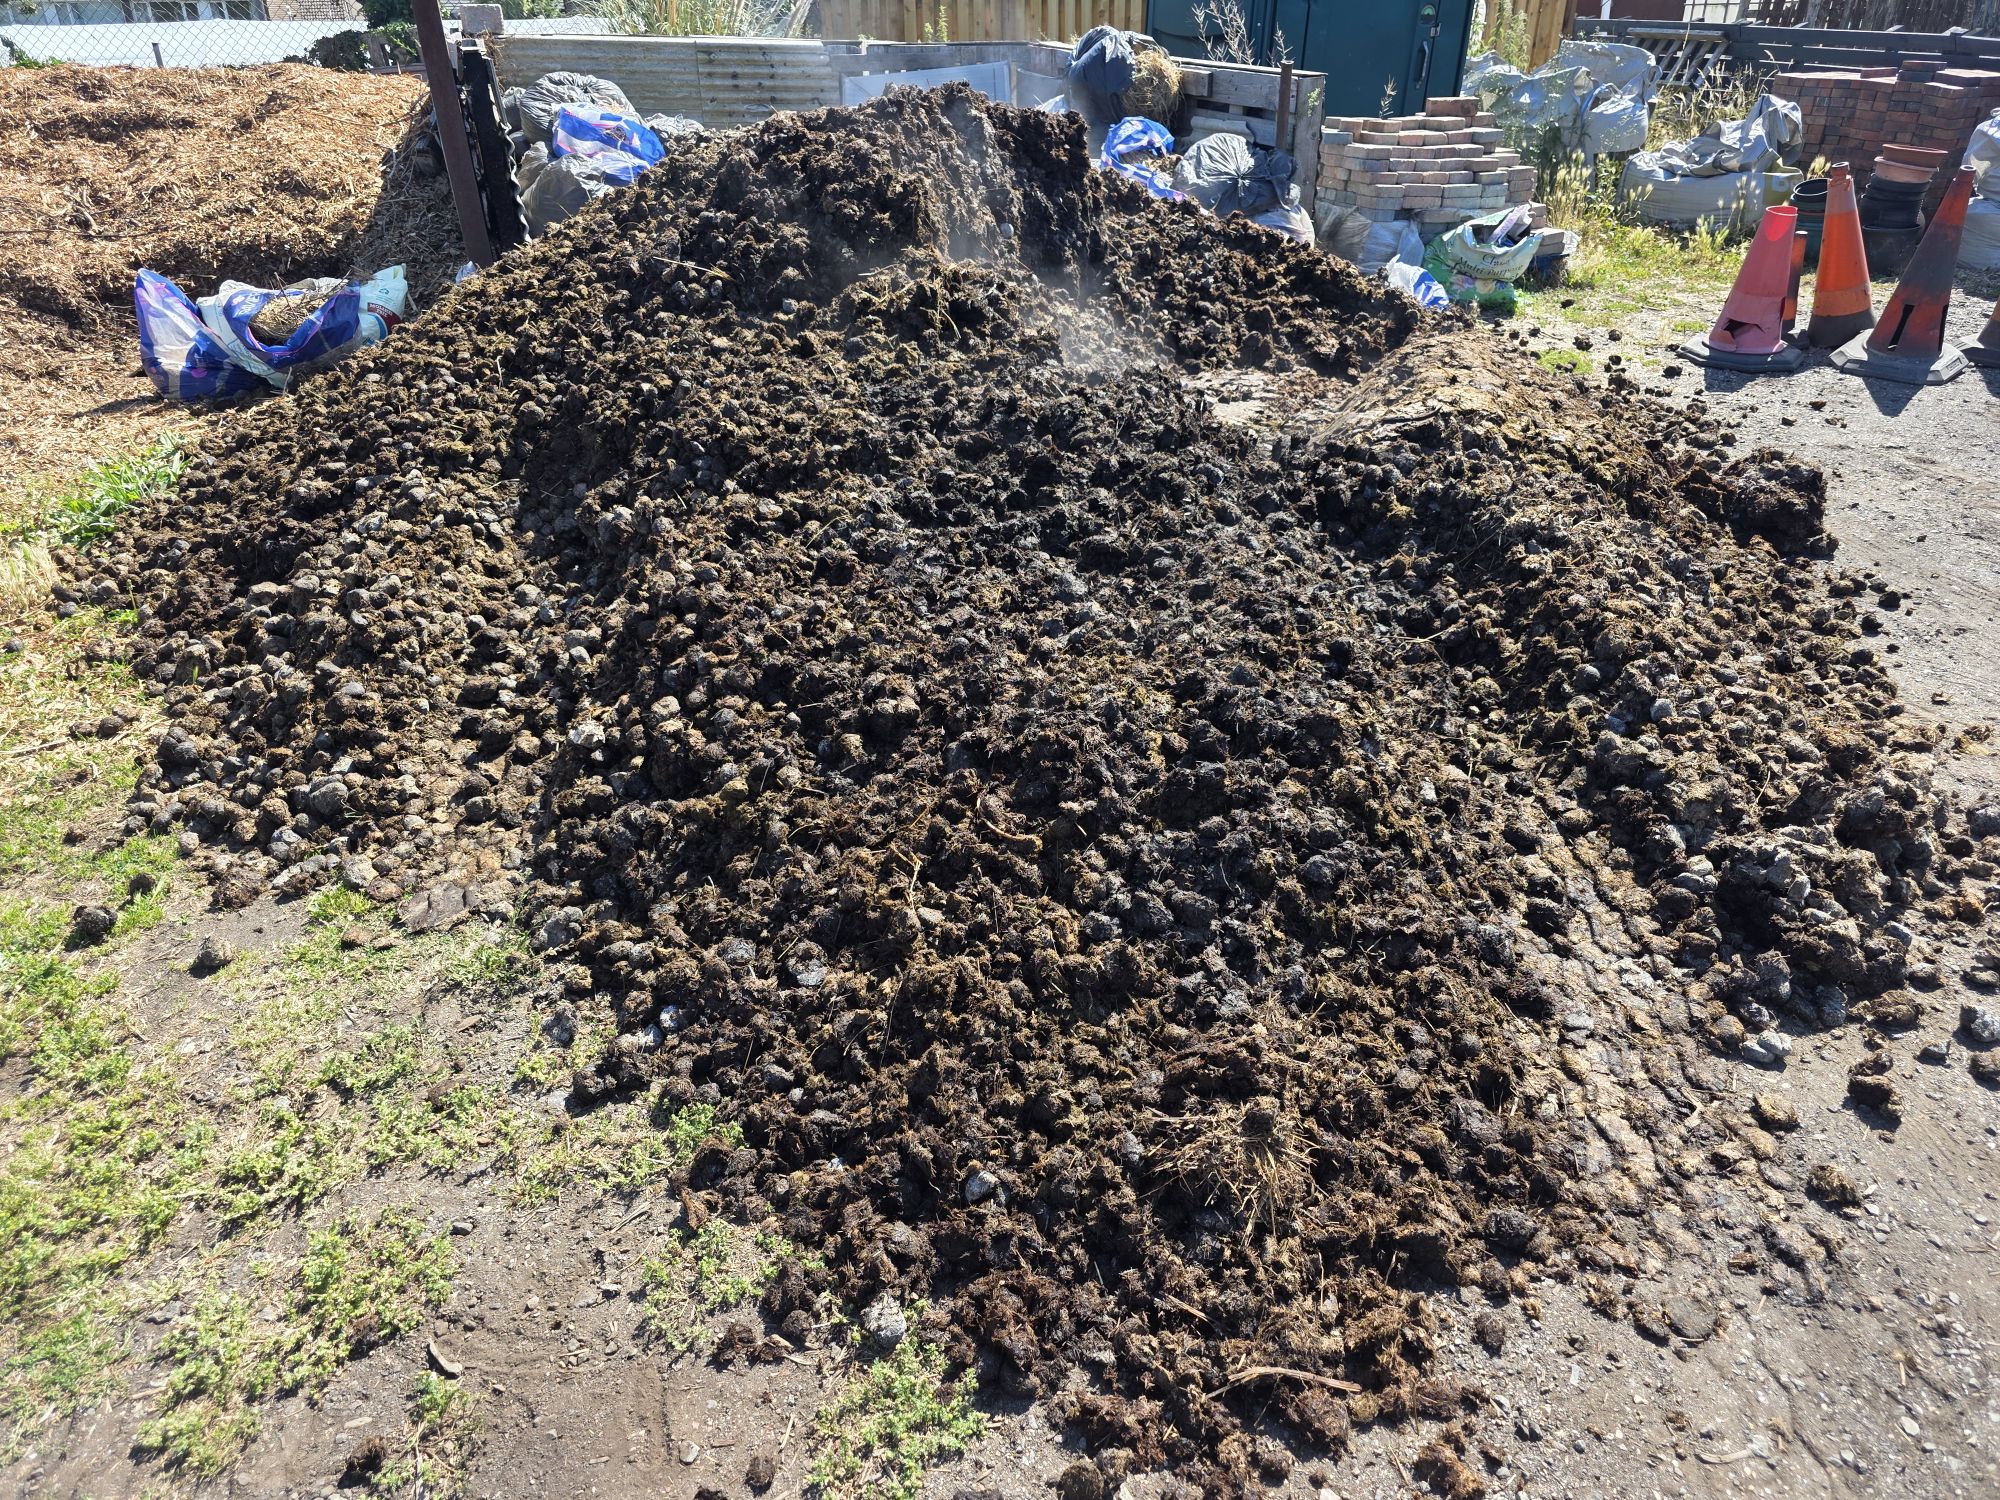
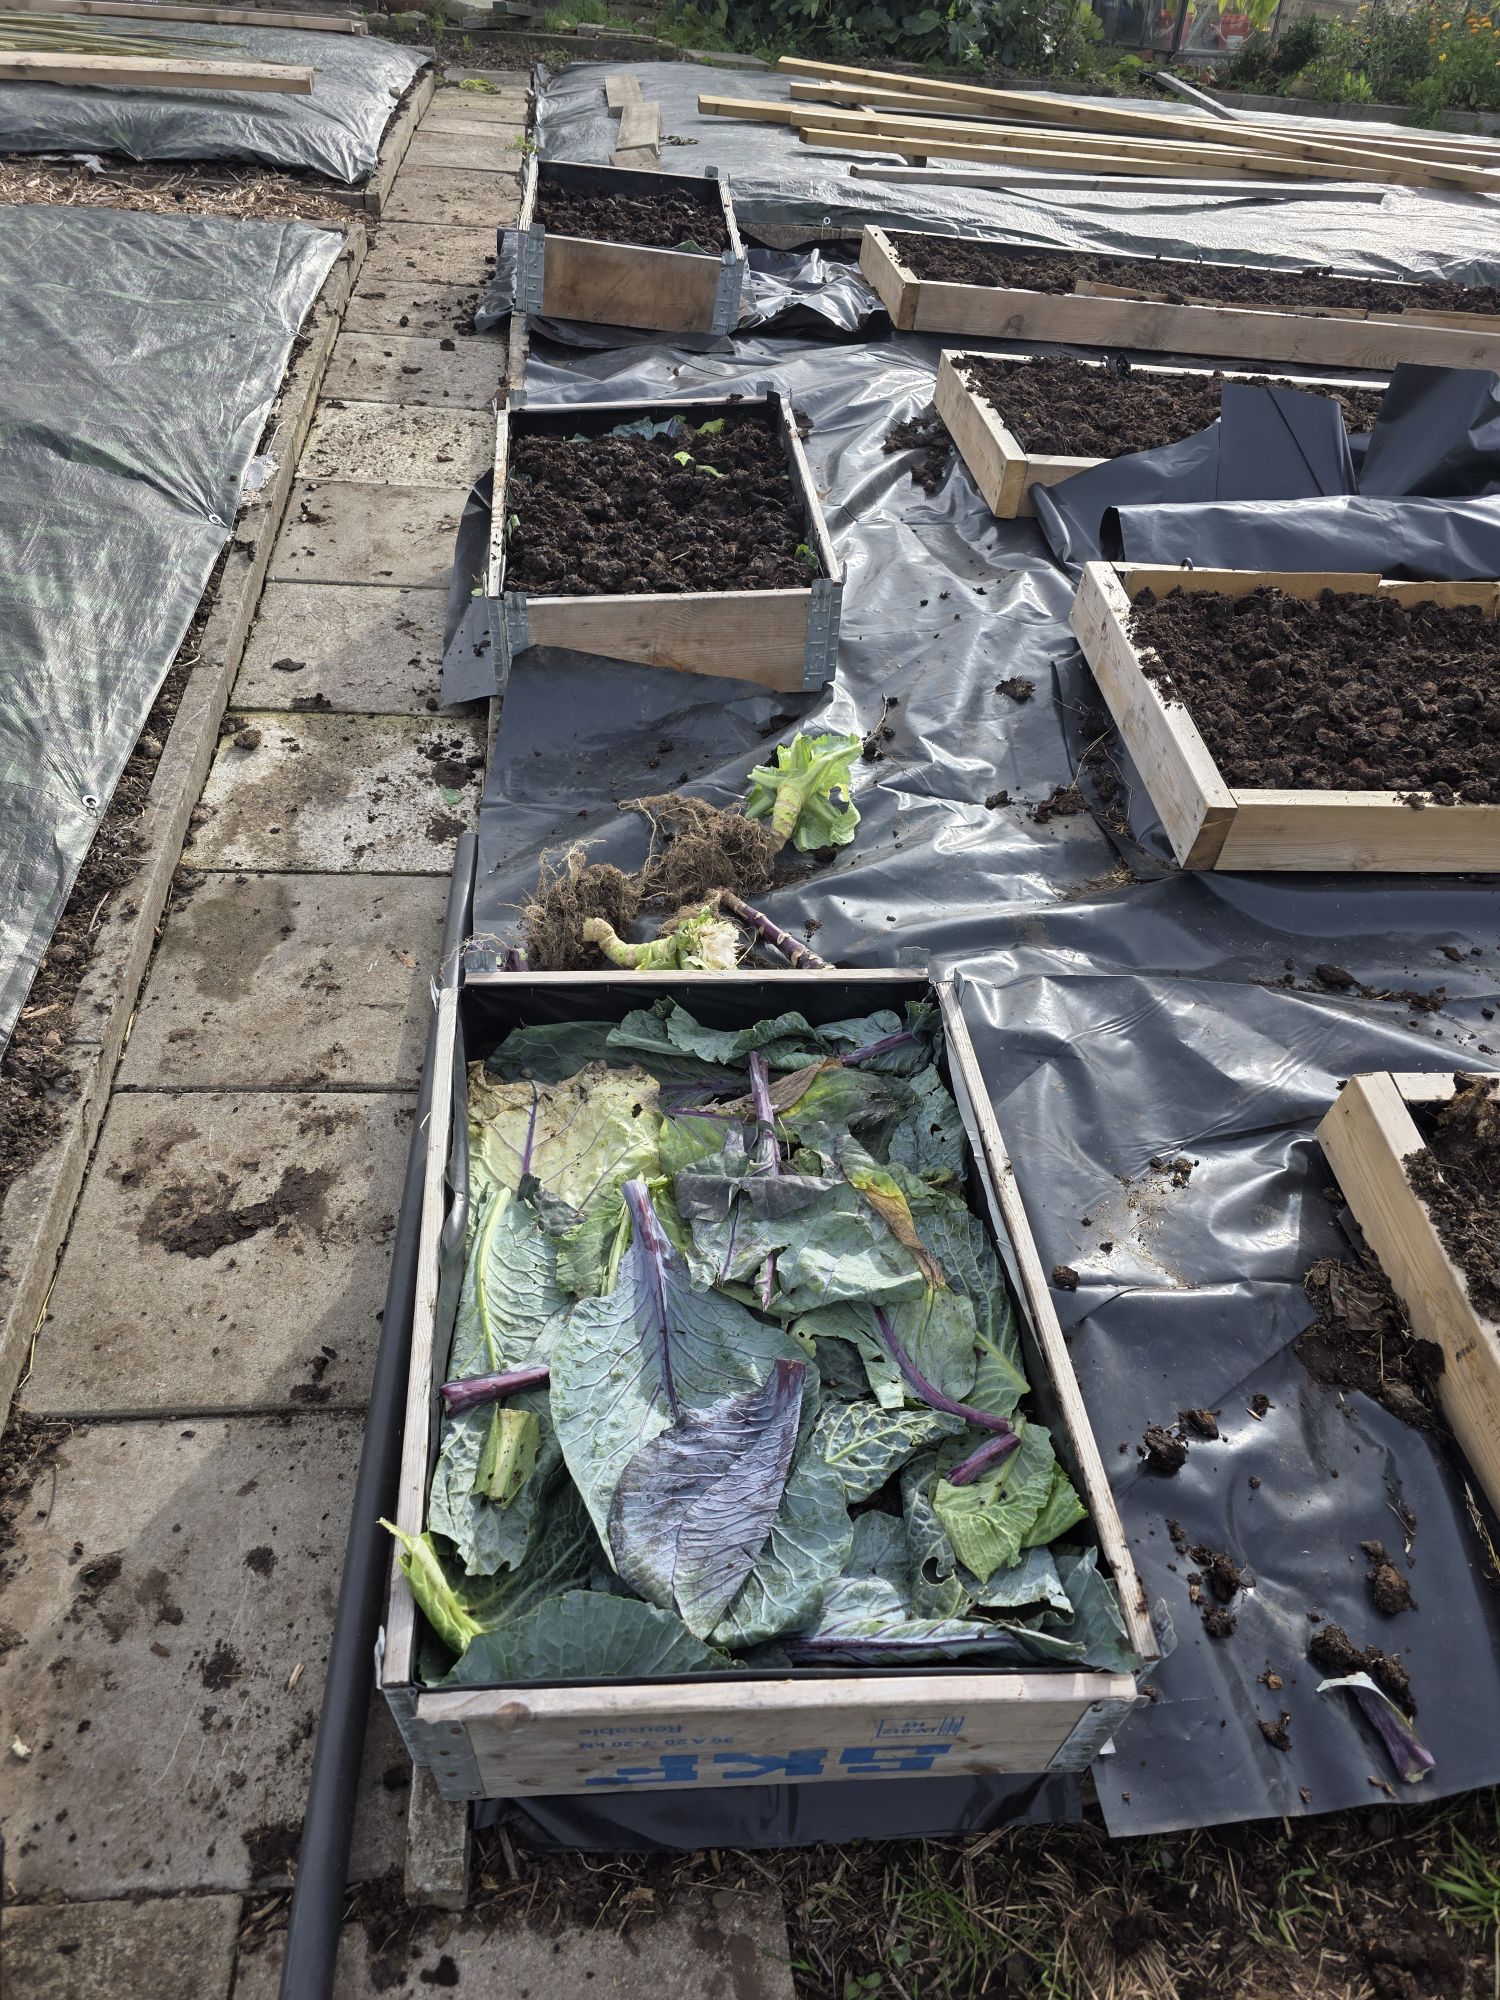
- Add a 15-20cm thick layer of mulch. We used well-rotted manure, but you could use leaves, straw, grass cuttings – or a mix of them all.
- Tread down firmly. Eventually, it will rot down and create a soil texture that’s not only rich but allows weed roots, such as bindweed, to be pulled out easily.
- Then, like us we covered the bed with a tarpaulin & make sure you peg it down. Which make sure no light can penetrate down into the soil.
- Then wait for at least six months for the weeds to die down and the soil organisms to do their work. Be patient!.


Brassicas, (Cabbage Family) beds with sides
Our brassica beds are bordered with wood of 15 cm/6 in high 3inches width & 4 meters long, which produce raised beds, however this is not obligatory, Enclosed beds are clearly defined and look neater, but their edges can dry out more in summer than un bordered beds where compost is allowed to spill slightly into pathways.
A further issue with wooden sides is that they tend to harbour slugs and woodlice, especially as they begin to age and decay. You can save money and trouble by not using them, but paths then need to be more weed-free, so that weeds don’t spread into beds.

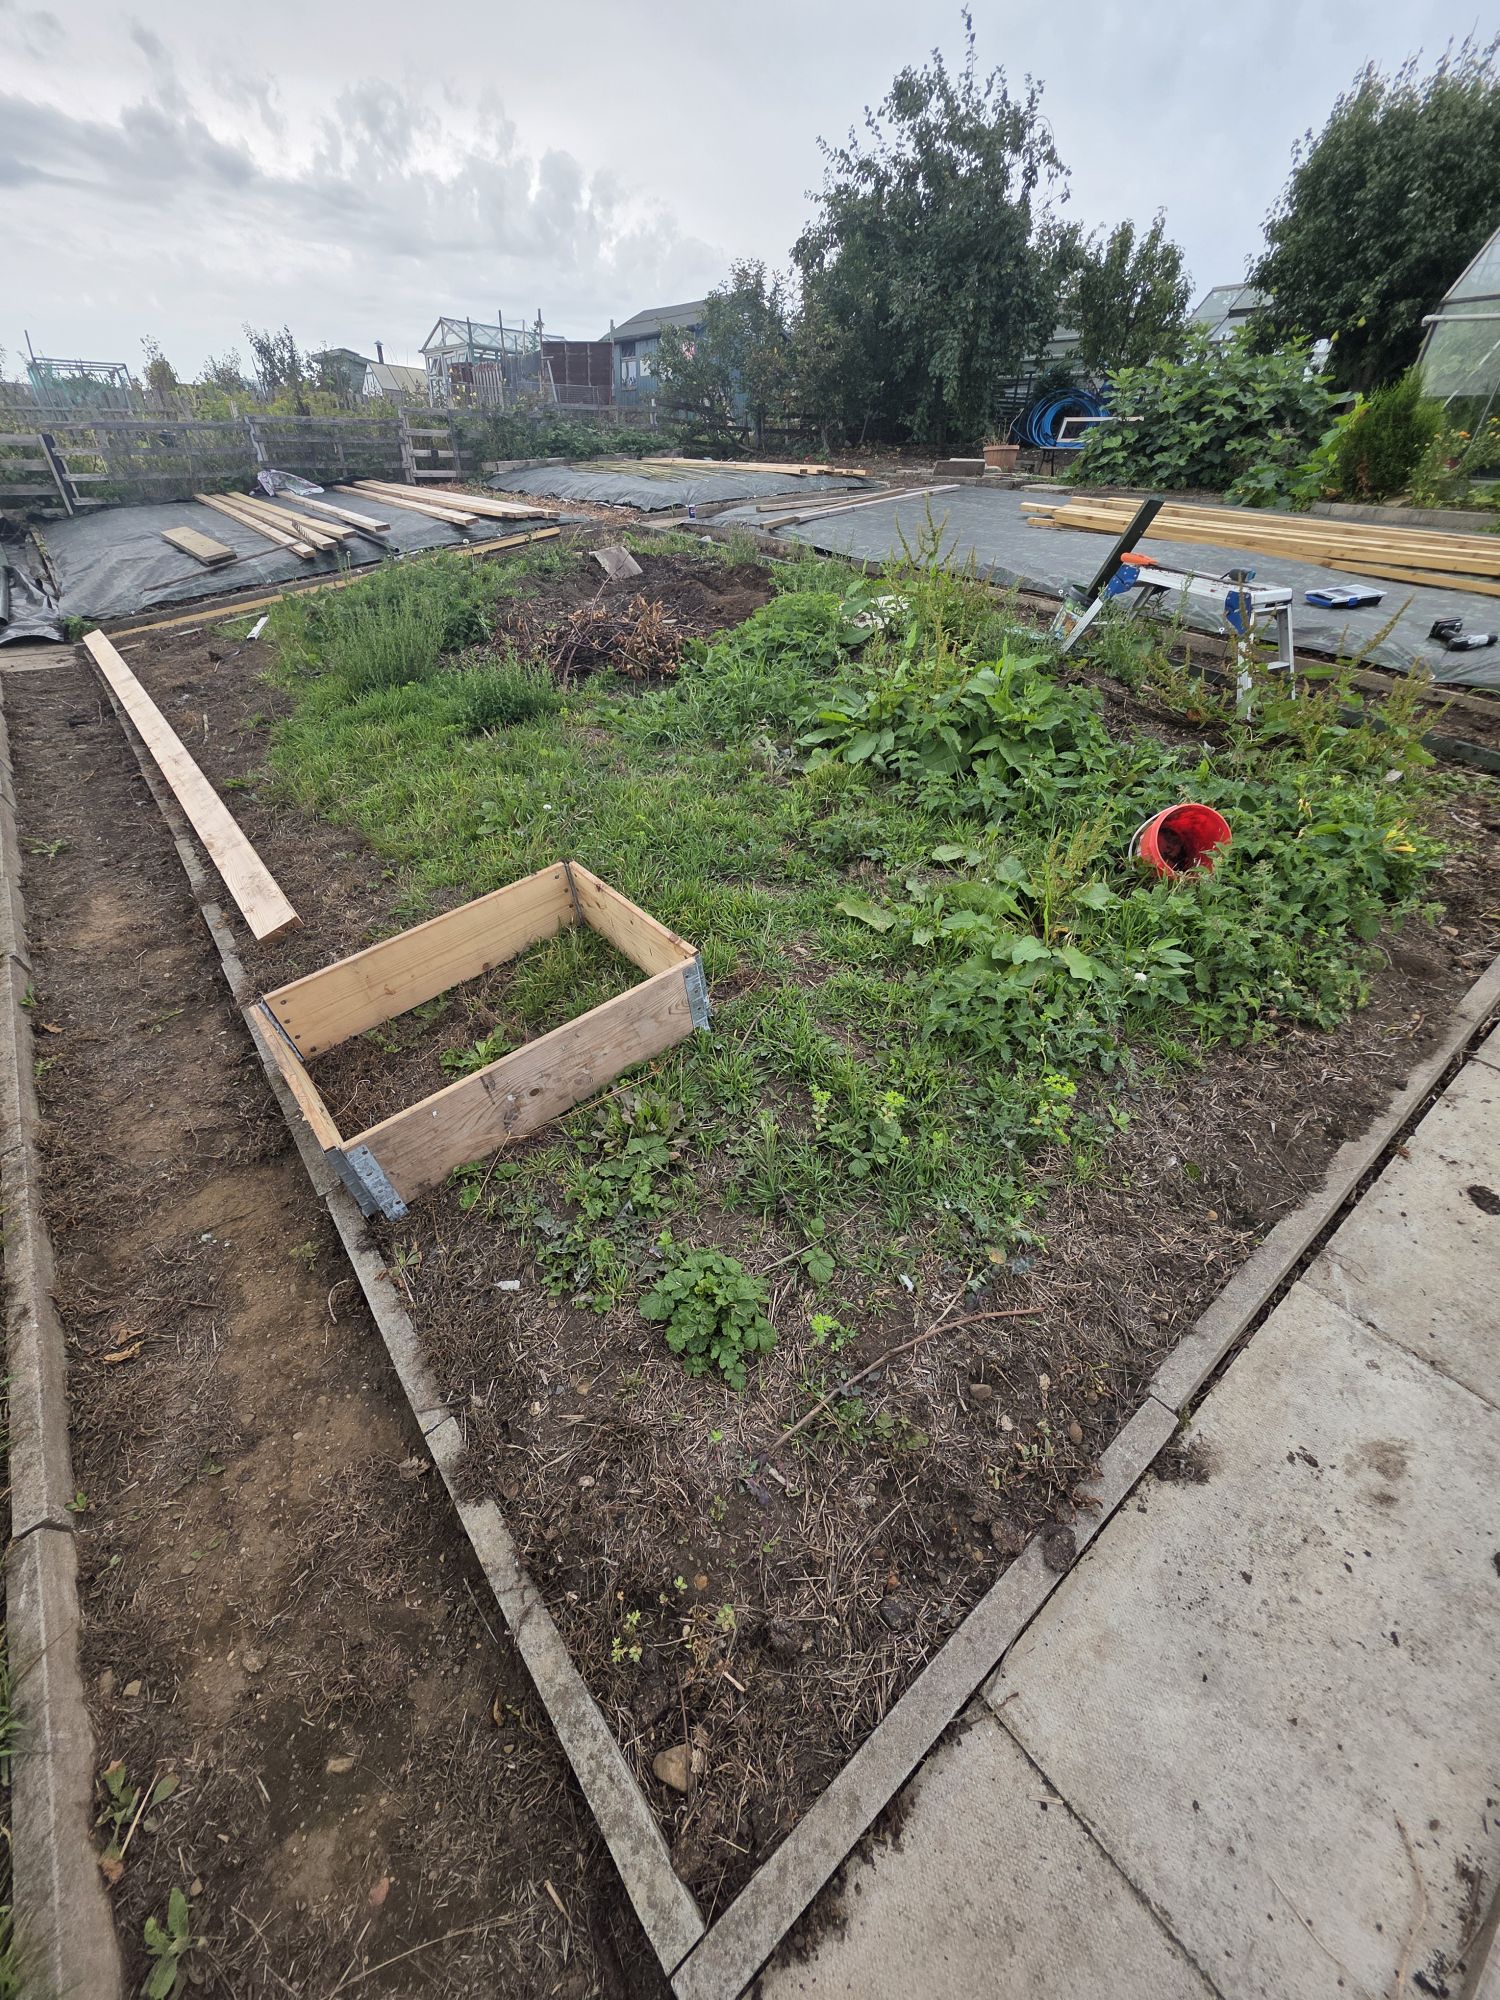
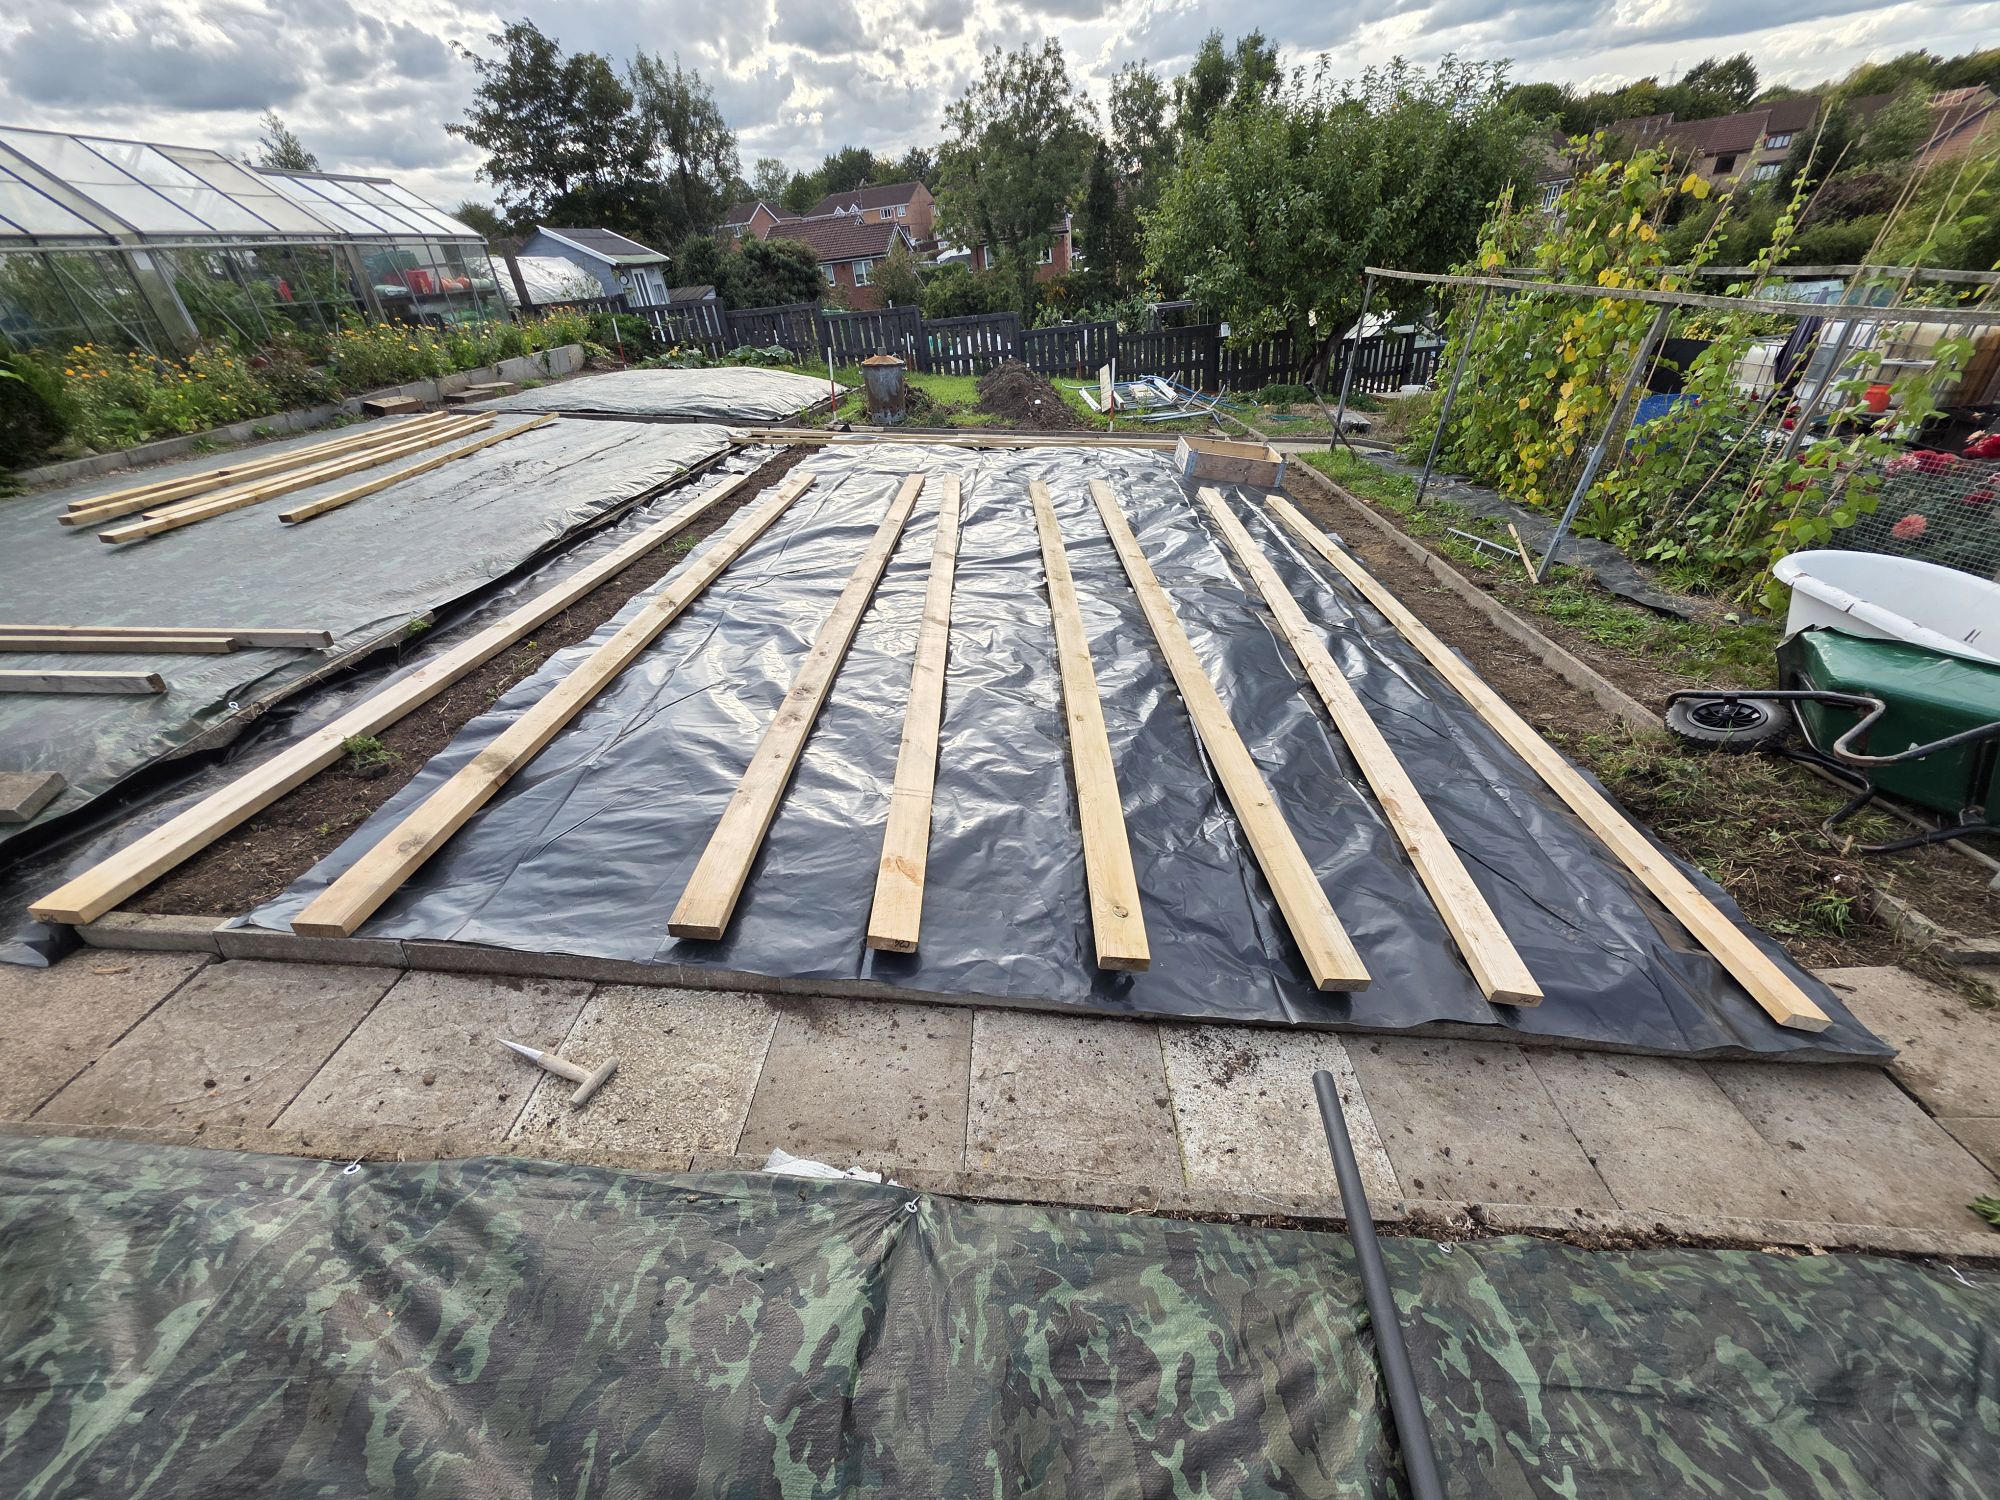
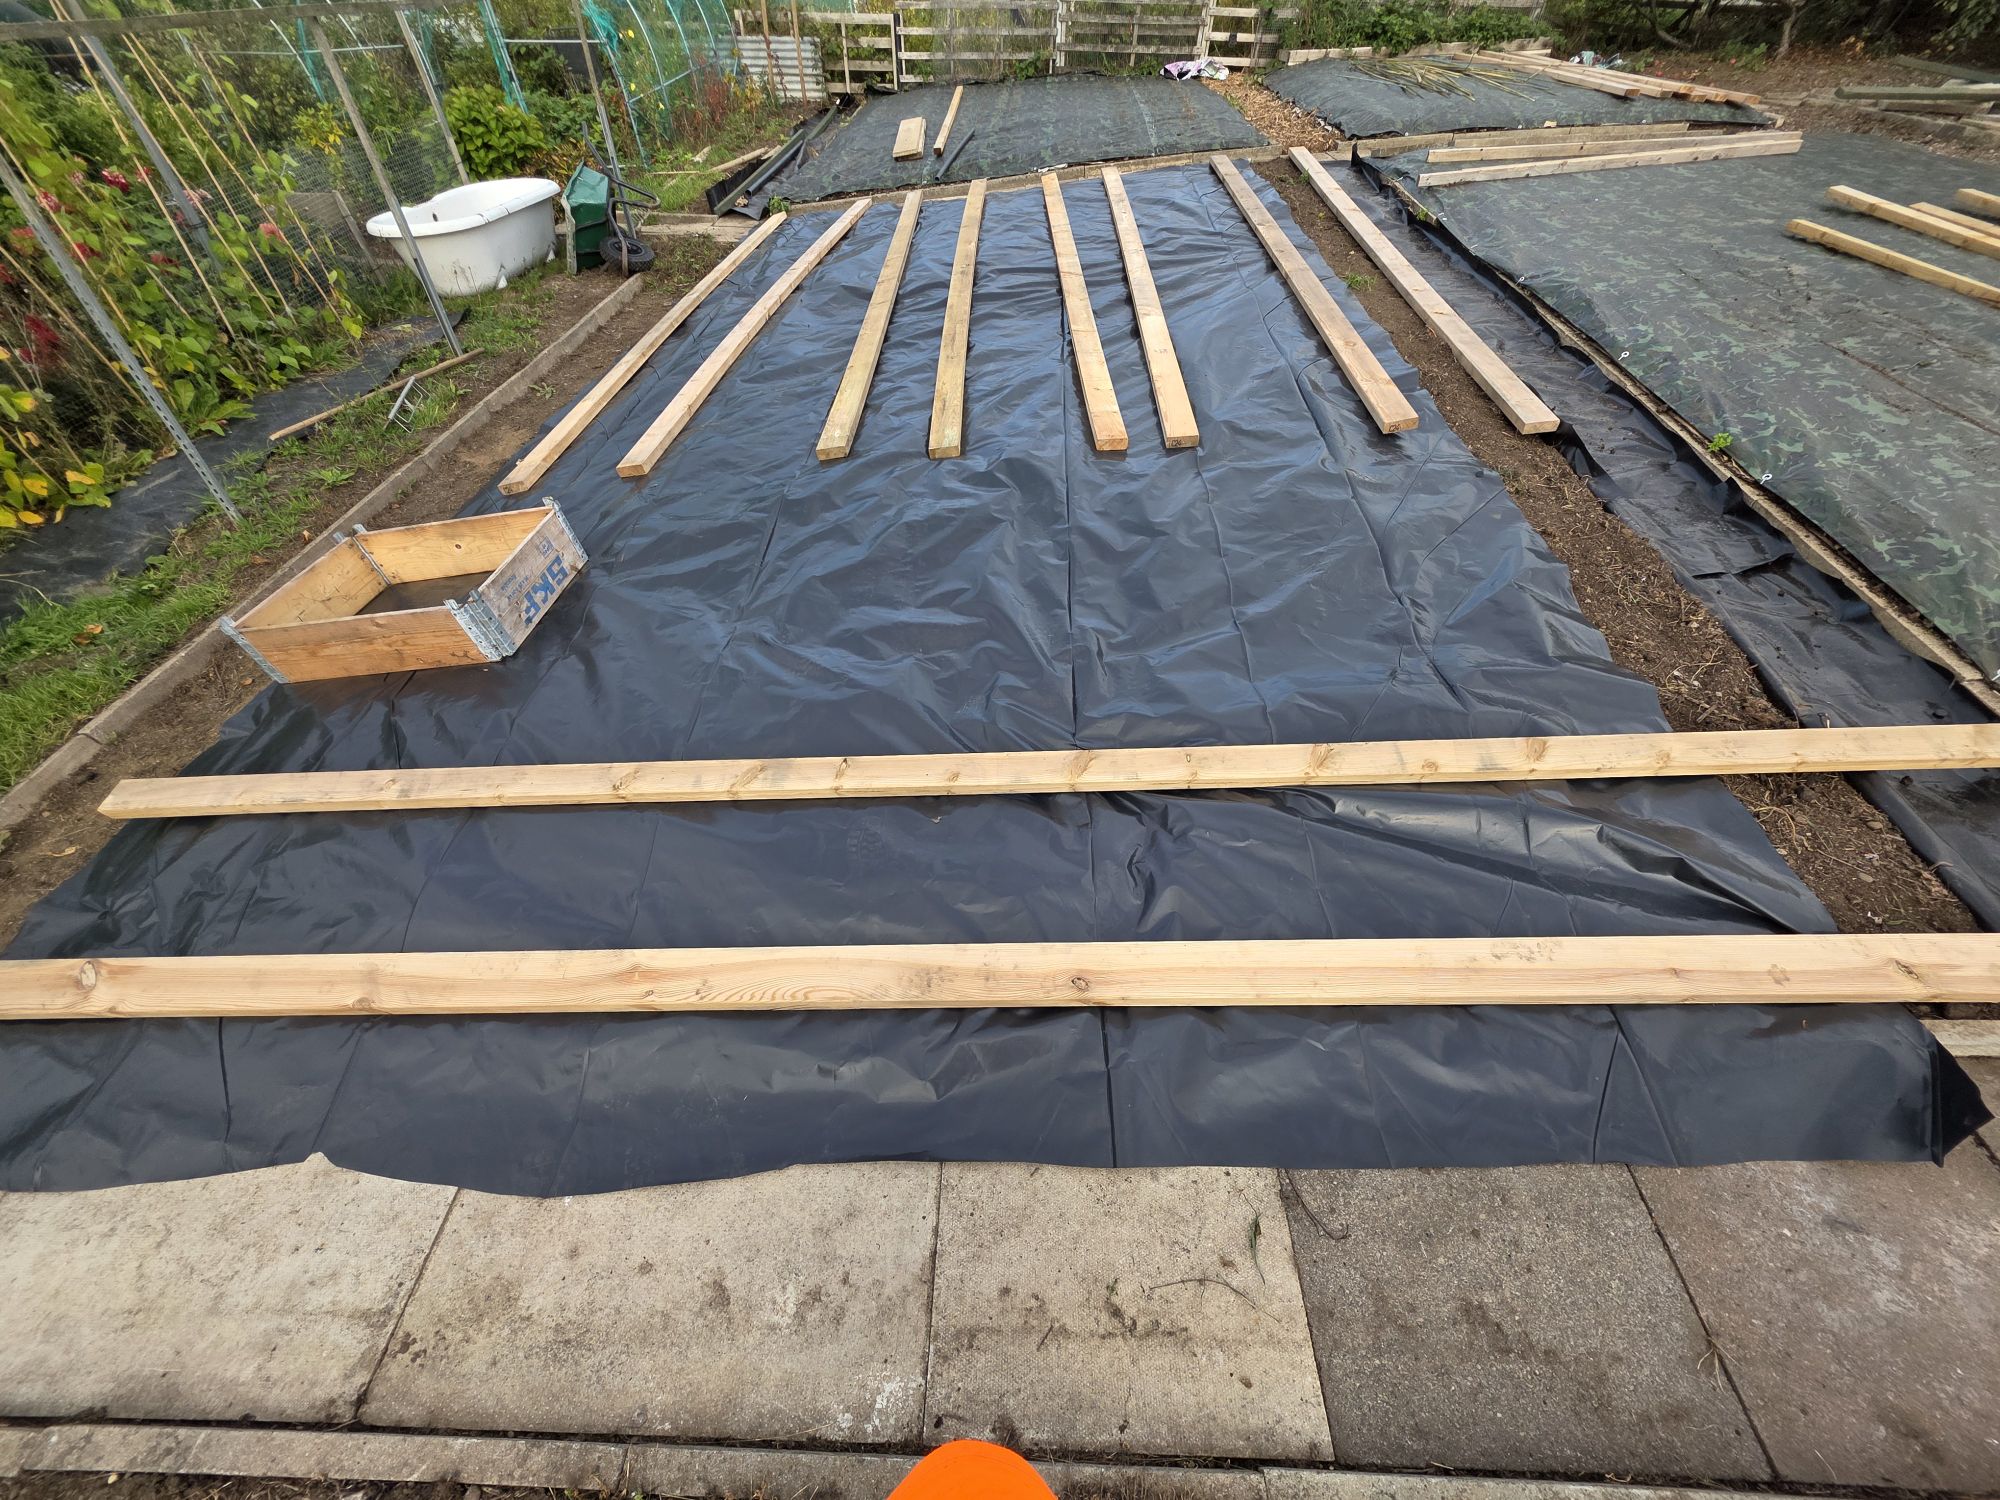
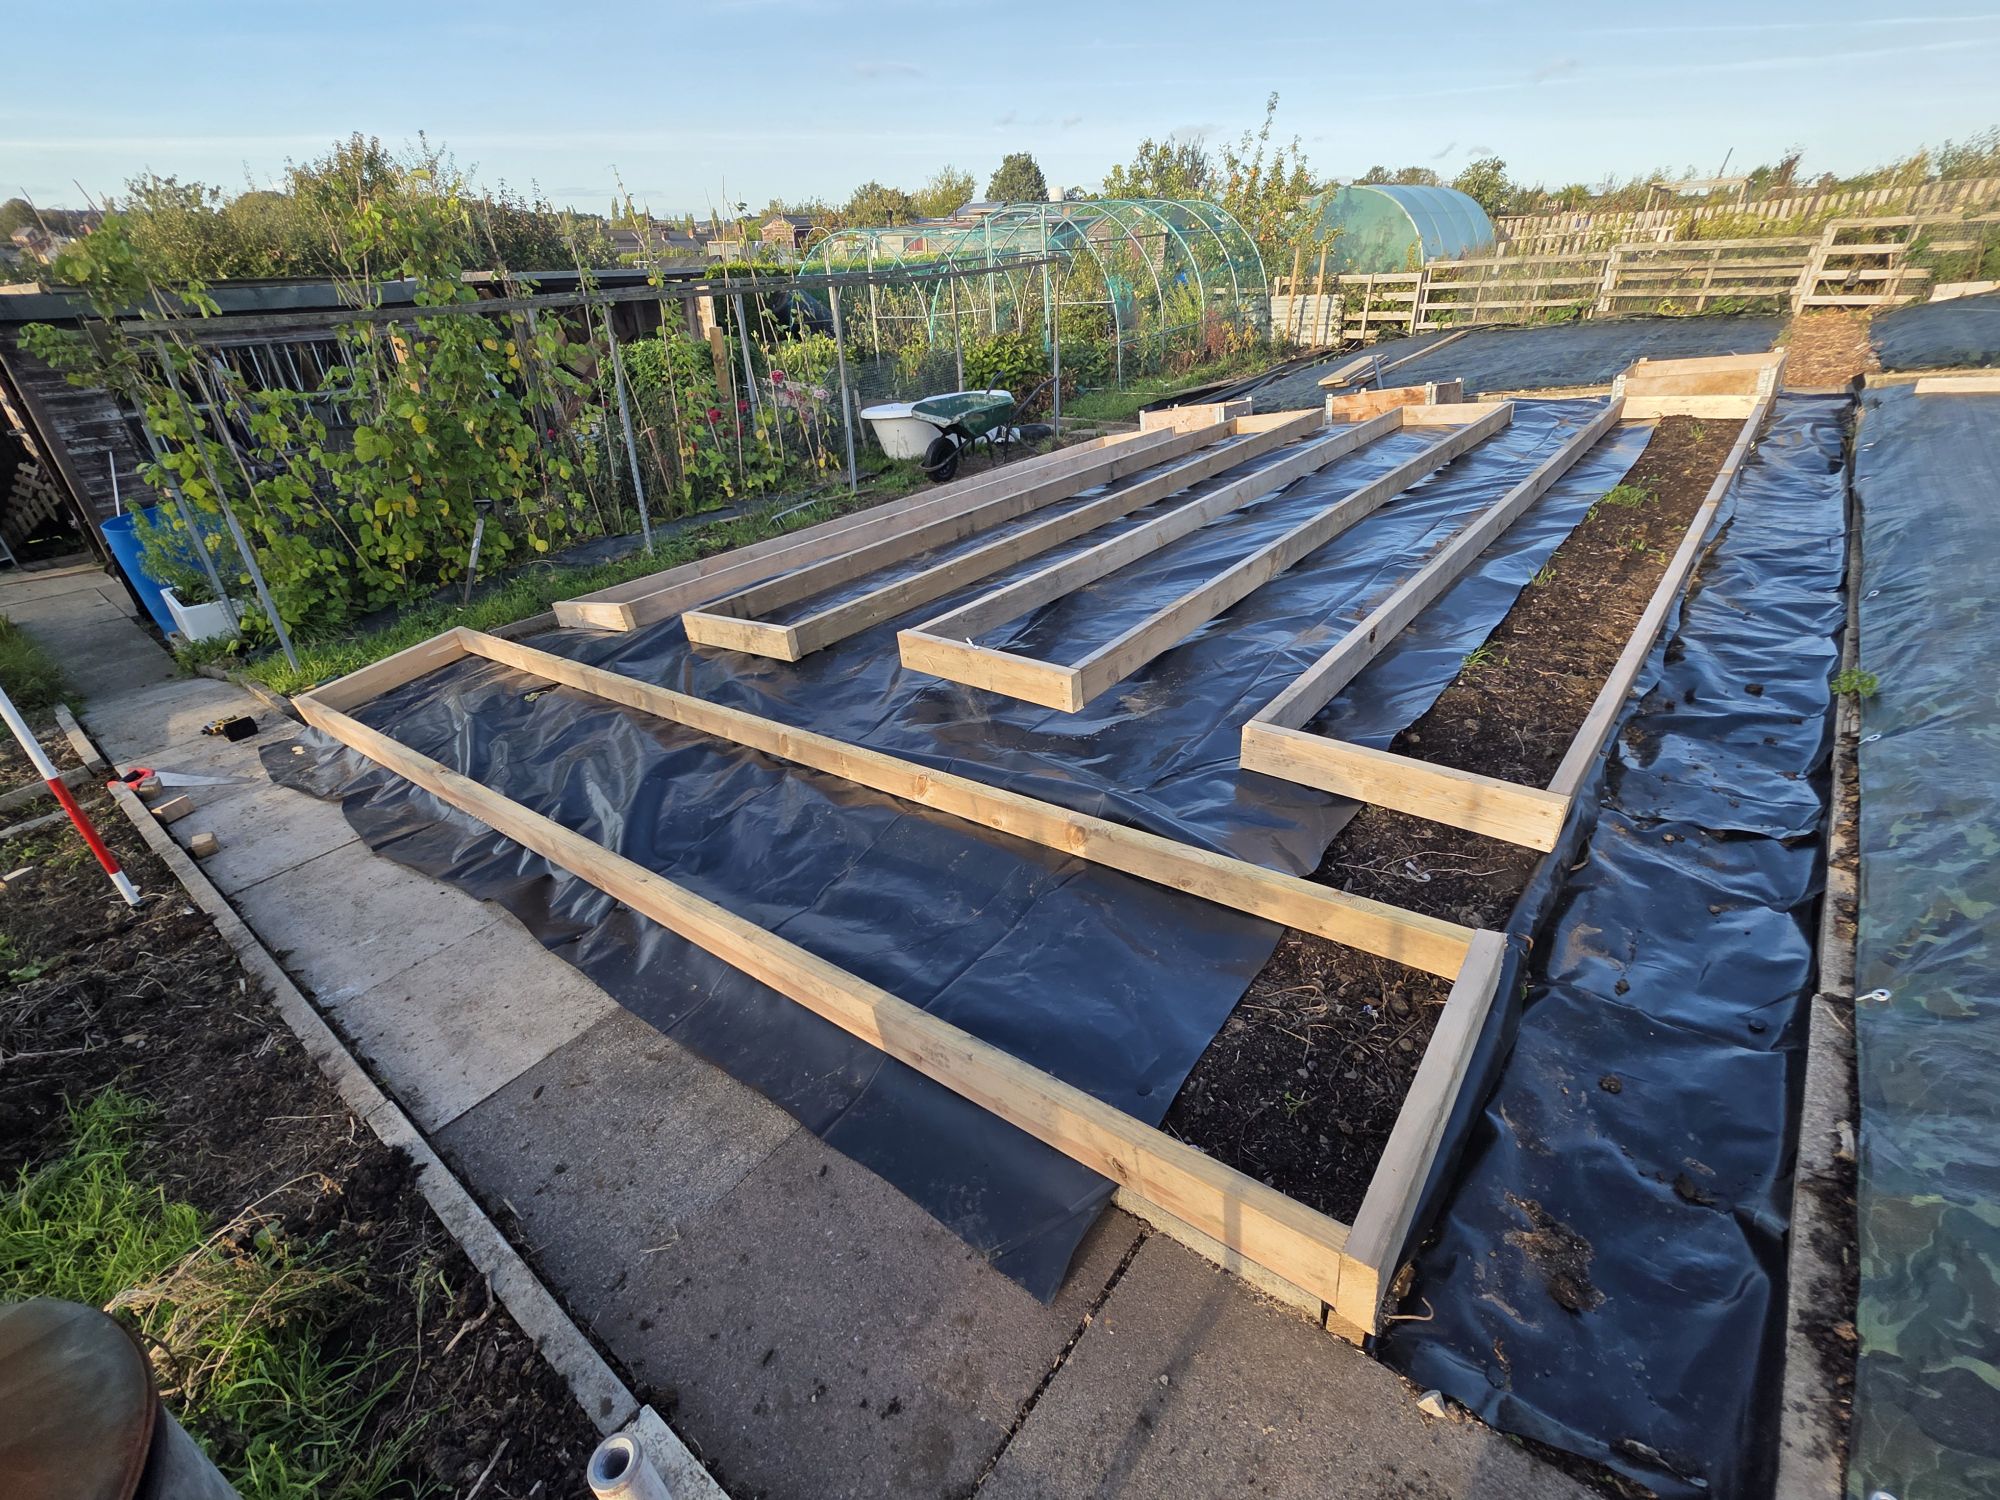

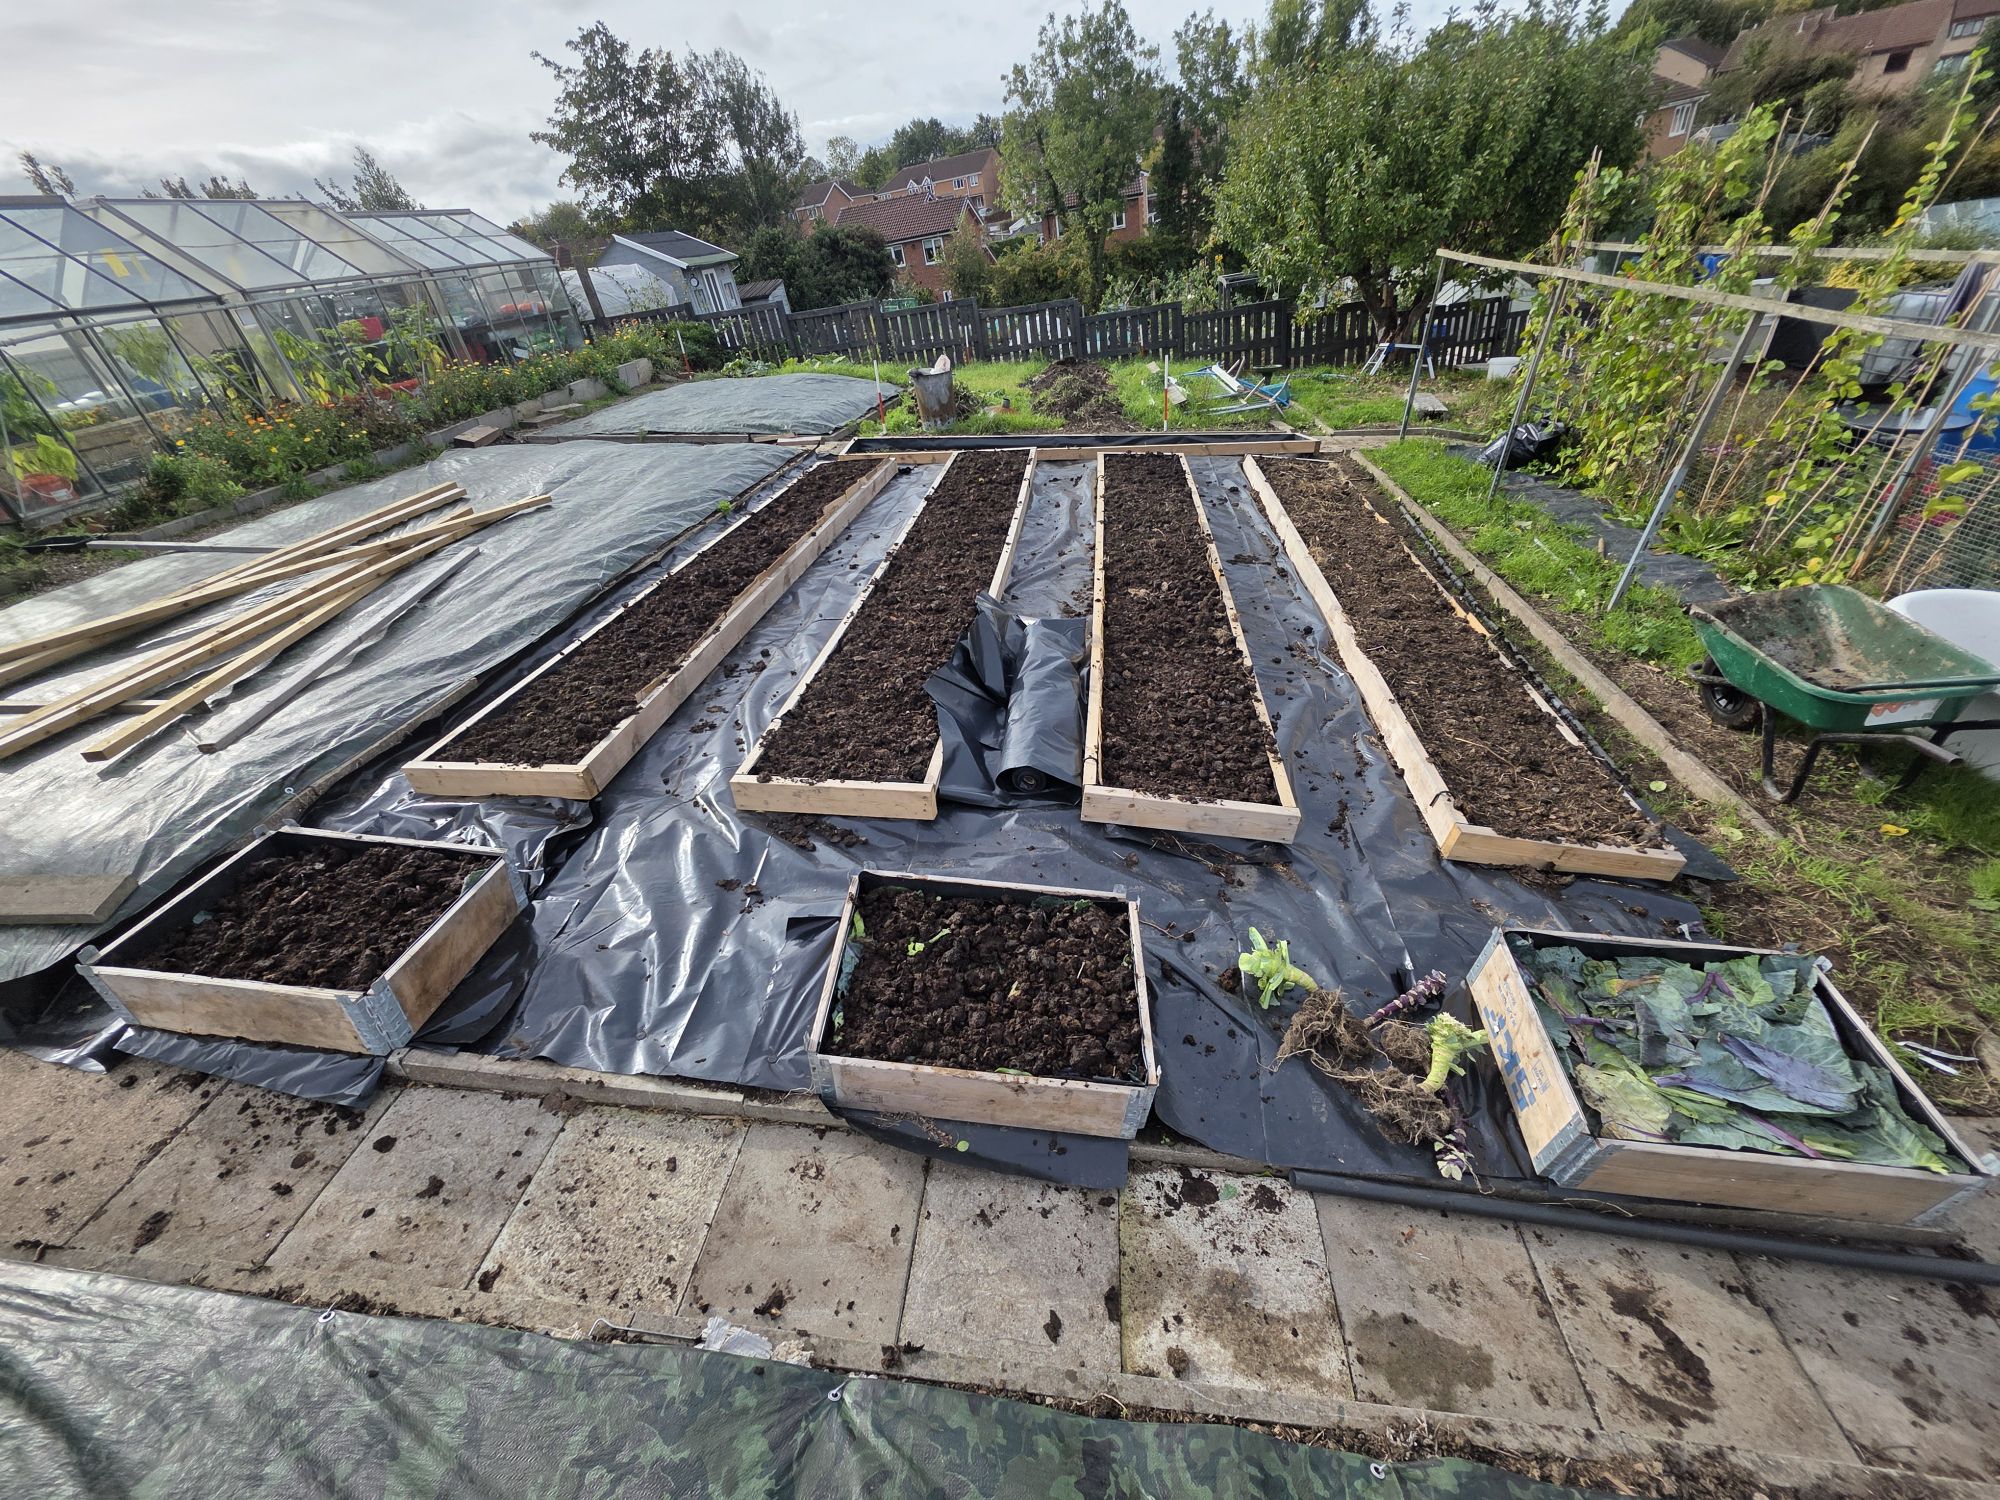
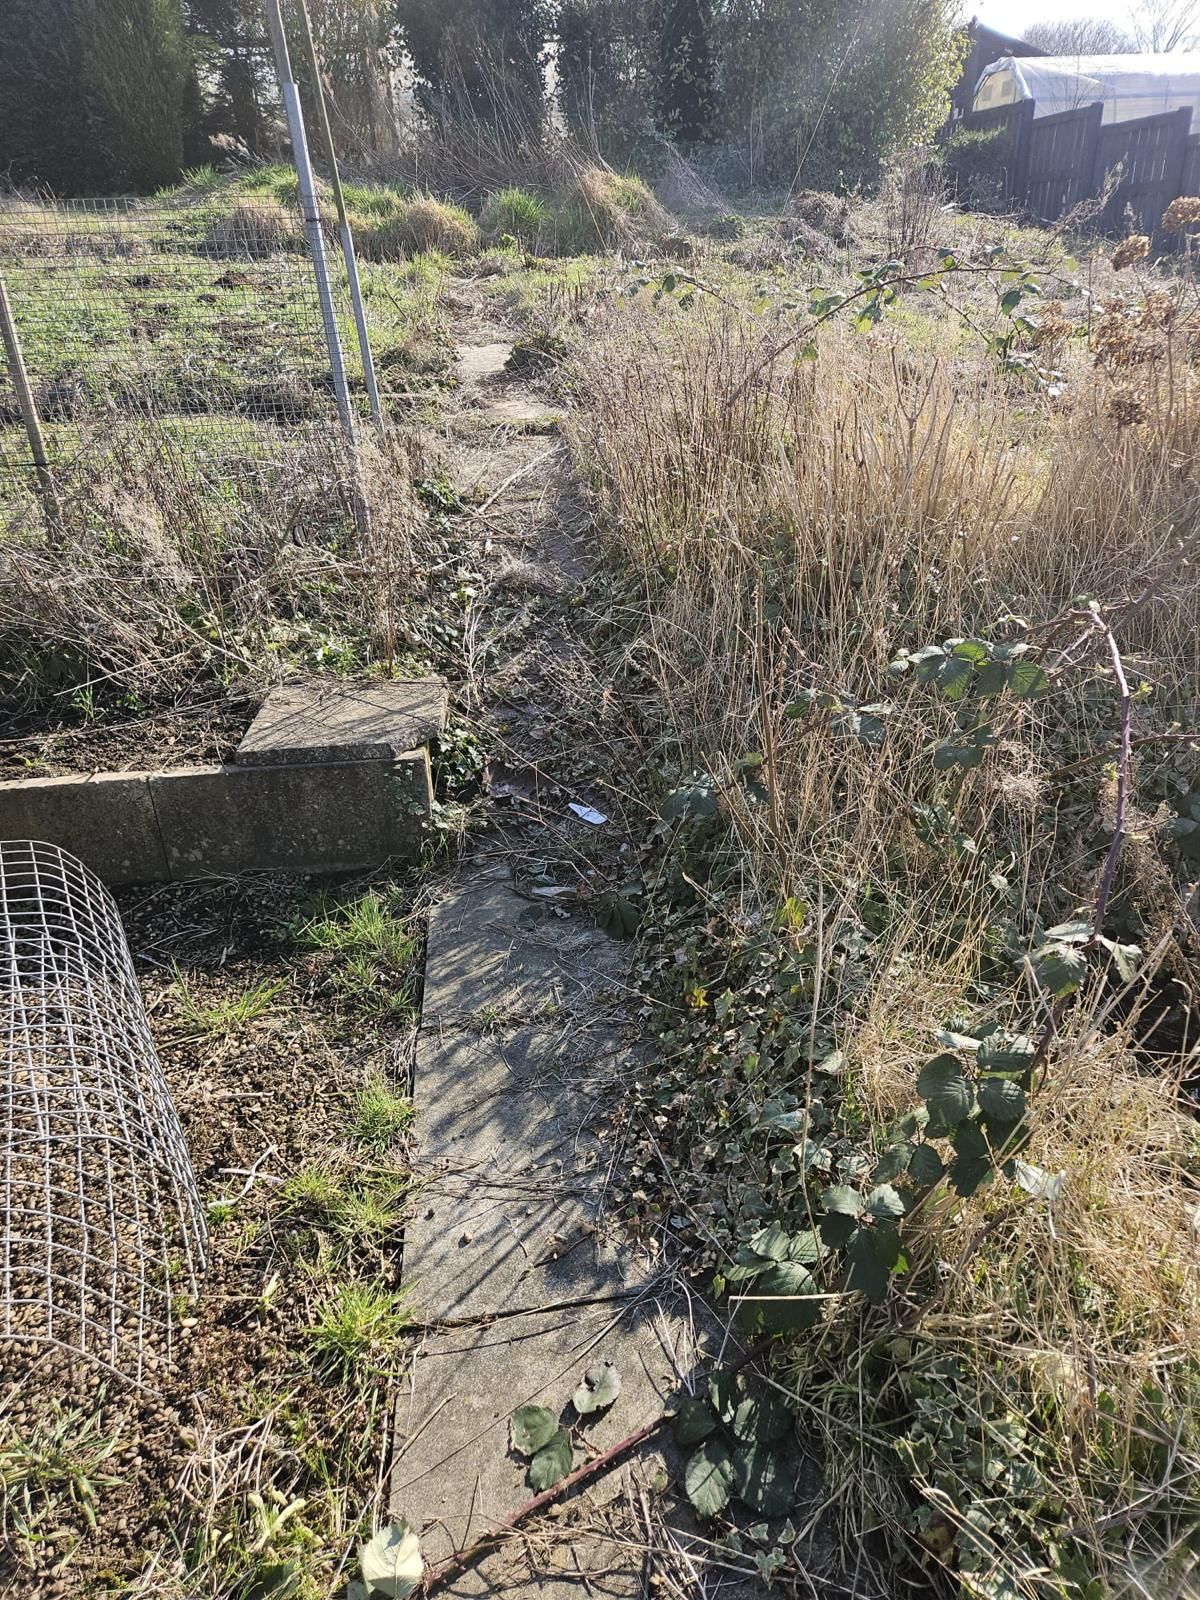
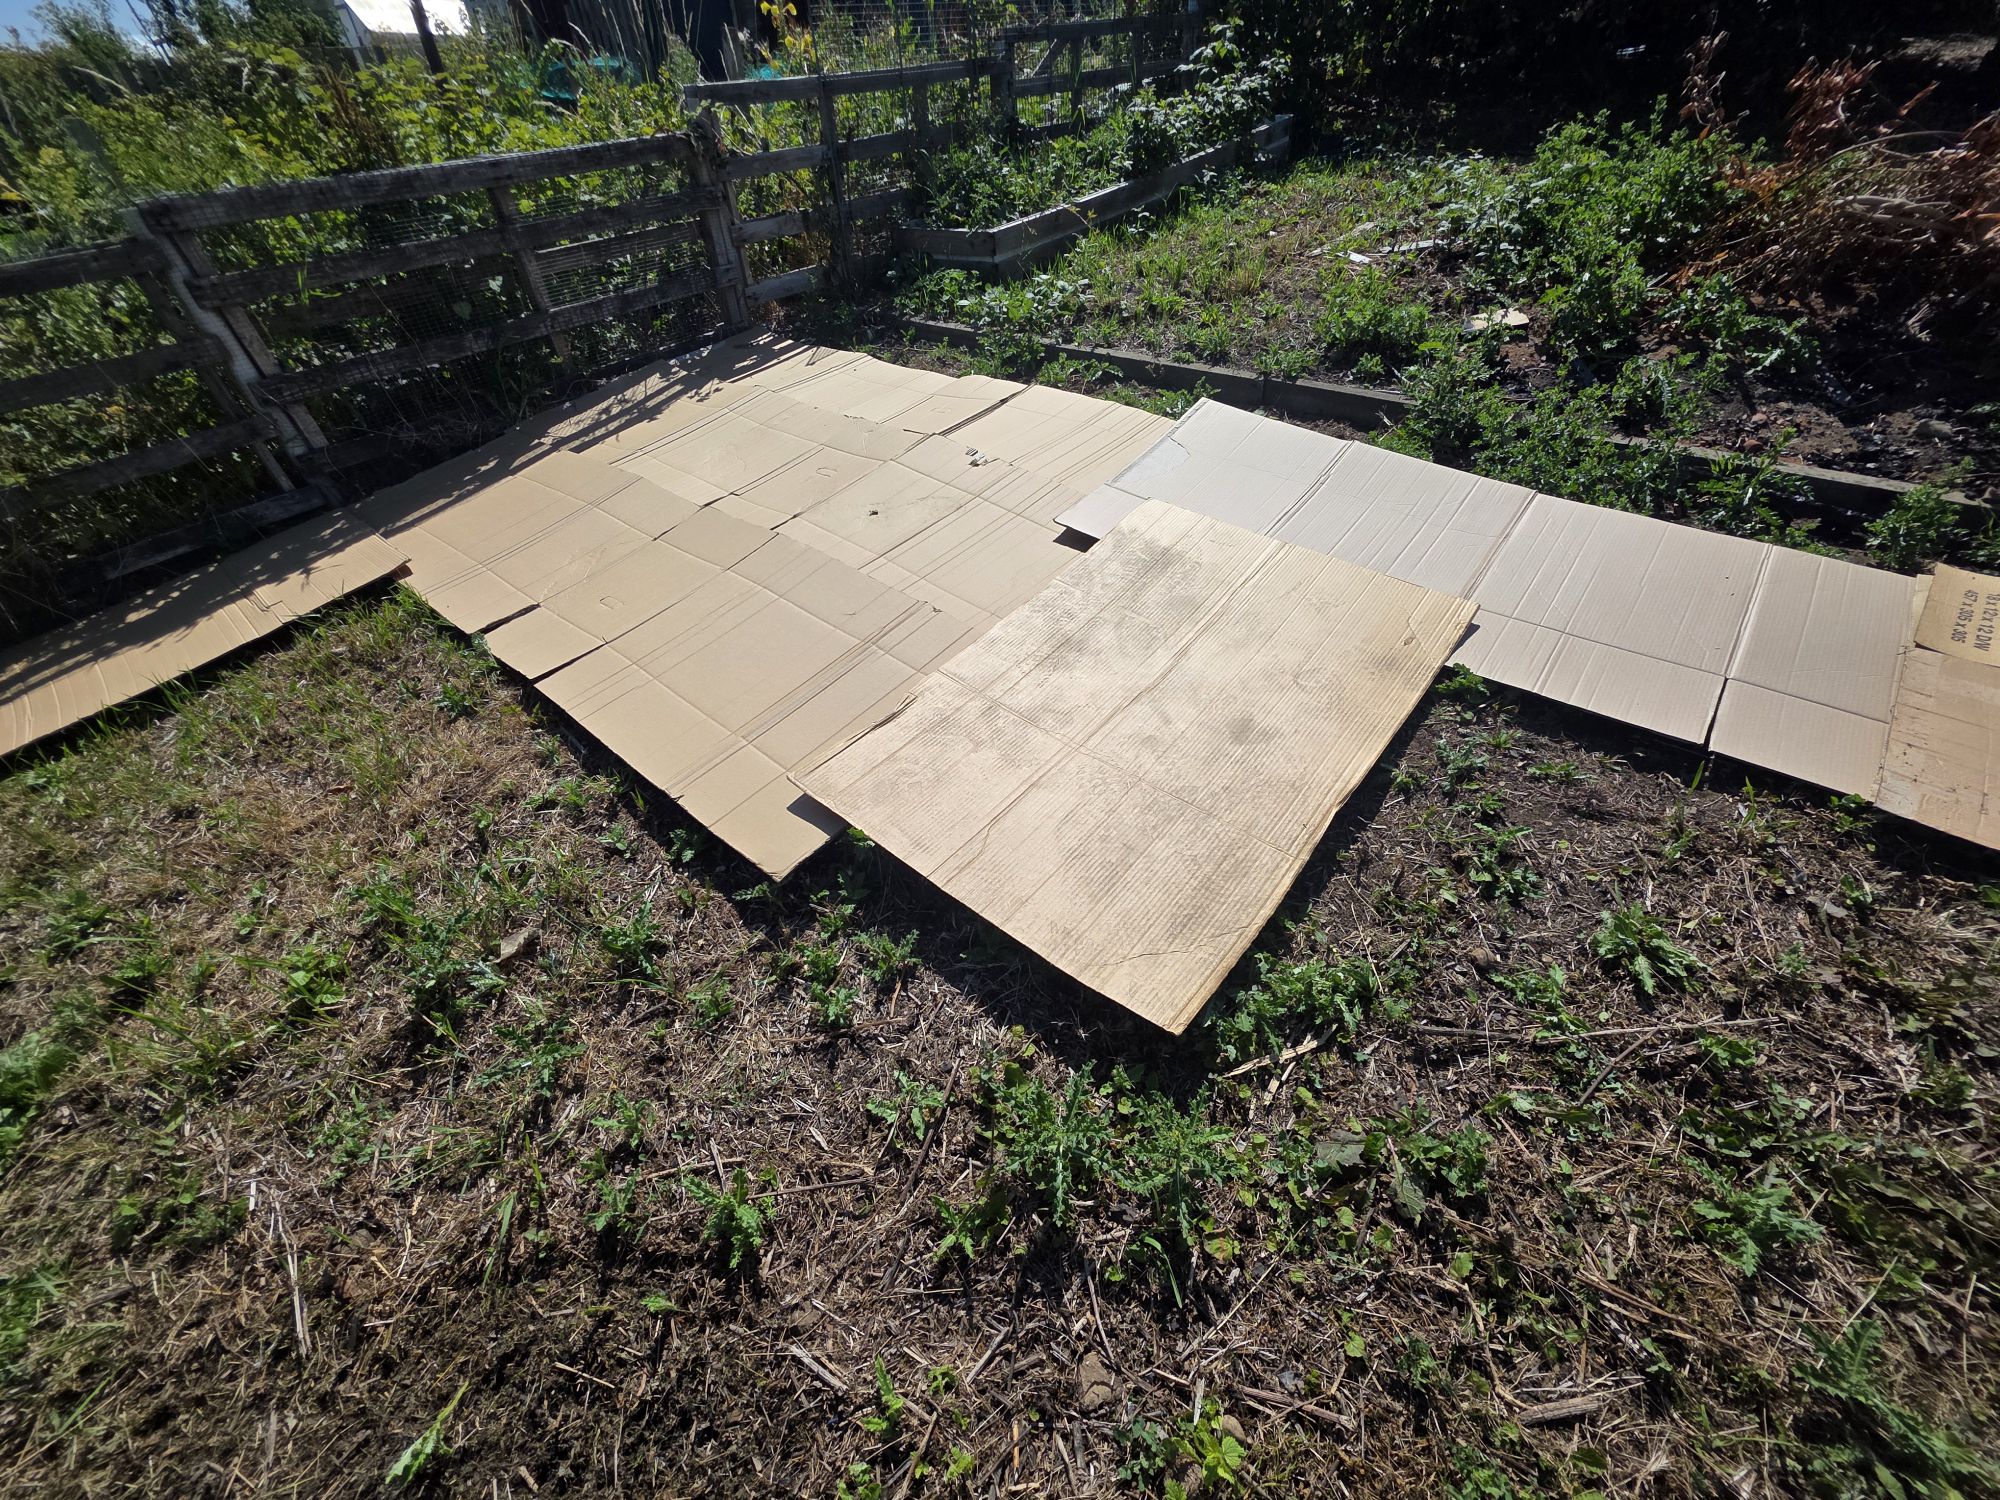
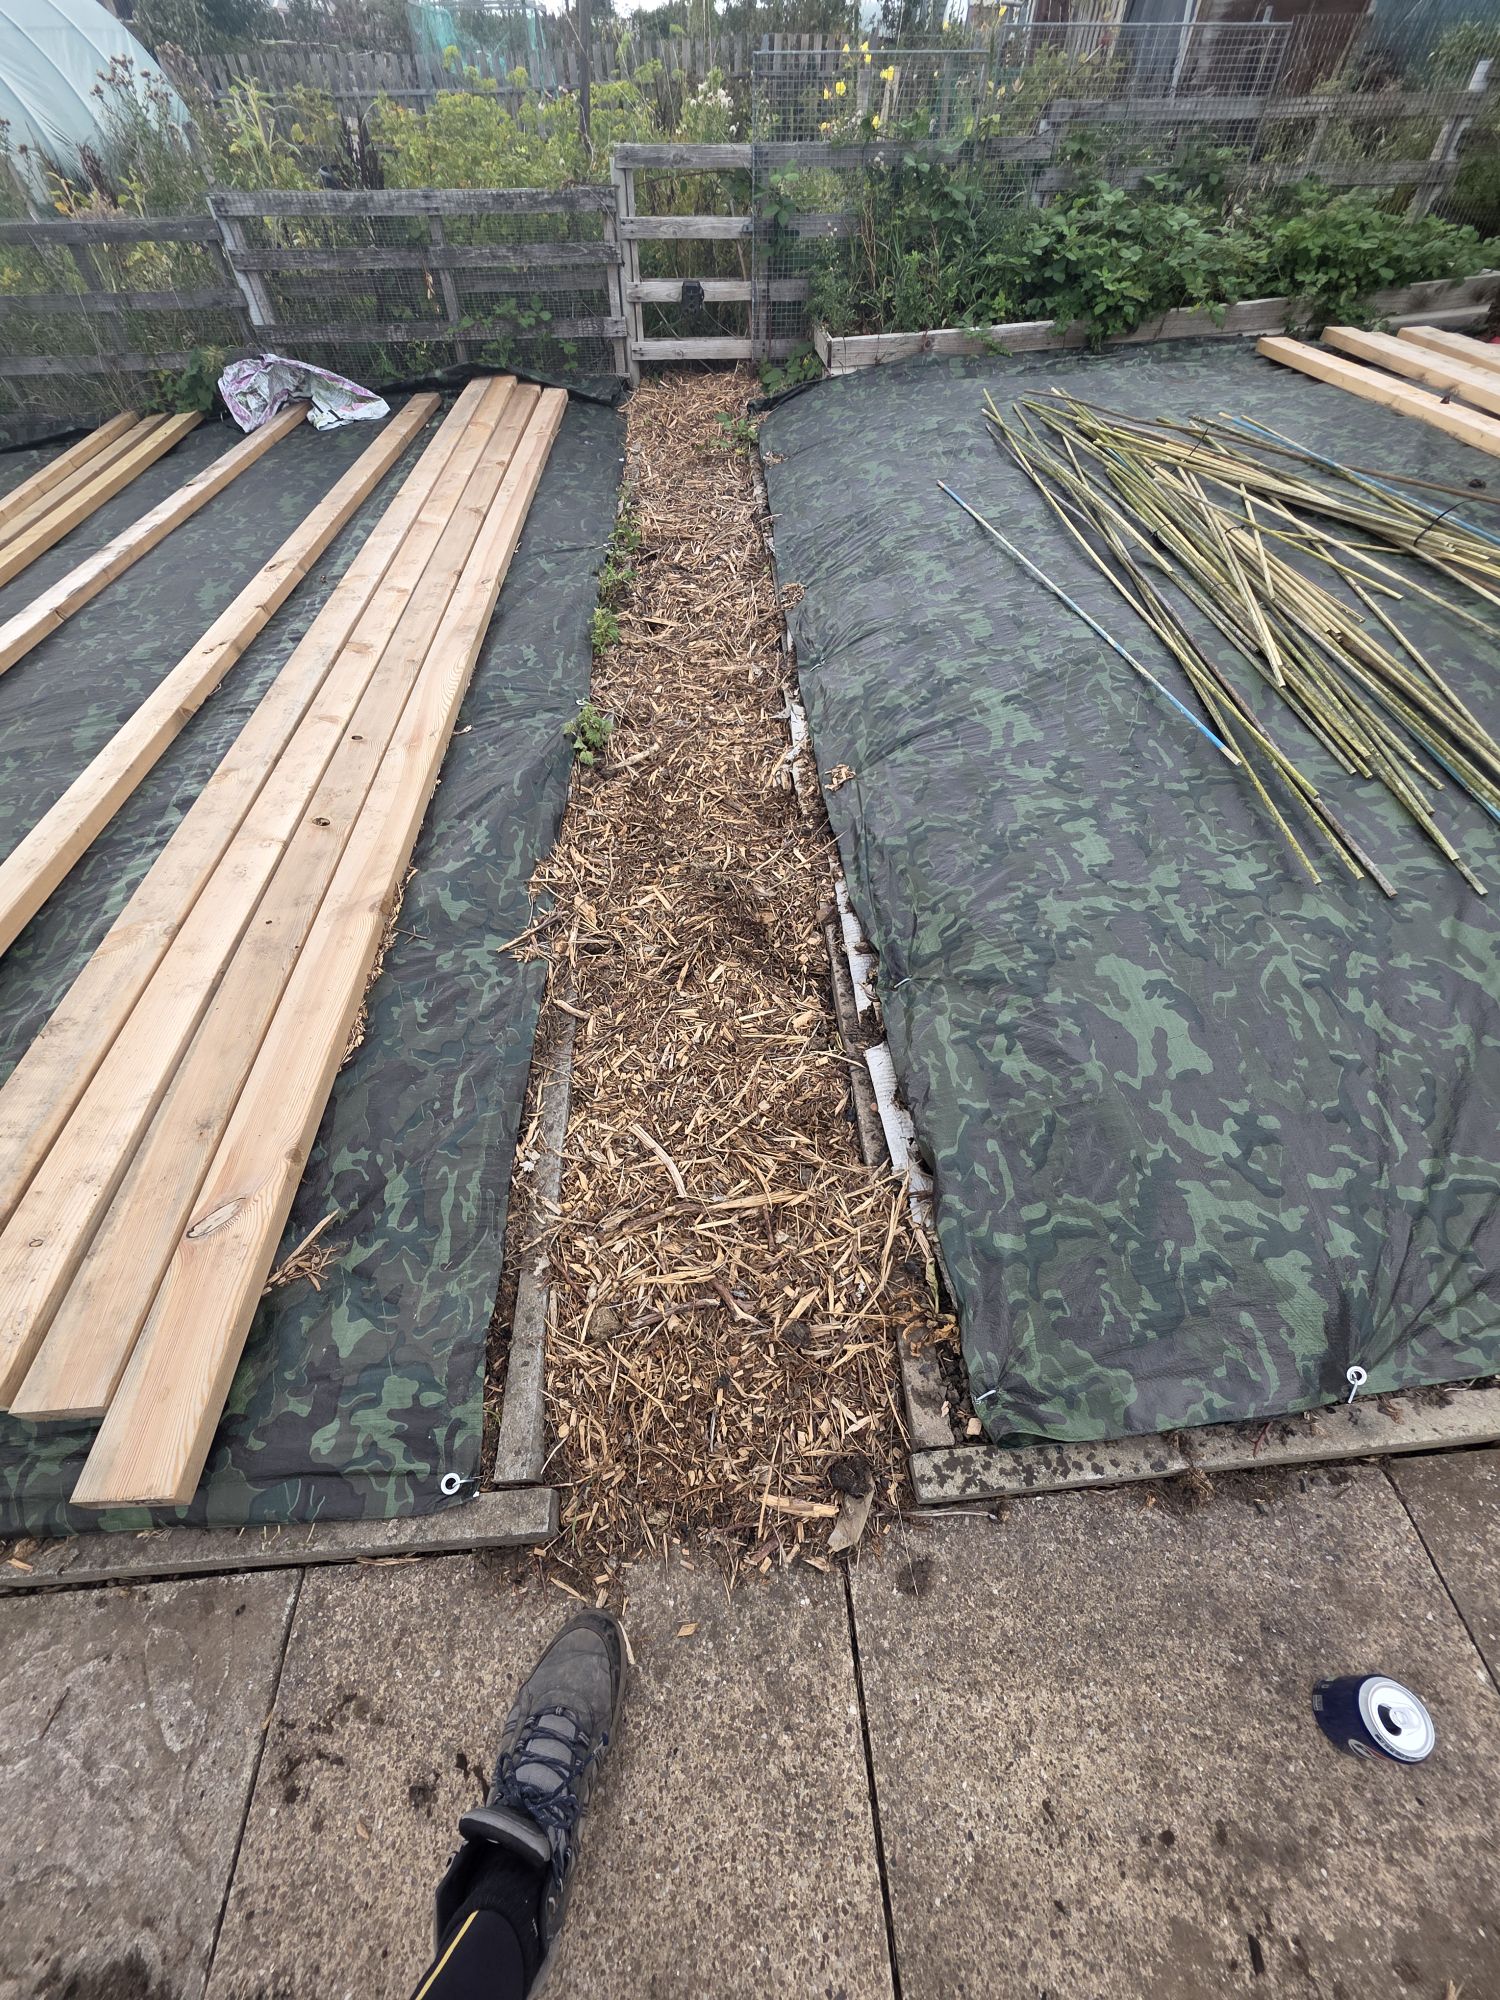
Paths
These need to be weed-free, as much as the beds. I use a think plastic then wood chippings on top, which they are permanent, in the same place every year. You could use cardboard to mulch paths for 6–9 months, enough time to kill most weeds. You then need to put more cardboard on top every 3 months, before weeds start growing through the older, decaying cardboard.
This process of mulching paths to clear weeds is easier if you remove any old wooden sides before starting.
Path characteristics
They are not just ‘ground to walk on’, but part of your growing space.
They are permanent, in the same place every year.
Mulched soil in paths maintains structure, fertility and moisture, available to plant roots from the bed edges.


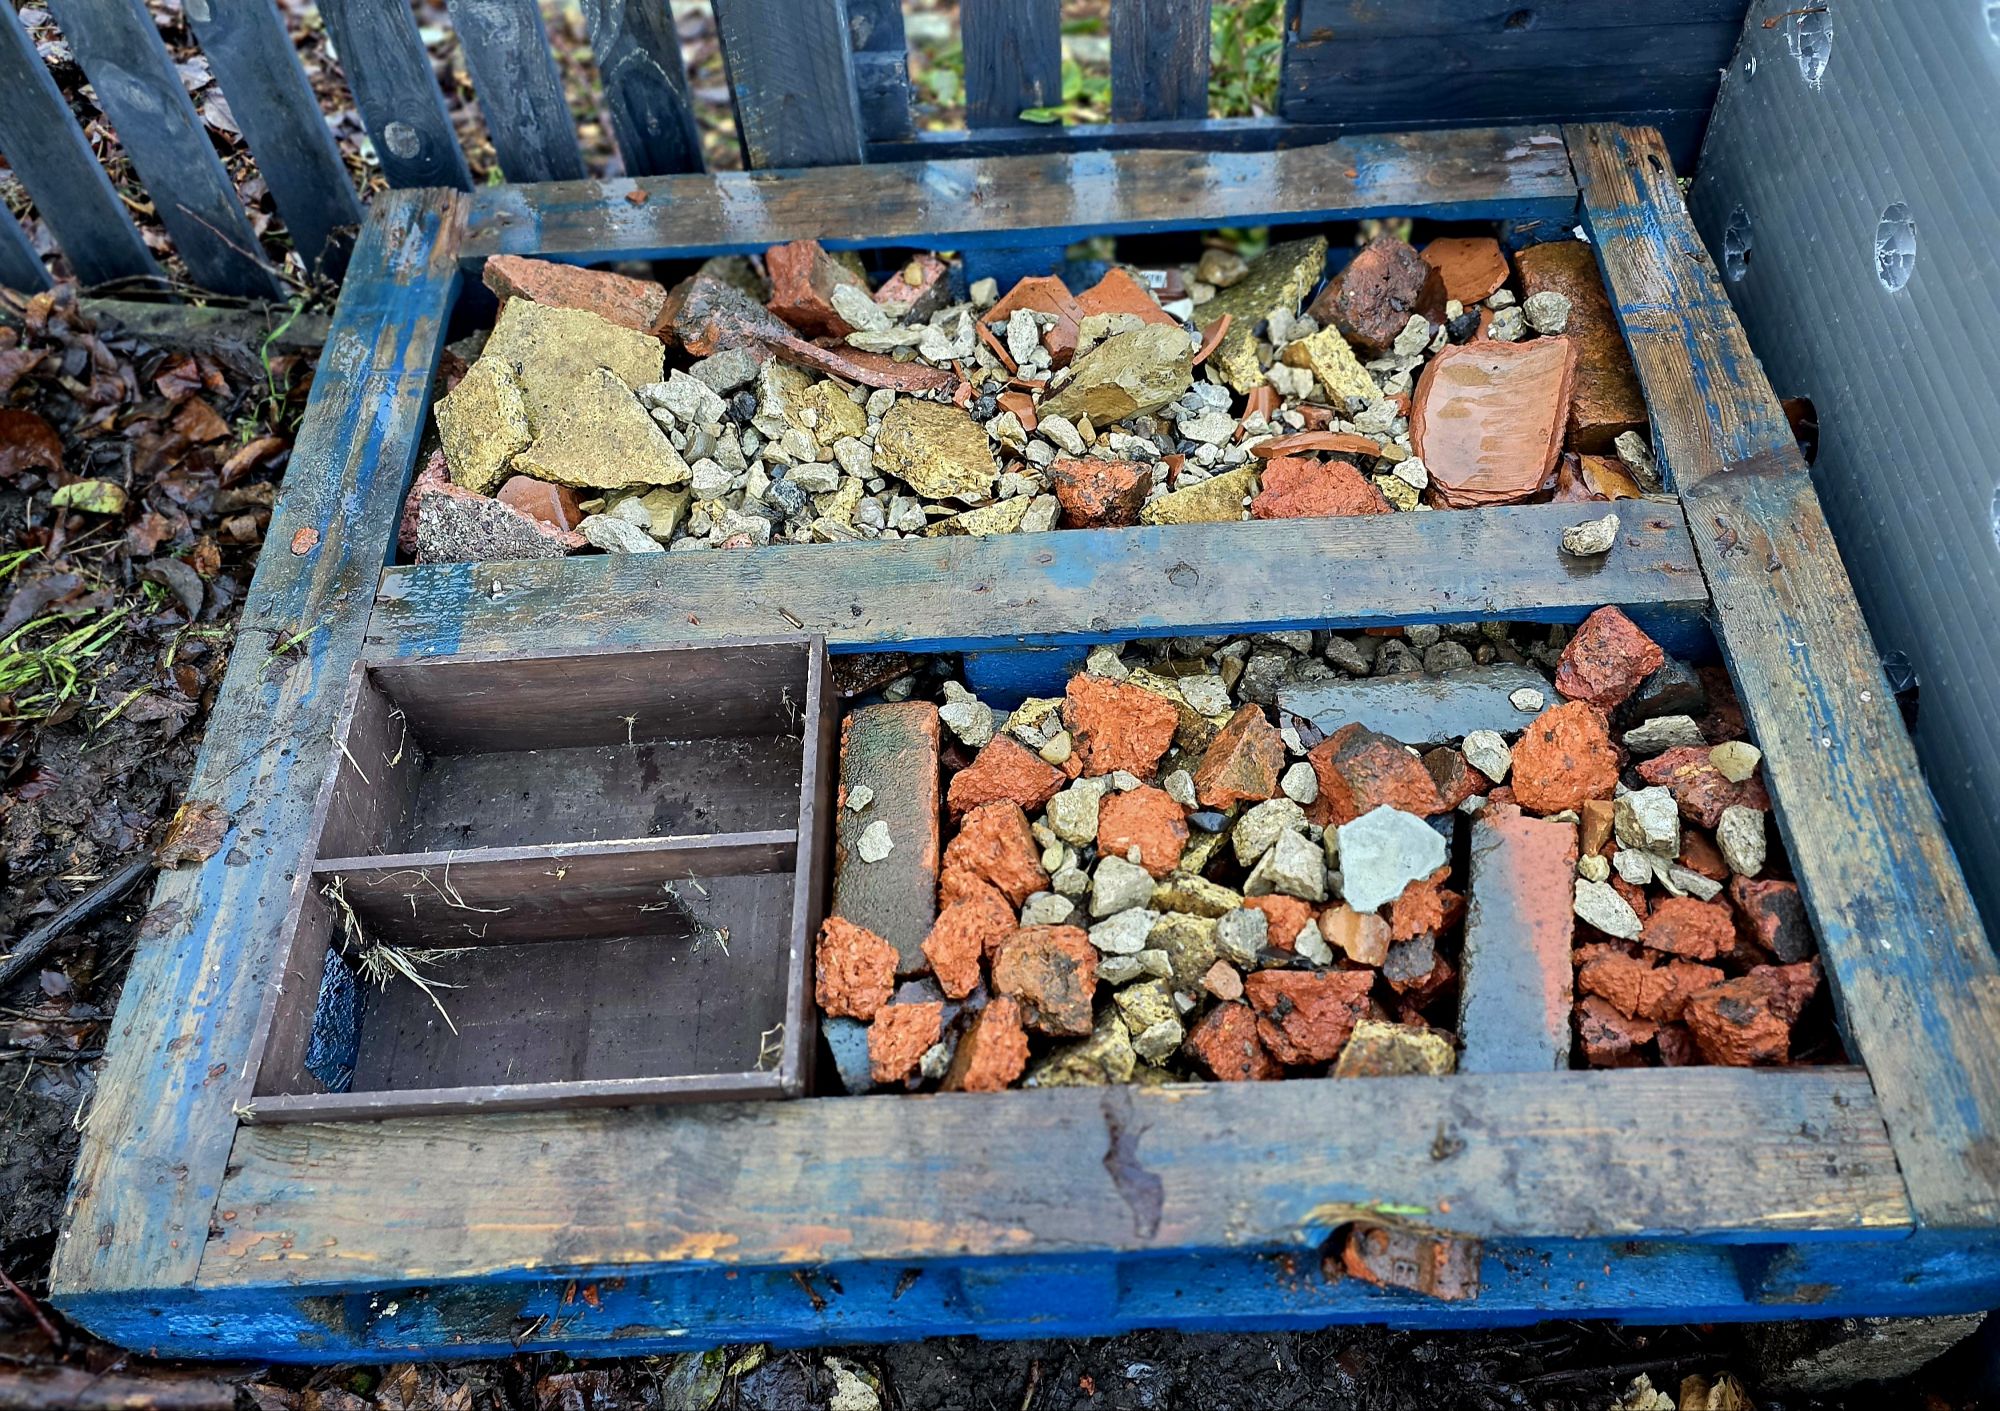
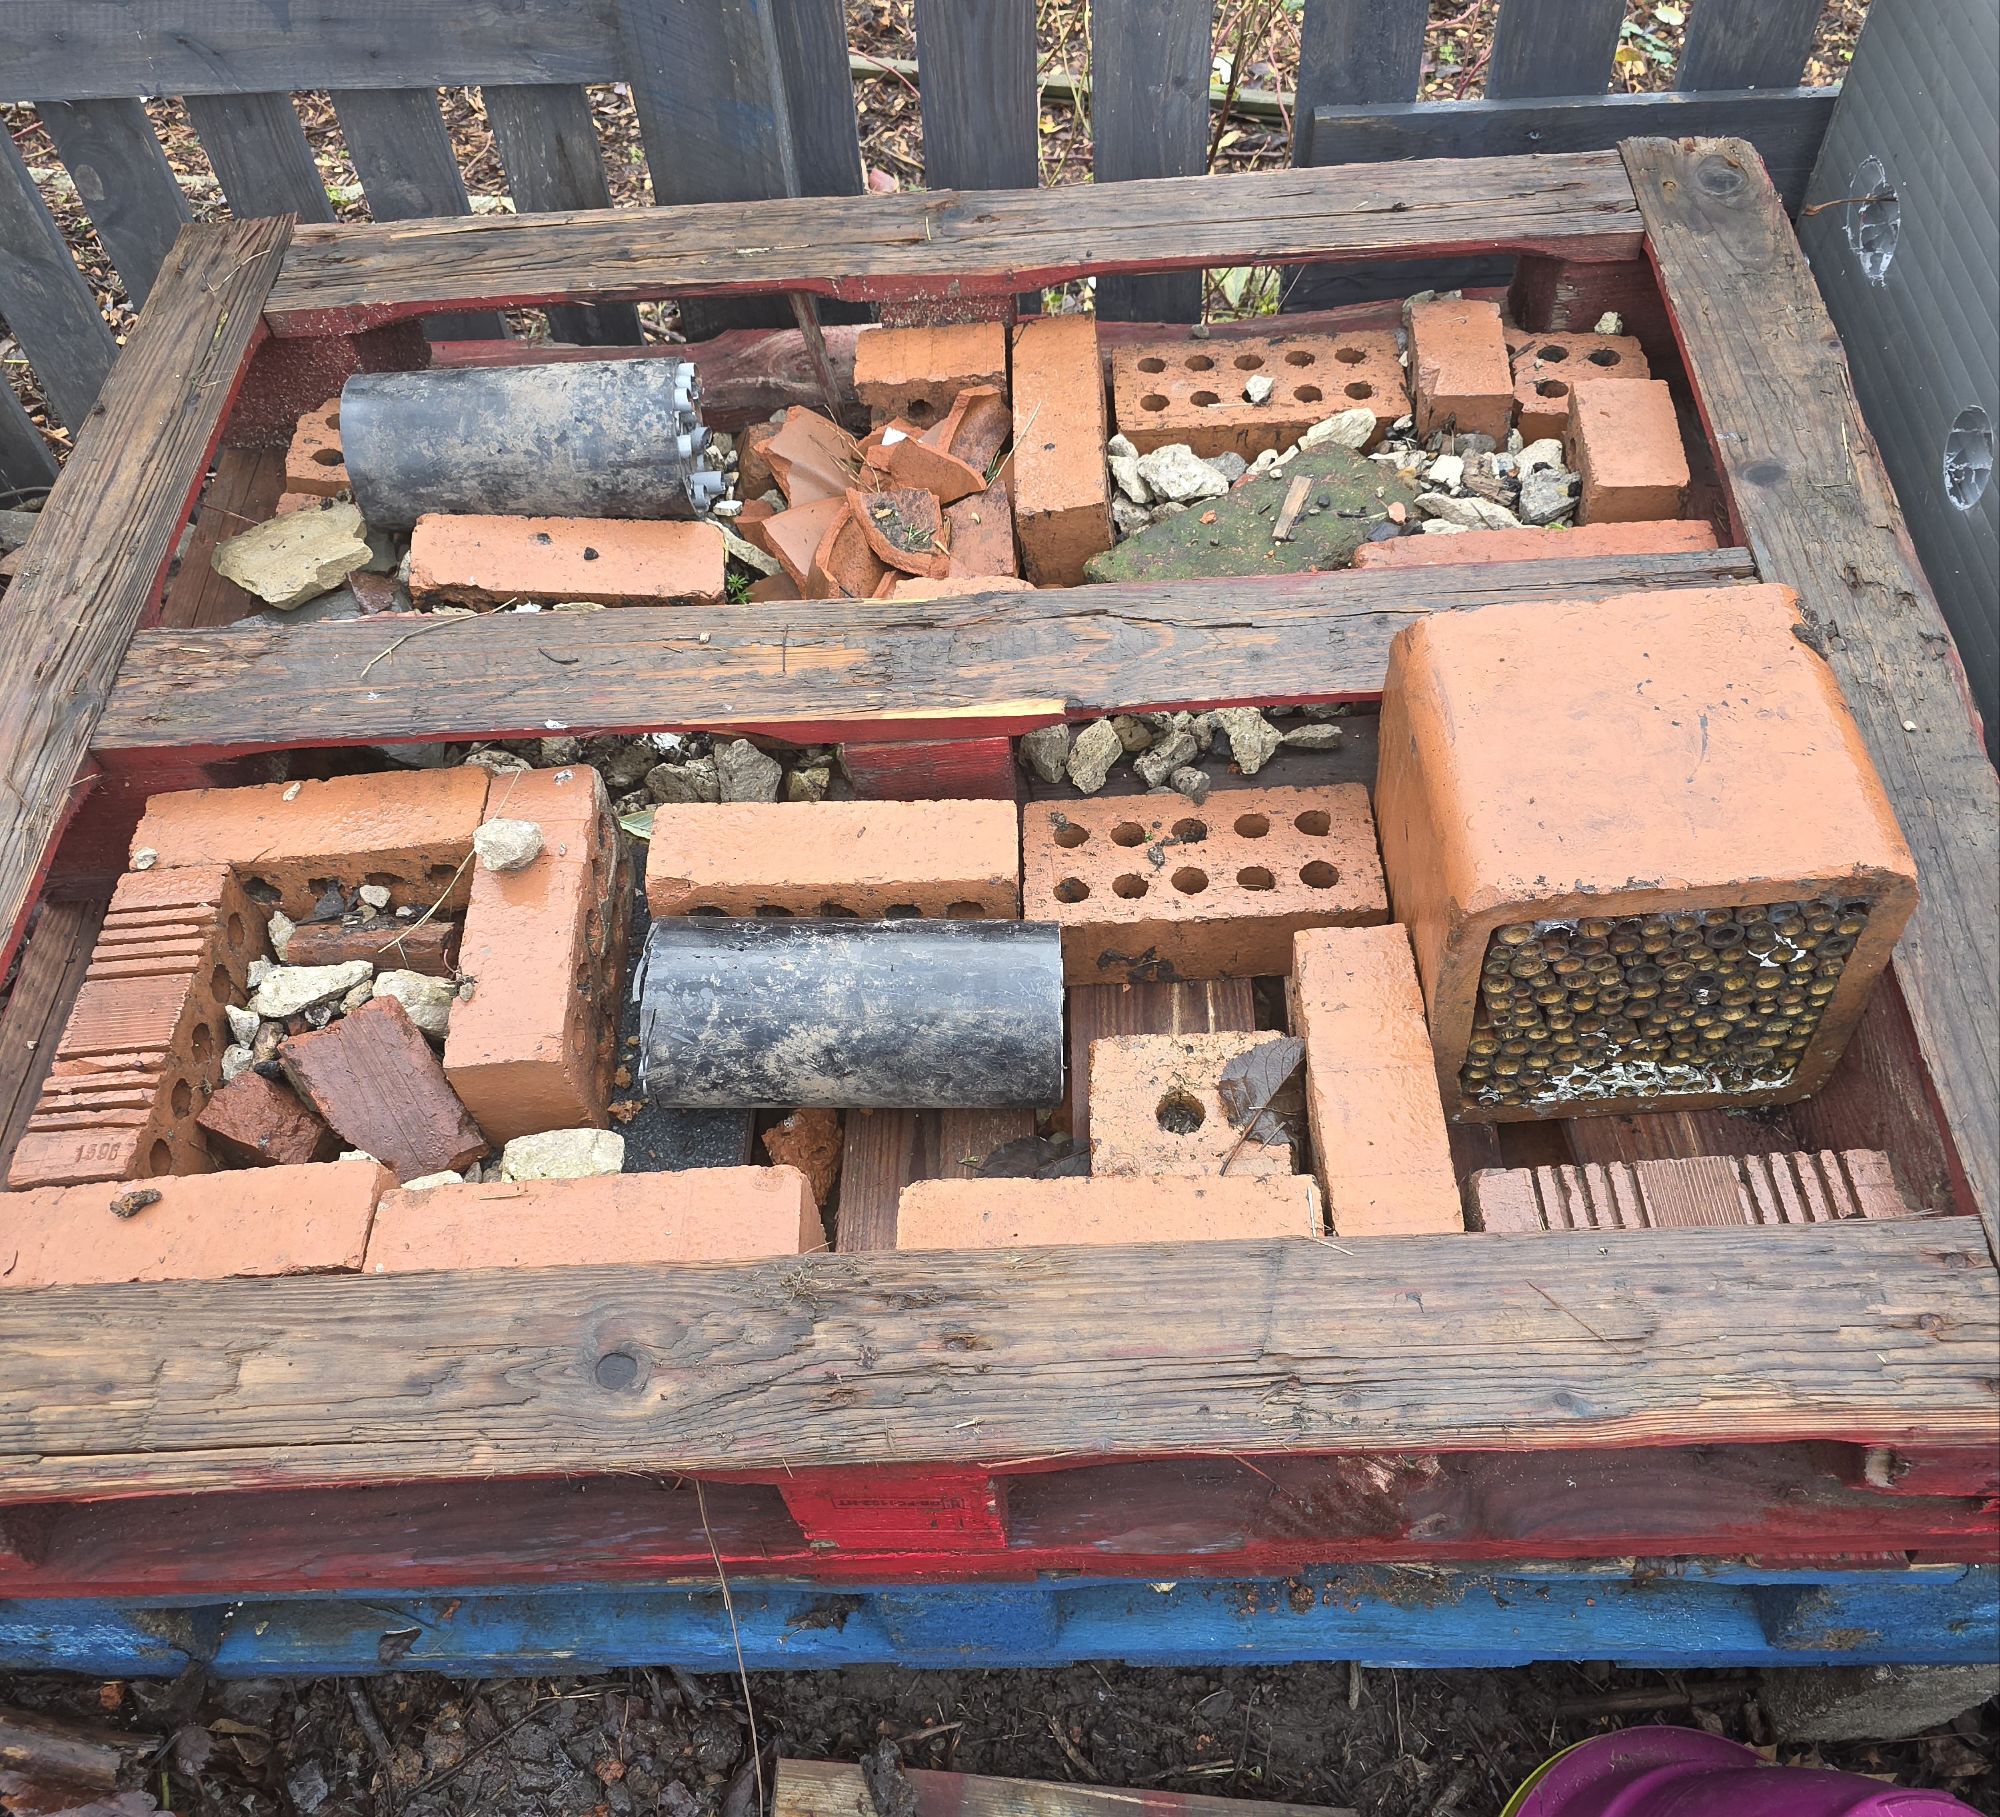
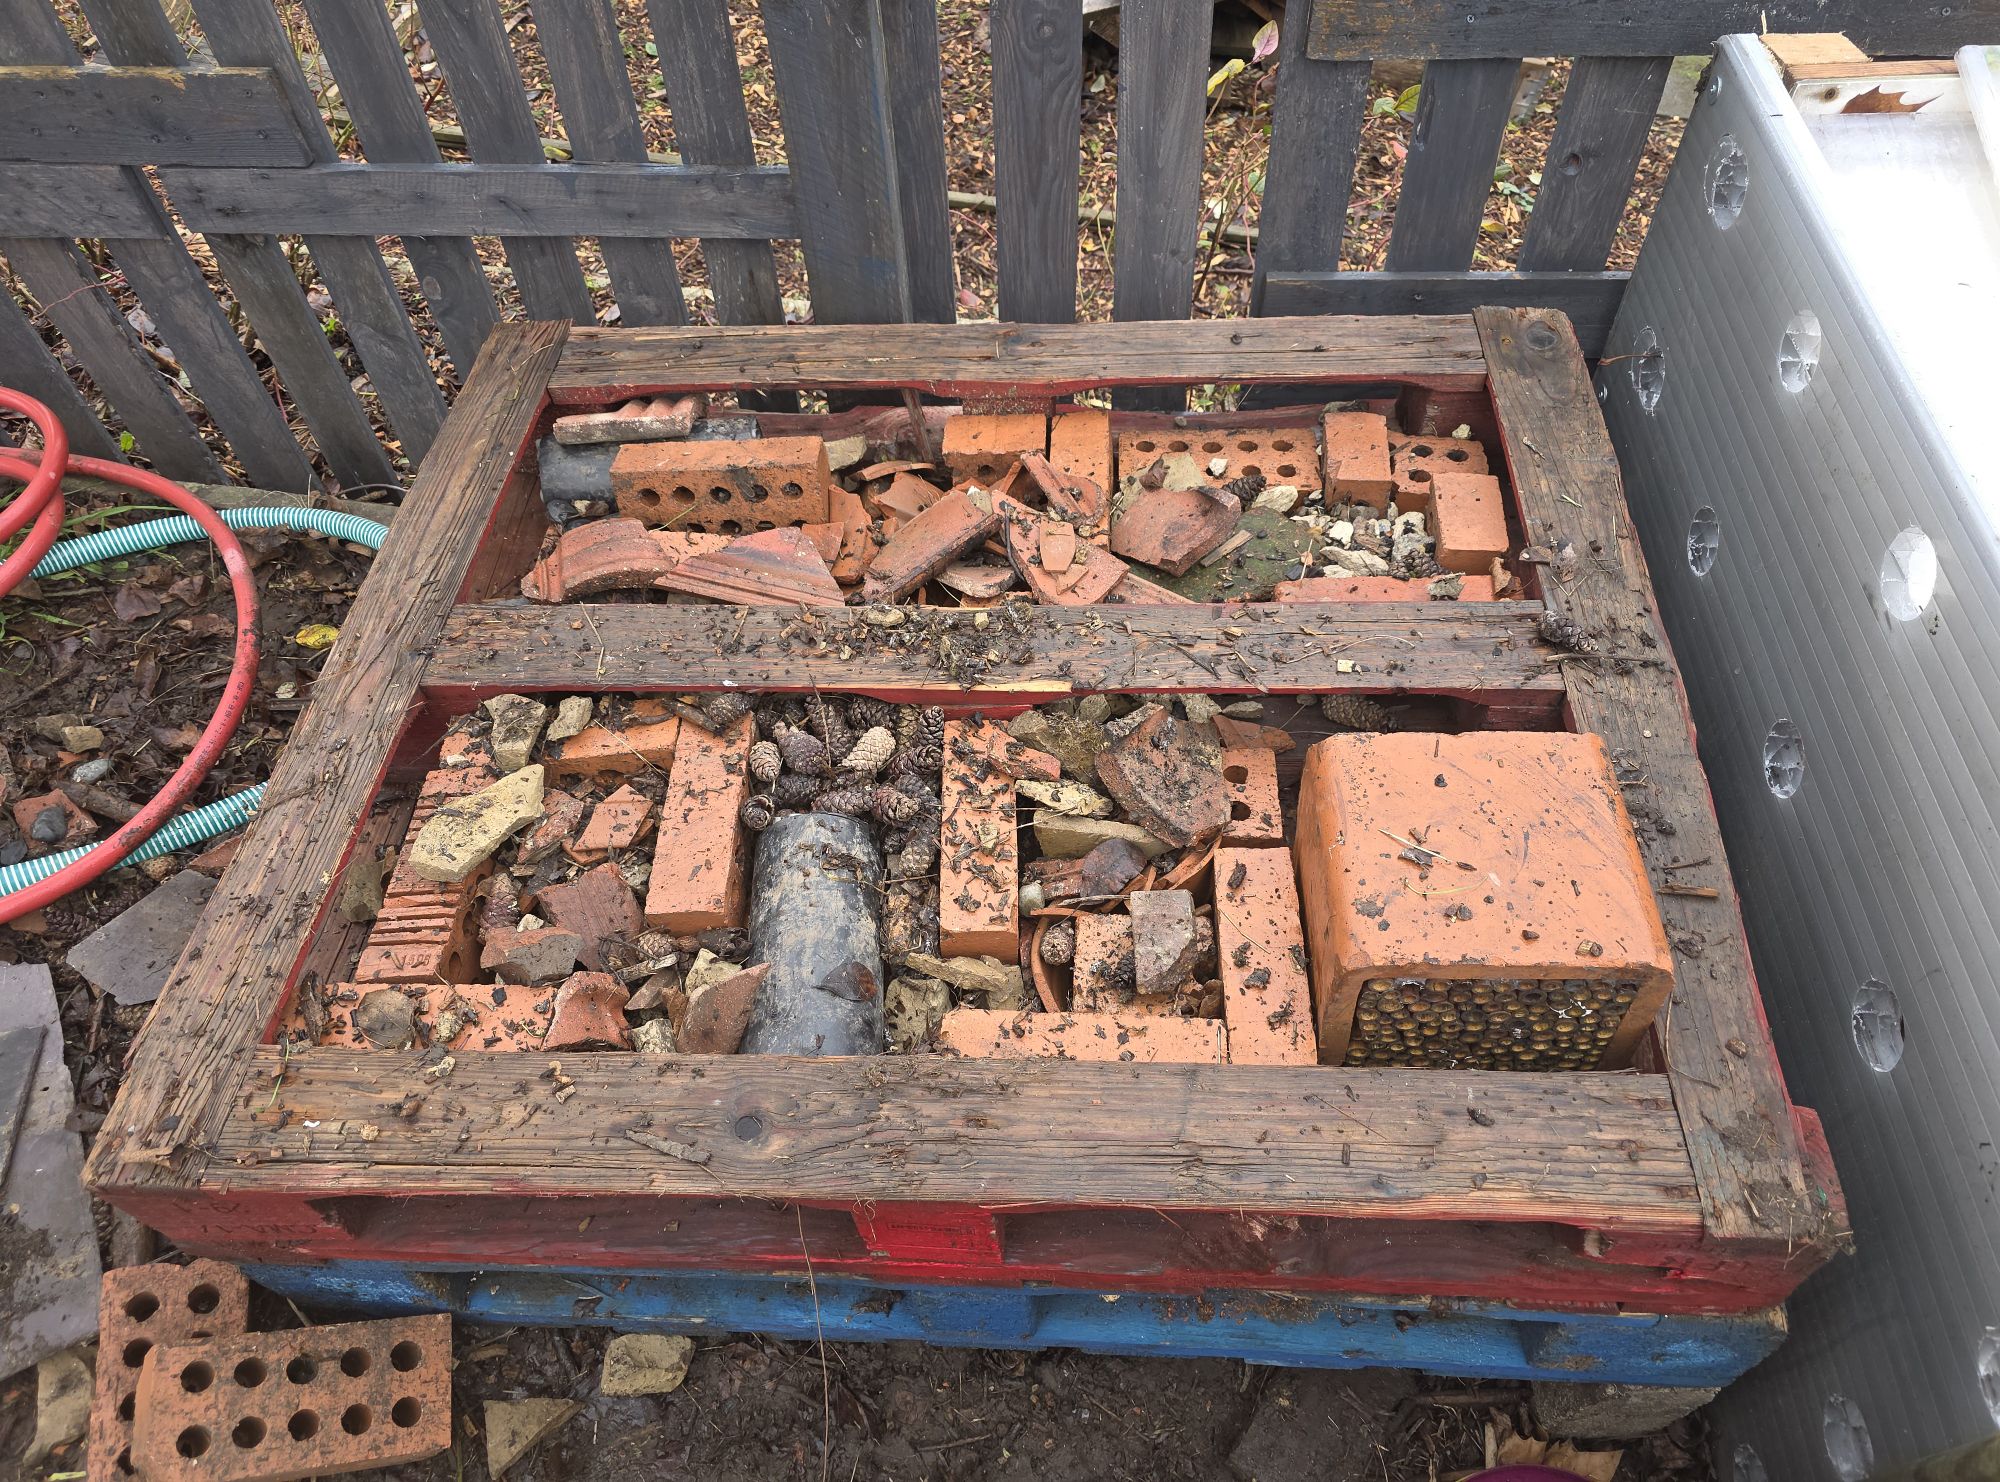
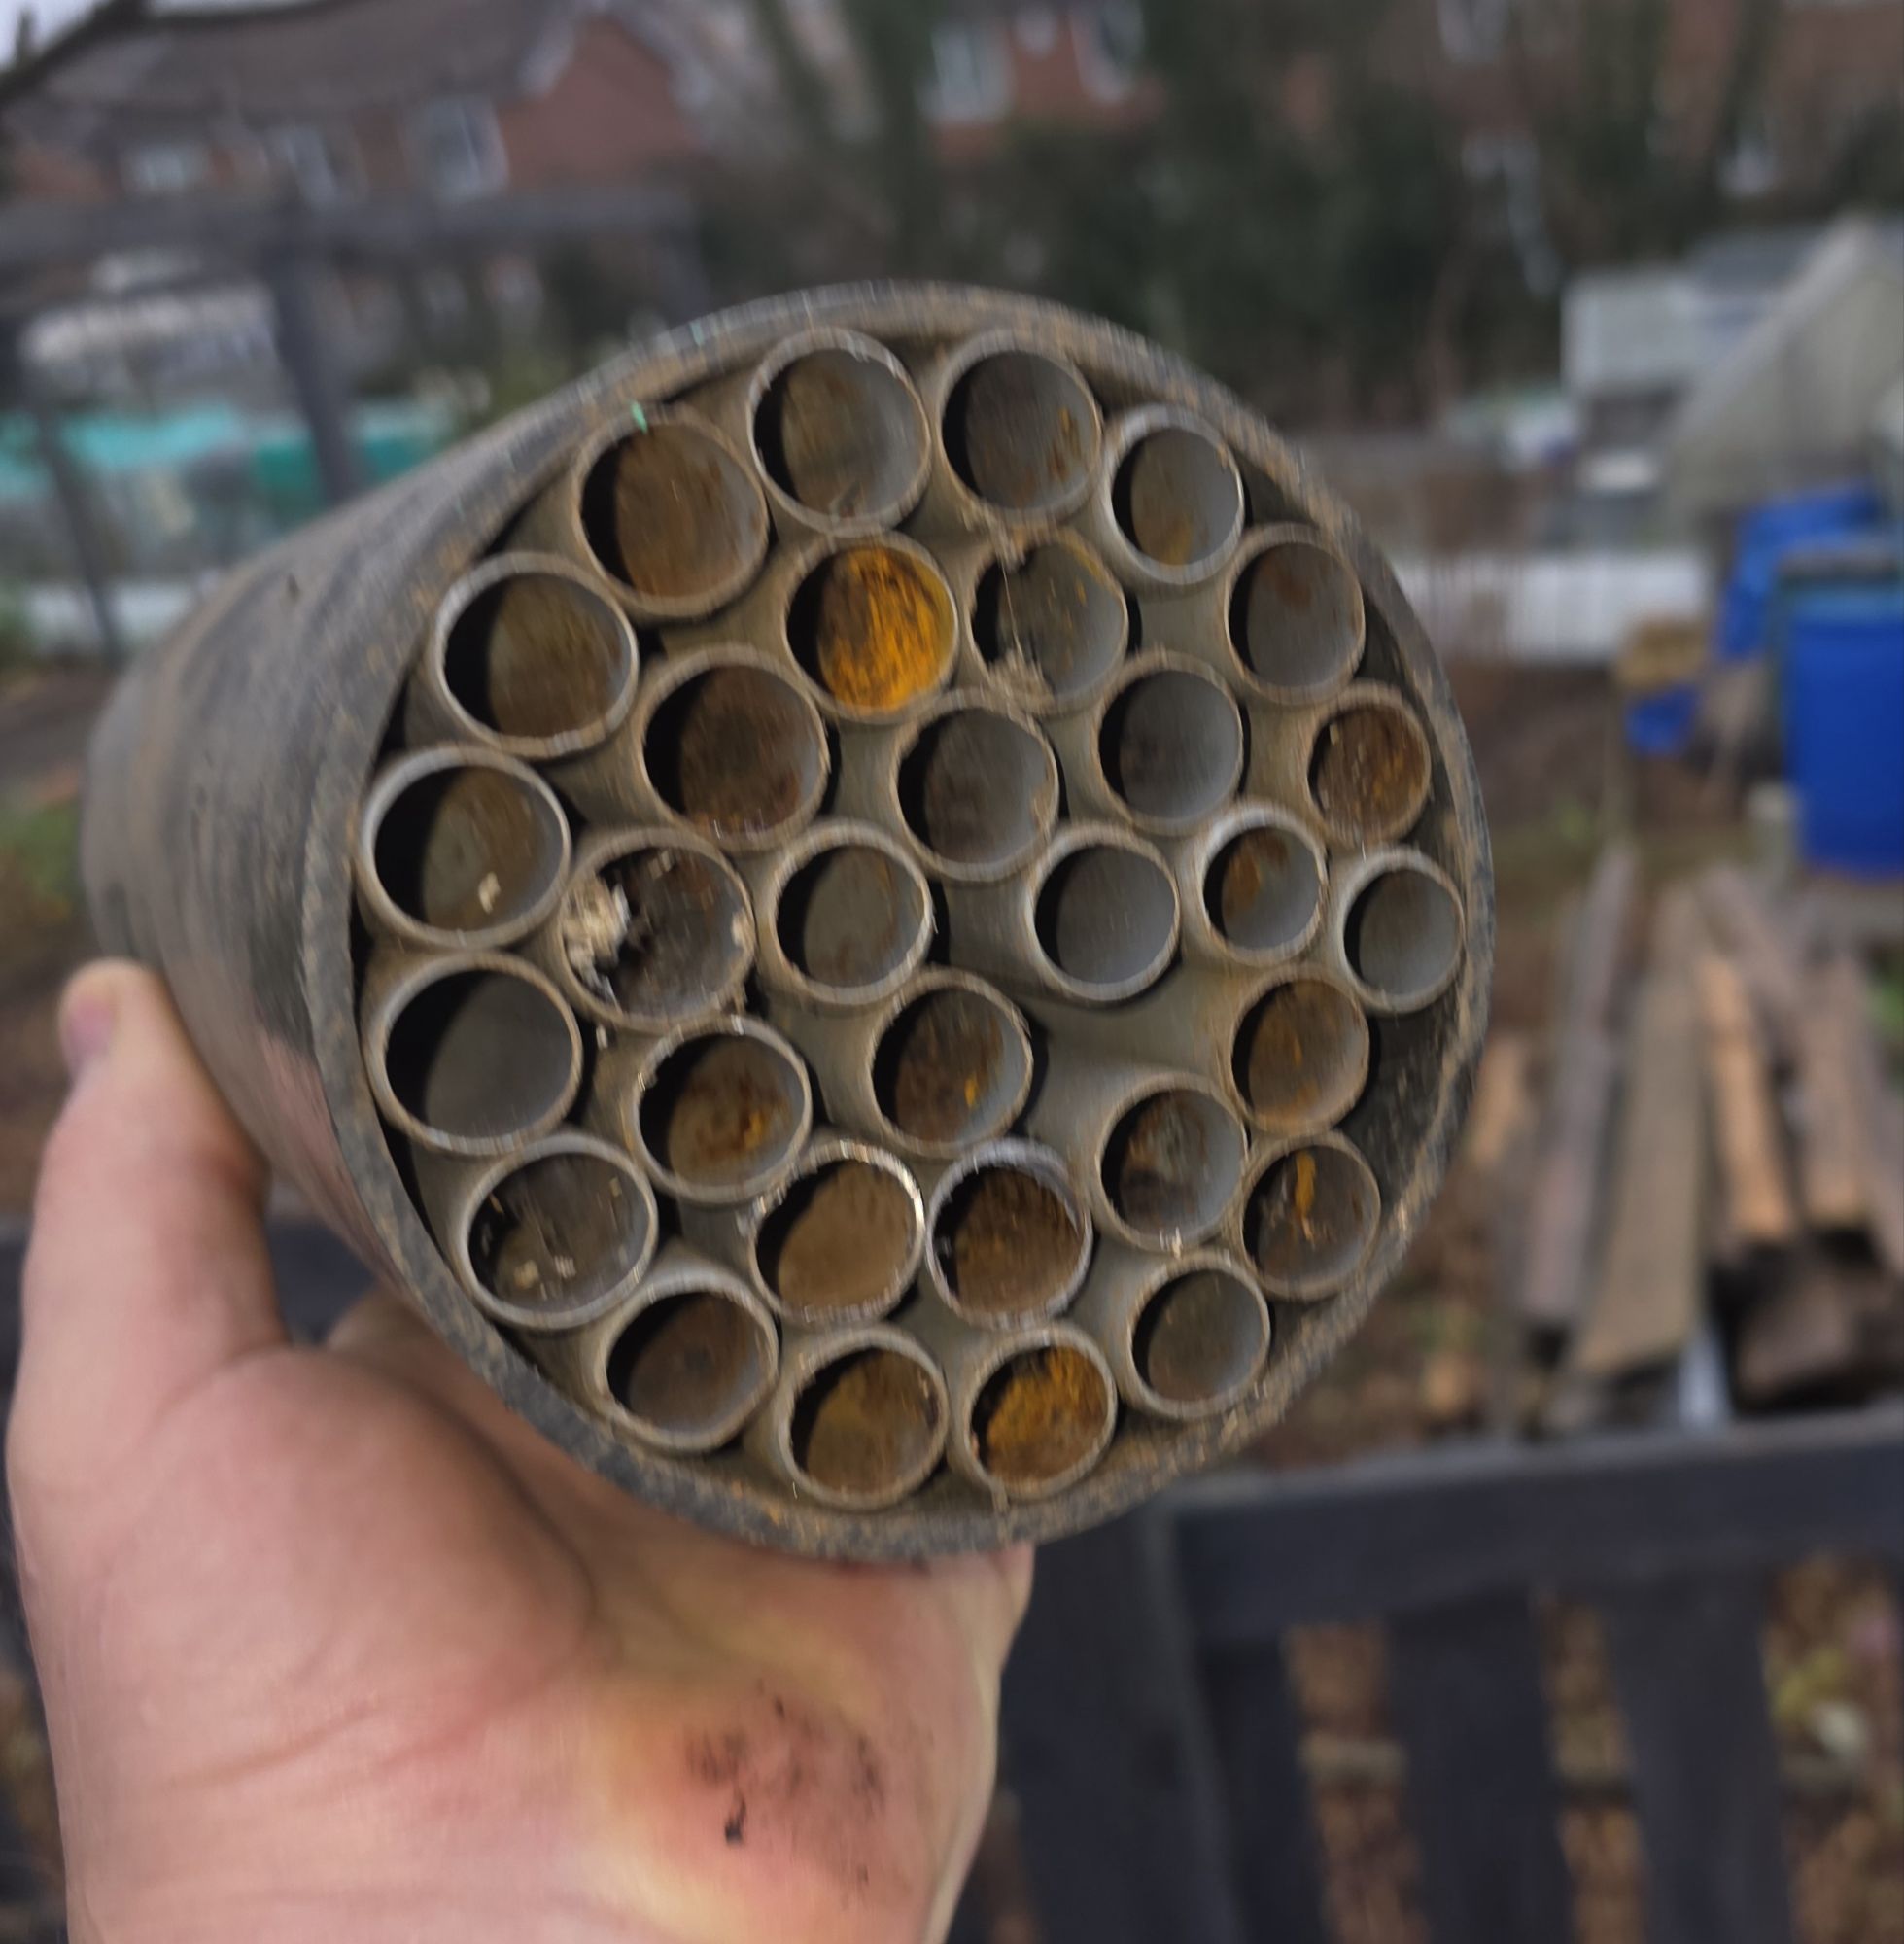
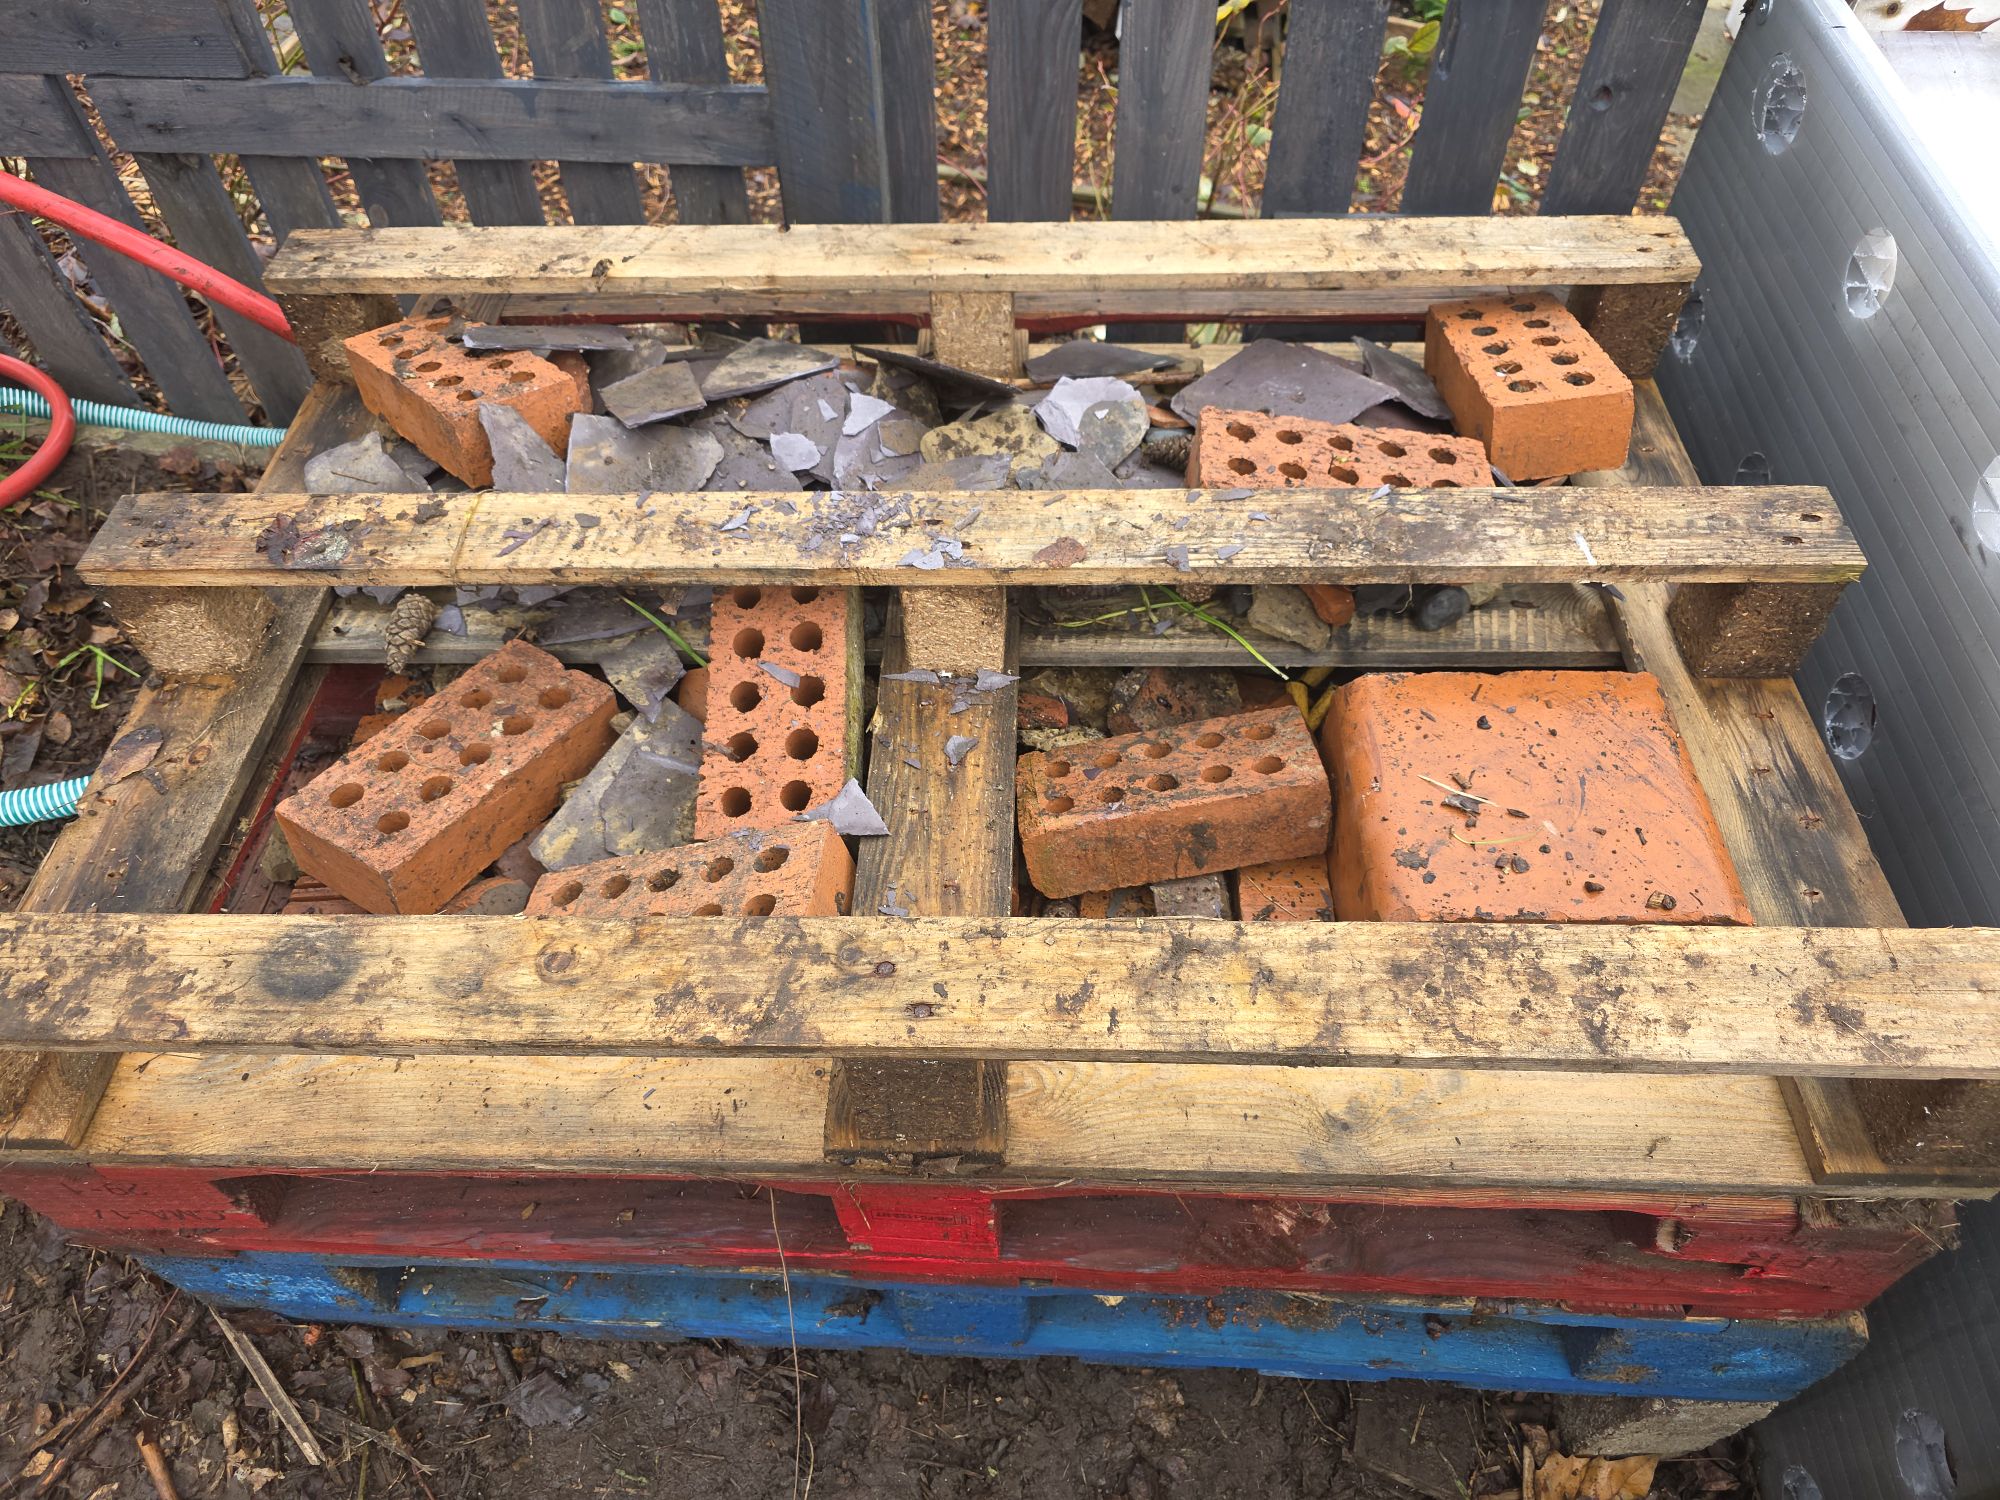
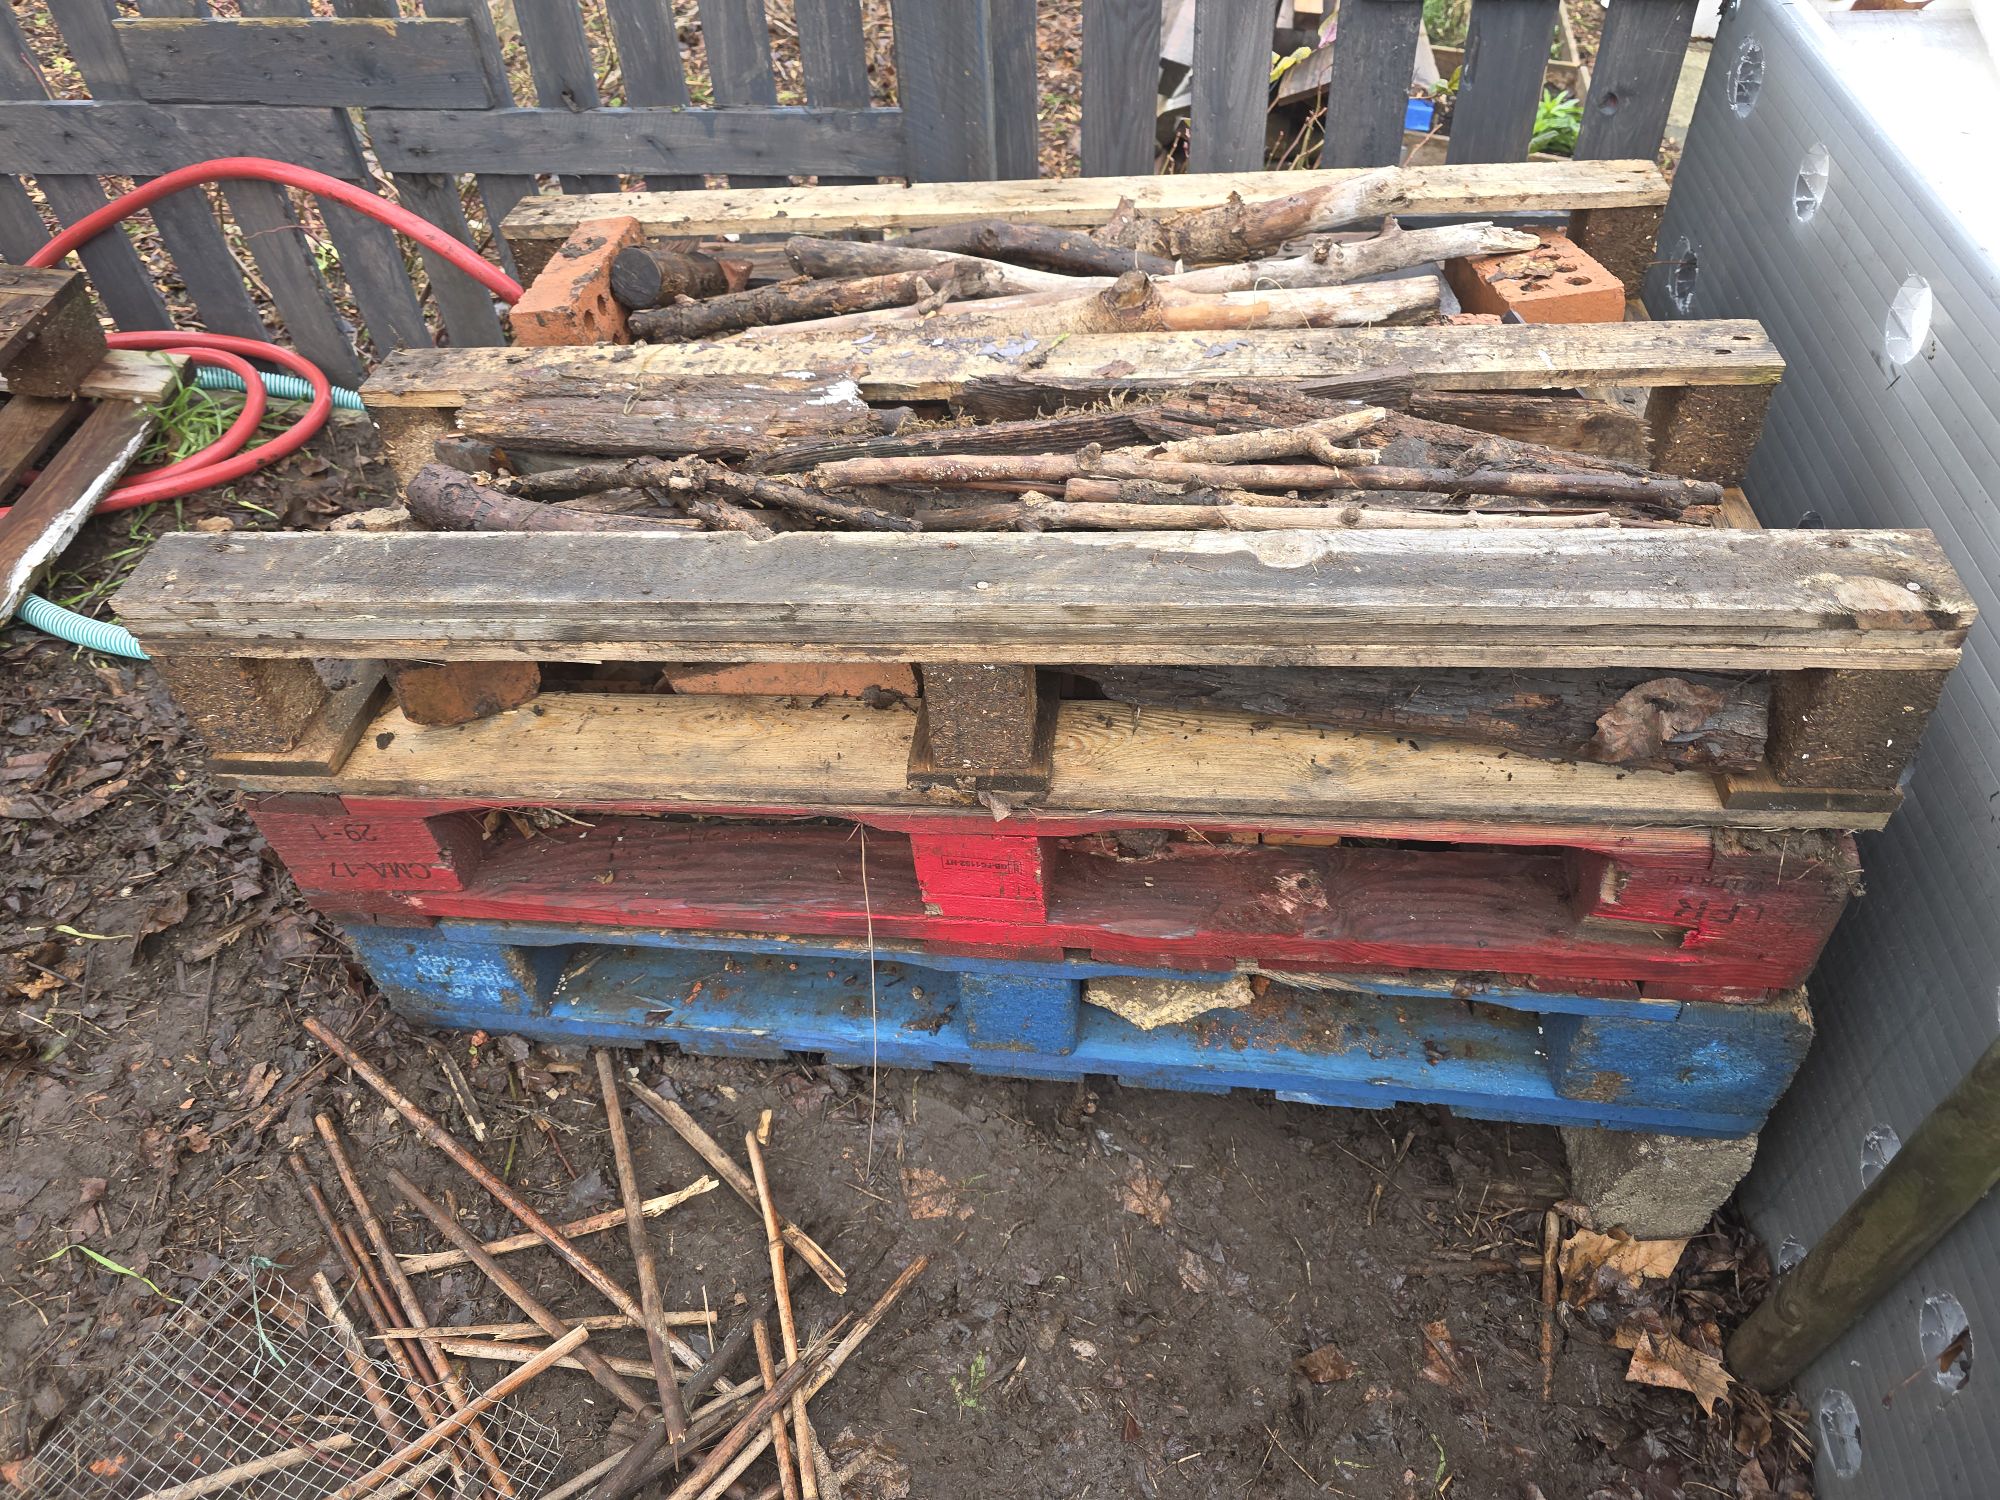
5 Stars Bug Hotel Now Open
Create a multi-storey bug hotel that’s full of all sorts of natural materials, providing hidey-holes for creatures galore. Safe hideaways can be hard for wildlife to find in some gardens, and what better use for all your garden waste and odds and ends? Build your bug hotel (also known as a wildlife hotel or stack) well and it could shelter anything from hedgehogs to toads, solitary bees to bumblebees, and ladybirds to woodlice. You can build your bug hotel at any time of year, but you may find you have most natural materials such as straw, dry grass and hollow plant stems in autumn.
You can choose any of the following:
- Old wooden pallets
- Strips of wood
- Straw
- Moss
- Dry leaves
- Woodchips
- Old terracotta pots
- Old roofing tiles
- Bricks, preferably those with holes through them
- Old logs
- Bark
- Pine cones
- Sand
- Soil
- Hollow bamboo canes
- Dead hollow stems cut from shrubs and herbaceous plants
- A sheet of roofing felt
- Planks of wood
- Whatever else you can find – preferably natural materials
Choose a suitable site. It needs to be level and the ground firm.
You’ll get different residents depending on where you place your hotel, as some like cool, damp conditions and others (such as solitary bees) prefer the sun. If you have vegetable beds, keep it a good distance away from them.
The basic structure. You will need a strong, stable framework that’s no more than a metre high!
Old wooden pallets are perfect for a large hotel as they’re sturdy and come with ready-made gaps. Start by laying some bricks on the ground as sturdy corners. Leave some spaces in between the bricks. Add three or four layers of wooden pallets on top of your bricks. In our case we have a ground floor apartment to attract hedgehogs.